Do you end up with blackened, crusty messes when cooking in your shiny new stainless steel pots and pans?
Struggling with sticking proteins and starchy sides that glue themselves to the cooking surface?
You’re not alone.
Making the switch from nonstick to stainless can present a steep learning curve for home cooks.
But have no fear – with some helpful tips and tricks for seasoning, searing, deglazing, and cleaning stainless steel cookware properly, you’ll gain cooking confidence in no time.
Let’s dive in to mastering this durable, high-performing material that can literally last a lifetime in the kitchen.
Benefits of Stainless Steel Cookware
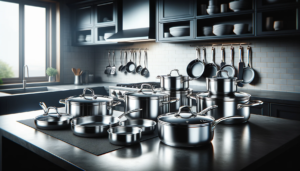
Stainless steel is one of the most popular cookware materials because of its numerous benefits compared to other materials.
Stainless steel cookware is extremely durable and long-lasting.
With proper care and maintenance, a stainless steel pot or pan can literally last a lifetime.
The thick construction and strong exterior ensure that stainless steel stands up well to frequent cooking and cleaning without warping or denting.
Stainless steel also provides excellent even heat distribution meaning food is less likely to burn.
The heat spreads evenly across the bottom and up the sides of stainless pans.
This allows for precise temperature control ideal for tasks like cooking rice or sensitive sauces.
Stainless steel works well on both gas and induction stovetops.
Stainless steel is very easy to clean since food does not stick readily to stainless steel surfaces.
Cooked-on food particles come off easily with non-abrasive scrubbing.
Stainless steel is also dishwasher-safe.
Keep in mind that frequent dishwasher cleaning can lead to discoloration over time.
One of the biggest advantages of stainless steel is that it is nonreactive.
This means foods will not absorb odors and tastes from the metal while cooking.
Acidic ingredients like tomatoes will not cause corrosion damage.
Stainless steel helps maintain pure, neutral food flavors meal after meal.
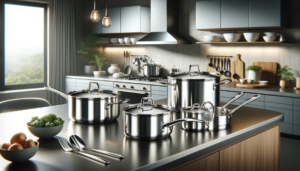
Finally, stainless steel cookware simply looks stylish in any kitchen.
Brushed stainless steel exteriors pair nicely with any decor from modern to rustic design styles.
Unlike aluminum and copper pans which lose their luster over time, quality stainless steel maintains its sleek appearance with occasional polishing.
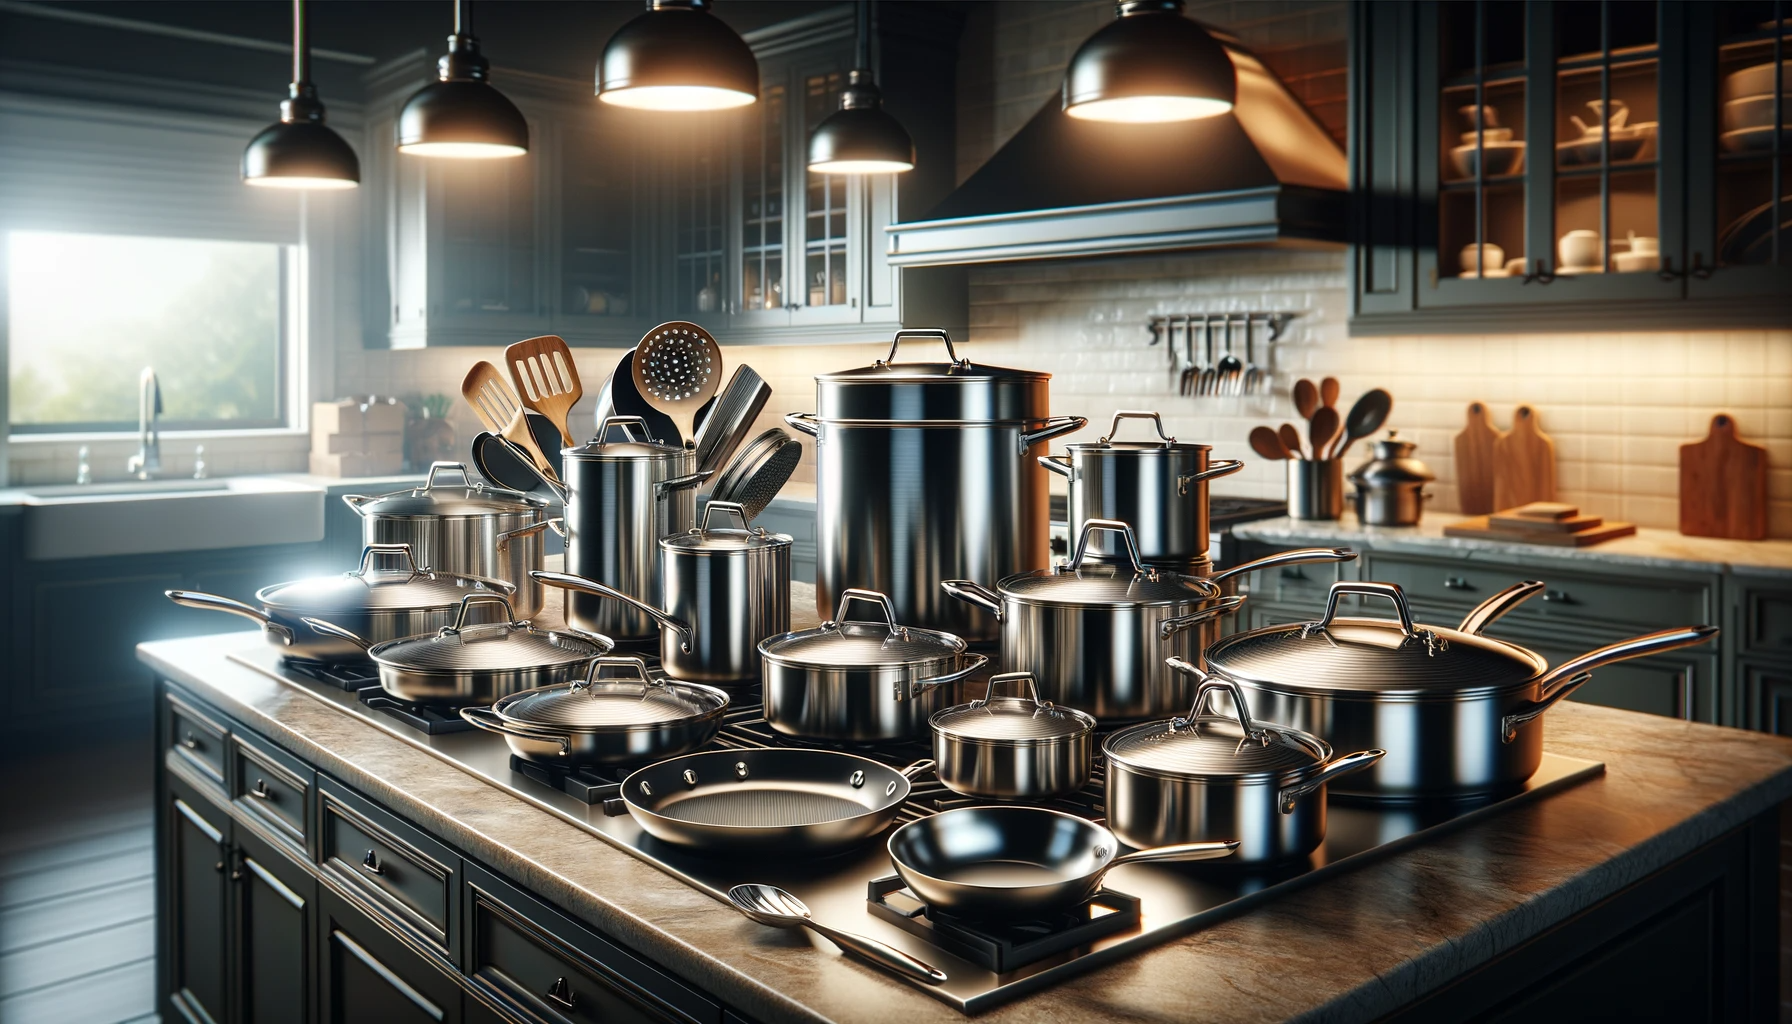
Choosing the Right Stainless Steel Pans
Not all stainless steel cookware is equal, so it helps to understand what to look for when making your buying decision.
The gauge and overall construction are good indications of performance and durability.
Heavier-gauge stainless steel is superior for providing even heat distribution without hot spots.
It resists warping from frequent high heat cooking.
Commercial cookware tends to use the heaviest 18/10 stainless steel.
Pay attention to the composition of steel used in the cookware construction.
18/10 and 18/8 stainless steel both contain chromium and nickel, but 18/10 contains more nickel and is more corrosion resistant.
5-ply or 7-ply pans have aluminum or copper cores between layers of stainless steel, which improves conductivity.
The core material affects the pan’s ability to control and spread heat. The core material used depends on cooking needs.
Aluminum cores are affordable, responsive, and heat quickly – ideal for high-heat searing.
Copper cores are the best conductors for precise cooking, but more expensive.
Encapsulated bottoms improve heat distribution in less expensive stainless steel.
When choosing stainless steel cookware, consider handles that are cool-to-touch for comfortable grasping.
Other helpful features include measurement markings etched inside the pans and tight-fitting tempered glass lids to lock in heat and moisture.
Vented lids also allow steam to escape when needed.
Seasoning and Caring for Stainless Steel
Before cooking in new stainless steel pans for the first time, proper seasoning helps prevent food from sticking.
Wash pans in hot, soapy water first, rinse thoroughly, and dry completely.
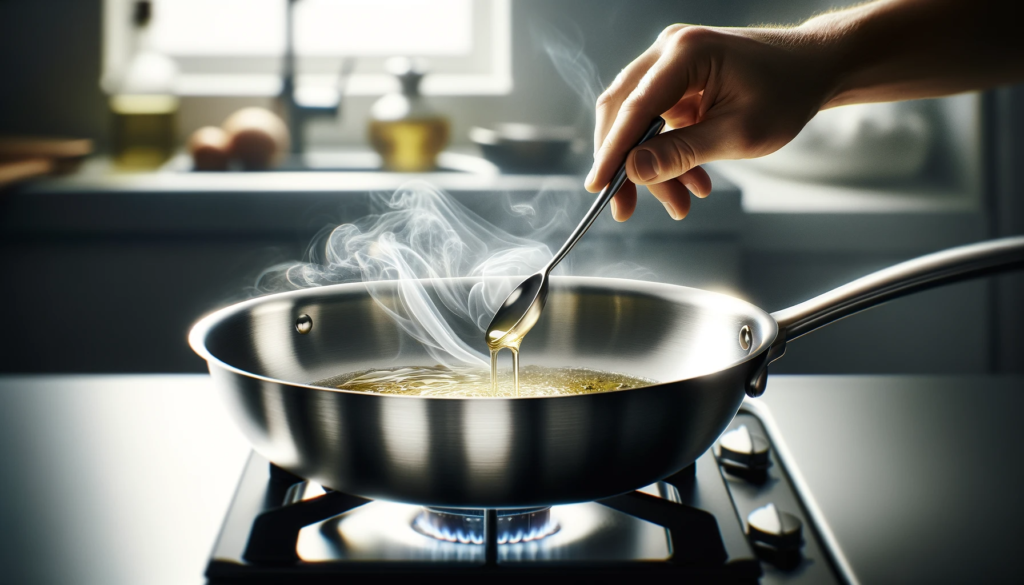
Then apply a small amount of high-smoke point oil or melted solid vegetable shortening over all interior surfaces.
Heat the oiled pan on the stovetop for 5-10 minutes until smoking lightly.
Turn off heat and allow pan to cool fully before wiping away excess oil with a soft cloth or paper towel.
The pan’s surface will keep a microscopic layer to facilitate nonstick cooking going forward.
Repeat seasoning if pans develop sticky residues after cooking.
Always preheat stainless steel pans at low or medium heat before adding oil or food.
Allow them to heat gradually – sudden temperature changes can lead to warping.
Use oil or cooking fat consistently to prevent proteins and starches in food from sticking to the pan’s surface during cooking.
Overheating without oil causes stubborn stains.
Understand the difference between surface stains and warping in stainless steel cookware.
Brownish oxidation stains or heat discoloration are unsightly but do not affect performance.
Prevent stains by cleaning after cooking.
Warping from extreme high heat exposure does affect pan stability.
Check if pan bottoms rest evenly.
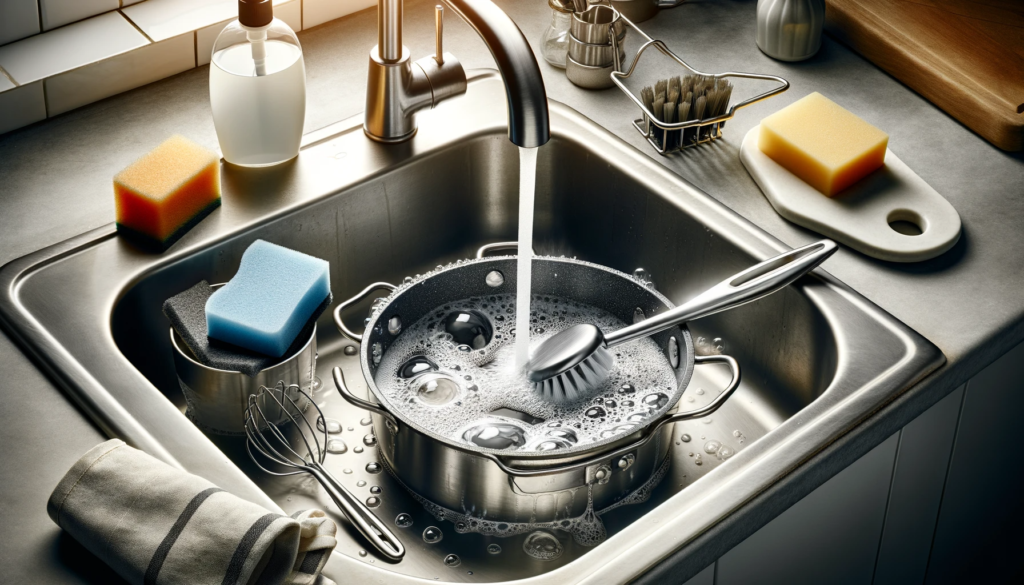
Be sure to clean stainless steel cookware using non-abrasive tools.
Soft sponges, bristle brushes, or plastic scrapers will safely remove residues without damaging the cooking surface over time.
Always rinse and dry thoroughly after cleaning to prevent water spots.
Avoid harsh chemical cleaners which can break down stainless steel’s protective layer.
When needed, dissolve oxalic acid-based cleansers per package instructions to restore exterior shine.
Signs of damage include tiny pits and scratches on cooking surfaces which signal roughness causing food to stick.
Cooking Tips and Tricks
Cooking with stainless steel pans differs from cooking with traditional nonstick pans.
Stainless steel requires unique techniques to prevent scorching and sticking issues.
It retains heat wonderfully, so optimal cooking happens at medium or even low temperatures as food keeps cooking after removing pans from the burner.
Always preheat stainless steel pans for 2-3 minutes at low or medium stovetop heat settings.
Skipping this step leads to uneven cooking and sticking.
Thinner pans generally require lower preheats than heavy cookware.
Avoid high heat preheating which causes warping and hot spots.
The best cooking temperature range for stainless steel spans low to medium settings.
Contrary to high heat with nonstick pans, stainless steel’s heat efficiency allows proper searing and browning at lower temperatures.
Foods continue to cook off direct heat.
High heat is really only needed for boiling water.
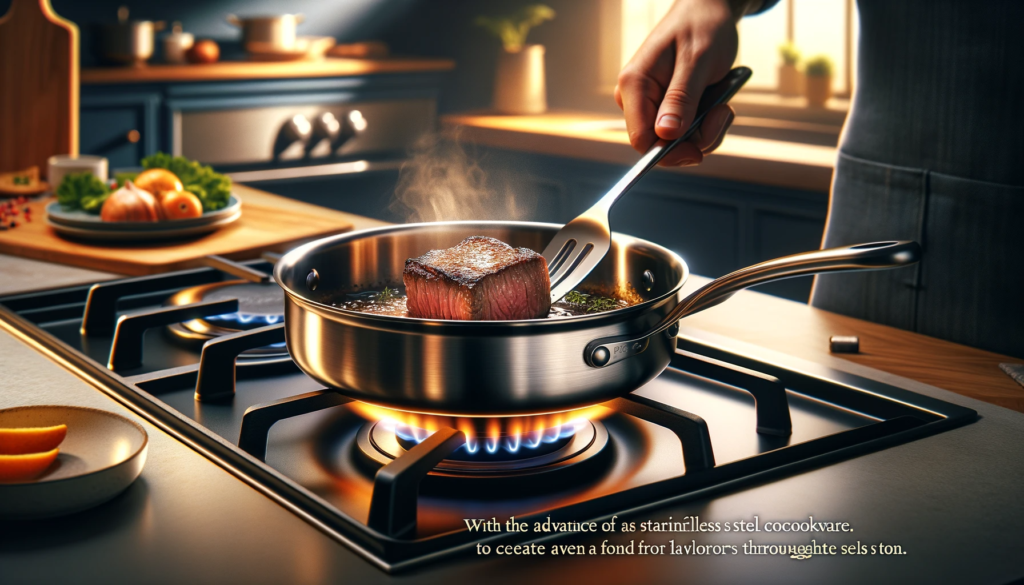
Ensure meats and other items develop fond by properly searing in the pan before attempting to turn or move them.
Fond is the delicious browned bits sticking to pan bottoms.
It adds incredible depth of flavor when deglazed.
Avoid stirring or turning too soon while searing or food scrapes off instead of properly crisping.
Making flavorful pan sauces is easy with stainless steel.
After removing cooked protein from the pan, add a few tablespoons of wine, broth, vinegar or juice and bring to a simmer while scraping fond from the pan bottom.
Reduce to desired sauce consistency and season.
Use wooden, silicone or plastic utensils to prevent scratching stainless steel cookware surfaces, which can diminish appearance and performance over time.
Metal utensils are fine for hard anodized aluminum cookware, but not stainless steel which is softer and prone to scratching.
Common Problems and Solutions
Sticking or burning food represents the most frustrating issue people encounter when cooking with stainless steel, but these problems have easy solutions.
Ensure pans are fully preheated at appropriate temperatures before adding oil and ingredients.
Let food properly sear and release from pan bottoms before attempting to turn or remove.
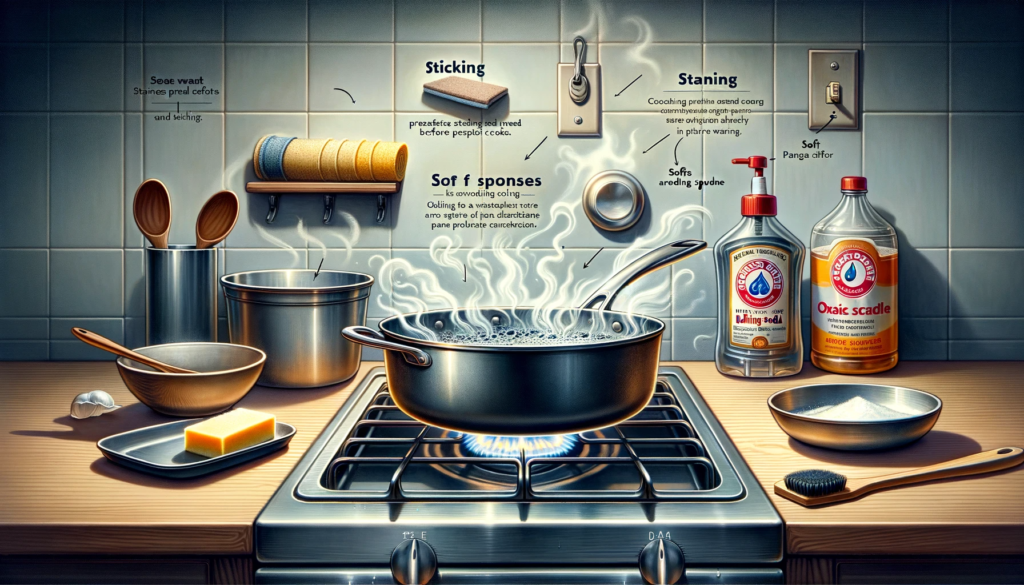
If scorching occurs, immediately remove the pan from heat and carefully soak in warm water mixed with baking soda or a mild dish detergent until residue softens for easier removal.
Avoid using steel wool or harsh scouring pads which scratch surfaces.
Soft sponges work well.
Always recondition with oil afterward.
While stainless steel itself does not rust, red or brown oxidation stains might appear from wet storage, excessive simmering sauces, or washing with hard water.
Remove staining using oxalic acid-based metal cleansers per package instructions.
More stubborn spots respond well to very fine 220+ grit wet sandpaper.
Avoid metal markings which happen when smooth stainless surfaces make contact with other metal pots, lids, utensils or oven racks during cooking or storage.
Adhesive shelf liners provide protection.
Remove minor metal markings gently with a plastic pan scraper or soft eraser.
The bottom and sides of stainless pans can warp from sudden extreme temperature changes or scorching food repeatedly at very high heats.
Warping causes annoying wobbling on the stovetop.
Confirm pan bases sit evenly on flat surfaces.
Repeated annealing might help pressed pans, but costly for multi-ply.
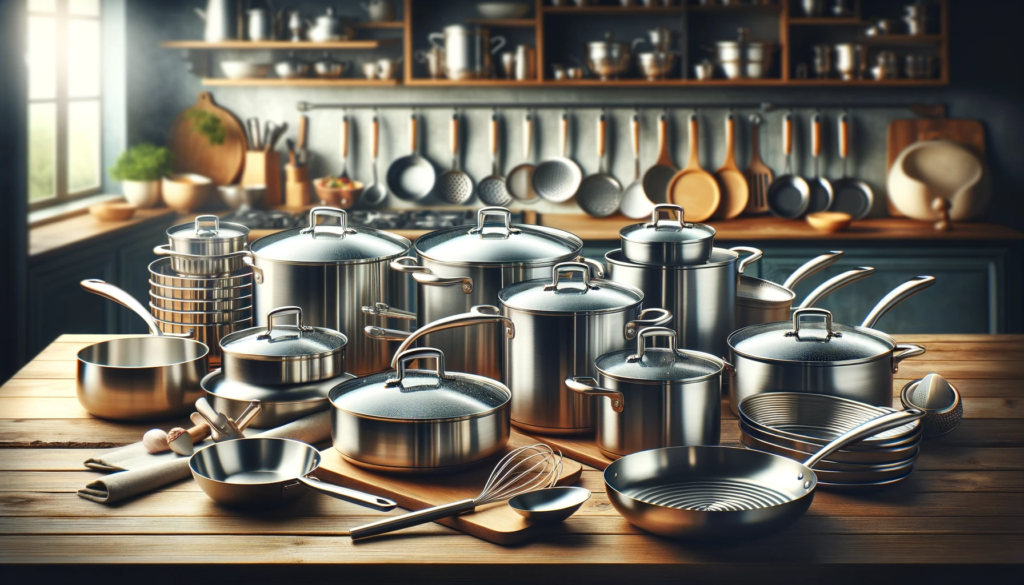
Conclusion
Cooking with stainless steel cookware requires some adjustments from traditional nonstick pans, but mastering proper seasoning, heating techniques, and maintenance leads to a lifetime of delicious and healthy meals.
Follow this comprehensive guidance to troubleshoot any sticking or burning issues.
Investing some extra care while prepping and cooking with stainless steel pans brings excellent returns – from impressive sear marks to fond for flavorful pan sauces.