Do your stainless steel pots and pans look grimy and lackluster no matter how much you scrub?
Learning the proper cleaning method keeps stainless steel cookware looking impeccably shiny for the long haul.
Let’s dive into the key steps for how to clean stainless steel cookware…
How to Clean Stainless Steel Cookware
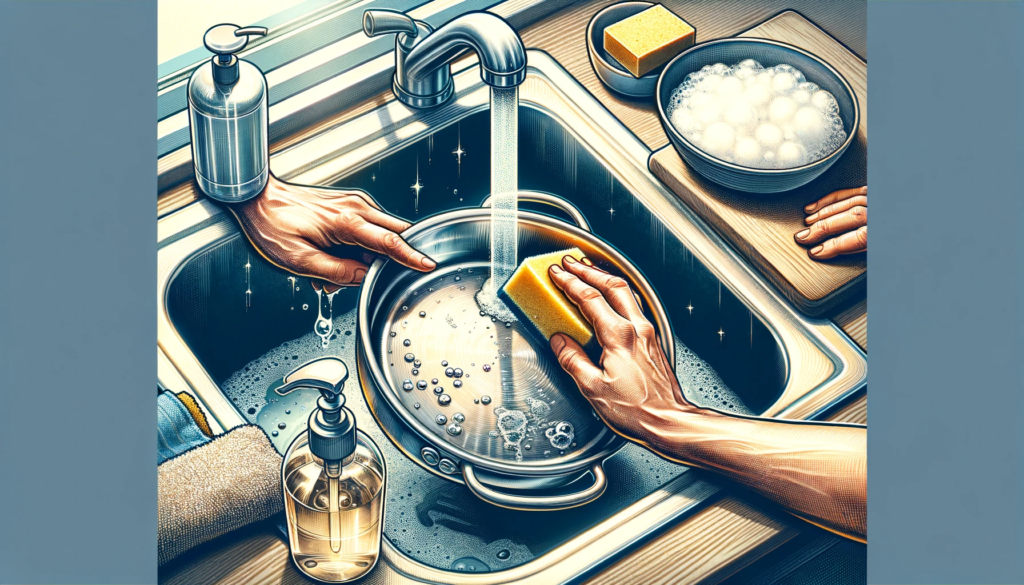
To clean stainless steel pots and pans, fill your sink with hot, soapy water and allow cookware to soak for at least 10 minutes.
Use a soft sponge or cloth to gently scrub the inside and outside to remove any stuck-on food or residue.
Pay special attention to engraved areas.
Rinse cookware thoroughly and be sure to completely dry with a soft towel to prevent water spots.
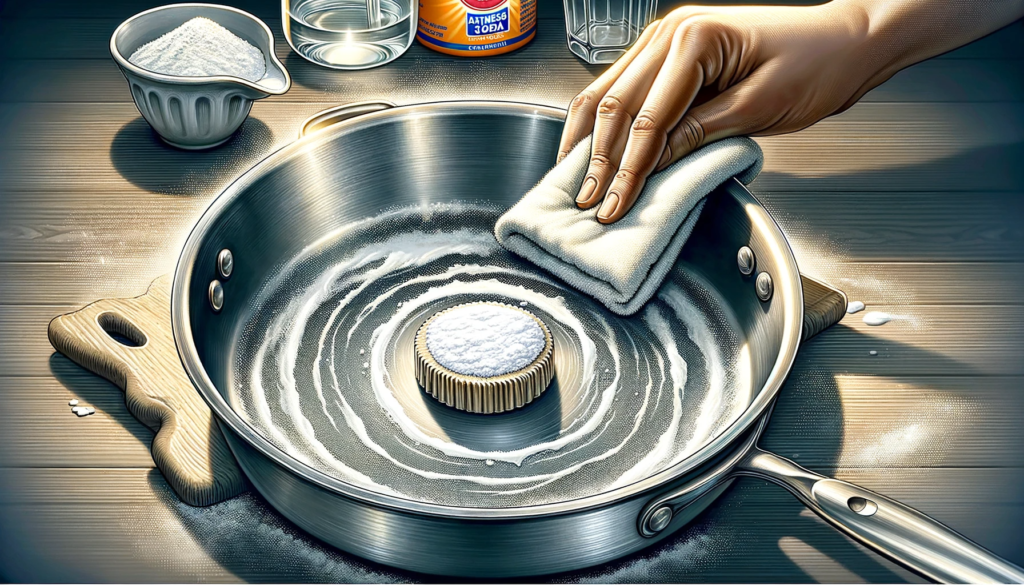
For tough stains or discoloration, make a paste with baking soda and water.
Apply to affected areas and let sit before scrubbing and rinsing.
Vinegar can also help remove mineral deposits.
To know deeper on how to properly clean a stainless steel cookware and keeping your stainless steel cookware looking shiny and new, here are the steps that will help you do just that.
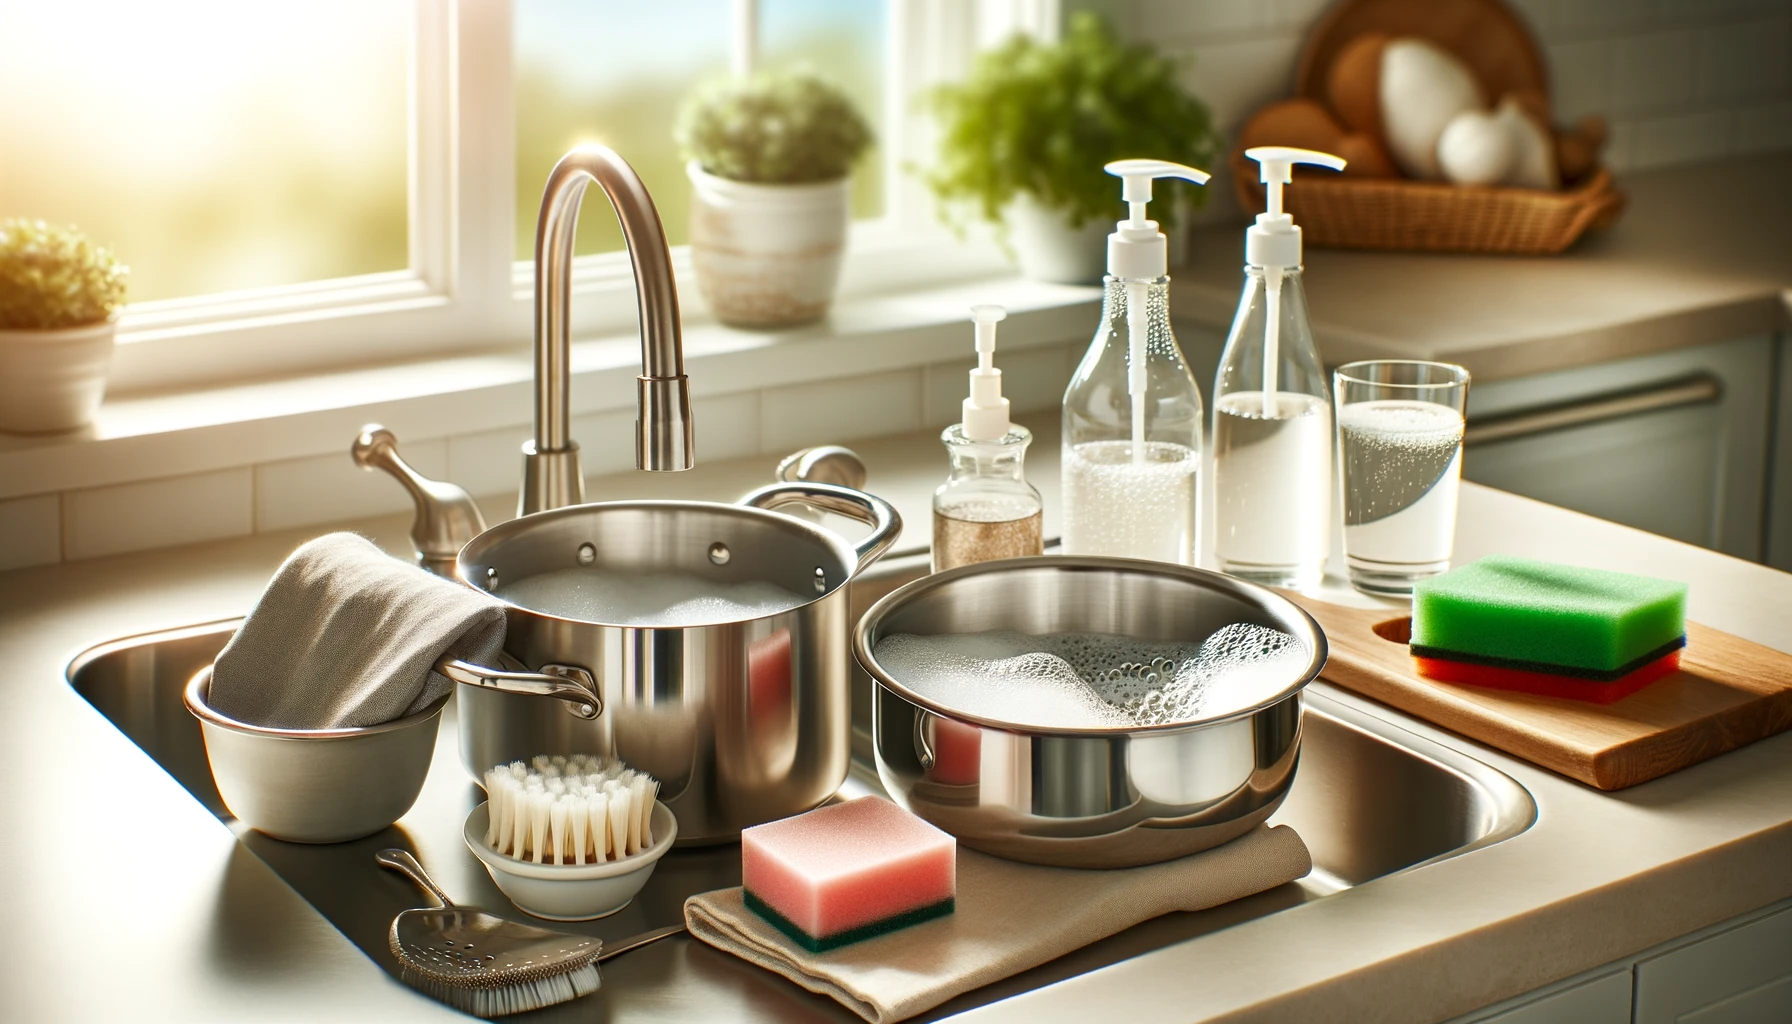
1. Gather the Supplies You Will Need
Cleaning stainless steel cookware properly requires having the right supplies on hand before getting started.
This will make the entire process easier, more effective and ensure your pots and pans come out looking shiny and new.
There are several key ingredients and tools you will want to gather together.
You will need some form of soap for breaking up oily, greasy messes while gently removing any leftover food particles at the same time.
A mild dish detergent or dish soap works perfectly for this task.
Opt for a formula that is not too harsh and specifically intended for hand washing dishes, cookware and other kitchen items prone to attracting a lot of built-up grime.
If you do not have a specialty hand dish detergent available, even typical dish soap will get the job done.
Another useful cleaning supply is baking soda, which works well for scrubbing off tougher stains or discoloration due to mineral deposits that can occur on stainless steel over time and repeated cooking.
Baking soda has a gritty yet fine texture that lets it buff away dullness or staining without risking scratches.
Mix baking soda with a bit of water to form a thick paste for really going after stuck-on gunk in hard-to-reach spots.
Vinegar can also help dissolve some stubborn grime and residue due to its highly acidic properties.
Fill extremely dirty pots with a water and vinegar solution for the vinegar acids to work at loosening up really persistent deposits that other cleaning attempts may have missed.
White distilled vinegar works best as it has the highest level of acidity, which means more cleaning power.
For actually scrubbing and wiping away all those food bits, grease and other messes from your cookware itself, you will need the right scrubbing accessories.
Soft sponges, microfiber cloths and soft-bristle scrub brushes are perfect choices.
They allow you to apply some gentle elbow grease without posing any risk of scratching the stainless steel finish.
Hard scrub brushes or abrasive pads are a no-no, however.
Lastly, water is a hugely vital component.
Hot or warm, soapy water is key for loosening stuck-on food residue to the point where you can wipe it away.
Simply thoroughly rinsing your cookware under running water ensures you get rid of all soap and cleaning product residue after the scrubbing is complete.
Water is involved in nearly every stage of stainless steel cookware cleaning.
Having all these cleaning solutions and accessories close at hand means you are fully prepped and ready to thoroughly clean any stainless steel cookware and have it looking like new again in no time at all.
Setting yourself up with the proper gear makes this process so much smoother from start to finish.
2.Quickly Clean Off Any Remaining Food Debris
Before tackling staining, dullness or scrubbing off really stubborn cooked-on messes that have accumulated over time on your well-used pots and pans, tackle any visible food remnants from recent use first.
Taking care of fresh food debris quickly makes cleaning much easier compared to letting it sit there and bake on permanently.
The most important first step is allowing the cookware to cool completely after its recent use before attempting to handle or clean it.
As we all know, stainless steel conducts heat efficiently and pots right out of boiling water or off a hot stove burner stay dangerously hot to the touch for quite some time.
Plunging steaming hot pans into a sink full of cold water can also lead to warping and distortion due to sudden temperature changes weakening the stainless steel.
Let pans rest undisturbed on the countertop or stovetop until fully cooled to room temperature before attempting to scrub in the sink.
Once cooled to a safe temperature for handling, tackle leftover bits of food, oil splatter residue and similar debris by hand washing the interior, as well as wiping down exterior surfaces to remove anything stuck to the outside.
Use a soft dish sponge pre-moistened with warm water to gently yet thoroughly scrub away any visible remnants before they have a chance to completely dry out and congeal on there for good.
Pay special attention to engraved brand stamps and logos that always seem to collect and cling to food bits after cooking up messy sautés, sauces or stir-fries.
Getting in all the tight corners and crevices ensures you leave no leftover debris behind at this stage.
In cases where recent spillovers or splatters have already hardened up and baked onto the stainless steel surface for too long, making them a struggle to swipe off even with a sponge and elbow grease, fill up pans and pots with warm, mildly soapy water first.
Allow them to soak anywhere from 30 minutes to a few hours so those stubborn food residues soften up and once again become easy to simply wipe away.
Leaving pans to soak in hot, soapy water is hugely effective for loosening up messes before scrubbing and makes the cleaning chore far easier as a result.
3. Deep Clean with Dish Soap and a Good Scrub
While taking care of fresh food debris right away is important, over time stainless steel cookware will inevitably accumulate some dirt and dinginess requiring more of an intensive wash to restore theirlike-new shine and cleanliness.
That is when it is time to thoroughly hand scrub with dish soap and water.
Cleaning stainless steel pots and pans by hand may require more physical effort than simply popping them in the dishwasher, but it actually gives superior results in keeping your cookware looking pristine.
Plus, harsh dishwasher cycles can lead to stainless steel coming out looking dulled and with a rainbow patina over frequent washings.
Doing things the old-fashioned way preserves that factory shine.
Fill your sink basin halfway with hot water, then add several good squirts of whatever dish liquid or detergent you have on hand.
Liquid dish soap specifically formulated for hand washing dishes is ideal, but typical dish soap works perfectly fine too.
Swish the water around to form bubbles and foam.
Avoid going overboard on the soap – too many suds left clinging to your cookware’s surfaces can interfere with future cooking attempts by altering flavors of your culinary creations.
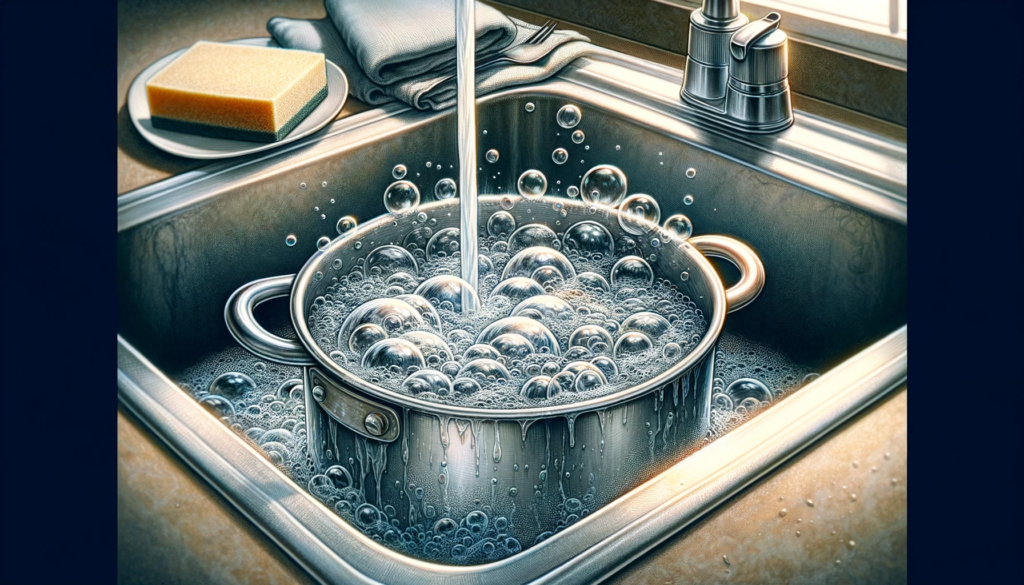
With soapy water ready to go, totally submerge whatever grimy stainless steel pots, pans or lids you intend to restore into the sink to soak for at least 10 minutes first.
This soaking time allows that hot, soapy mixture to really seep into and break apart any oil, grease or bits of stuck-residue that routine post-cooking wipe downs may have still left clinging behind.
Longer soaking times up to a few hours are even better for defeating extra stubborn cooked-on messes.
But even joints that do not seem too dirty benefit from a brief soak in hot, sudsy water now and then as preventative care.
After adequate soak time, it is scrubbing time! Use a soft dish sponge or cloth along with a mild scrub brush for tackling insides to gently yet thoroughly remove any remaining debris or stains built up on your stainless steel surfaces over repeated cooking sessions and quick wipe downs.
Take special care addressing engraved logos, numbers and phantom brand stamps using a toothbrush style scrubber to lift grime from their crevices.
Focus extra attention on the undersides of handles and any joined spots where grease and food bits tend to really cling and escape swiping.
Let the dish soap solution provide chemical cleaning power while your scrubbing power puts in physical cleaning work.
When everything appears freshly cleaned with no visible soil remaining anywhere on your sparkling cookware, thoroughly rinse every piece with cool, running water to completely flush away all soap residue.
This prevents streaking or buildup over time plus eliminates any metallic or chemical tastes dish soap could lend to upcoming recipes.
Allow newly scrubbed stainless steel items to air dry rather than towel drying to prevent possible scratching or water spots marring those freshly cleaned, glistening metal finishes.
4. Conquer Discoloration and Tough Stains

Sometimes even thorough, regular hand washings leave behind stained or discolored spots on well-used pots and pans constructed from stainless steel, especially engraved and indented sections prone to clinging to oil and debris.
Luckily, you likely have everything needed to tackle these annoying blemishes in your pantry already, including common baking soda paired with water to form a stain-banishing paste.
These stained spots and areas of discoloration generally occur due to small amounts of food caramelizing on the metal during cooking then further drying out and essentially baking onto the surface at high heats over and over again through repeated use.
These darkened residues gradually build up in layers over time with continued cooking and quick washings that simply cannot scrub deep enough through the accumulated crud.
Baking soda serves as a mildly abrasive yet effective scrubbing agent for removing these stained layers without posing any risk of scratching delicate stainless steel finishes.
Simply stir together equivalent portions of baking soda with water until it forms a toothpaste like consistency then use a soft sponge or towel to gently yet thoroughly massage this fizzy paste all over any darkened, grimy areas on both the inside and outside surfaces of your cookware.
Focus especially on indented logos and hard-to-access grooves that can really harbor major staining over the long run.
Let the baking soda paste dwell for at least five minutes atop tough stains so it has time to bubble away at the discoloration but can be left even longer for extra stubborn, dark spots.
After adequate dwell time, utilize a dish sponge combined with warm water to scrub away the paste residue while rinsing everything squeaky clean once more.
Check to ensure stains have lifted then repeat this baking soda treatment as often as required to restore stained stainless steel bits back to like-new brightness again.
In addition to baked on food residue contributing to stainless steel discoloration, mineral content in water used for boiling, blanching or steaming over time can also etch pots and pans then display as blemishes needing removal too.
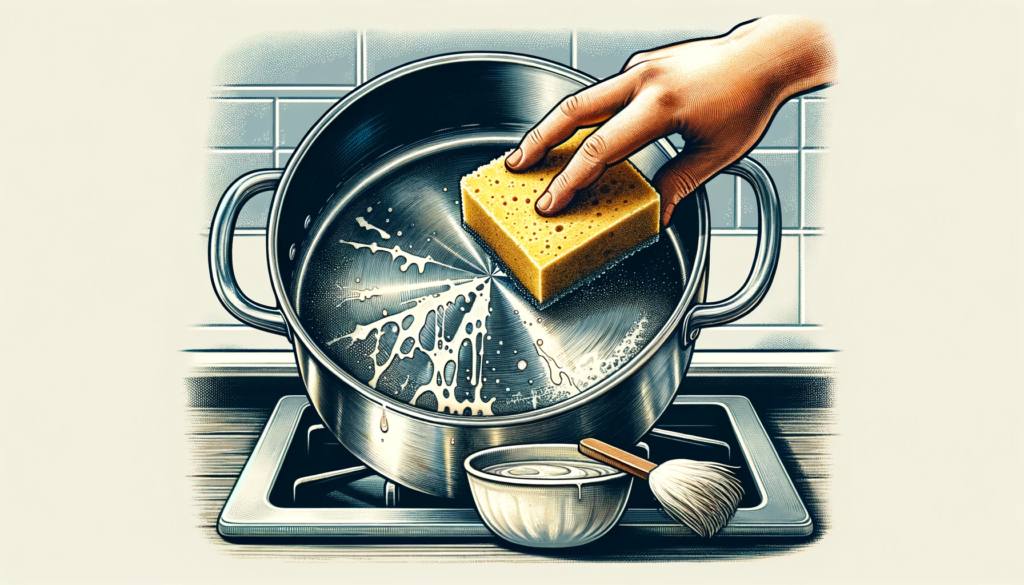
For tackling mineral deposits or hard water staining in particular, heat together a water and vinegar solution right inside affected pans to dissolve and lift this type of grime easily.
Simply fill halfway with warm water then mix in equal parts vinegar to achieve acidic penetrating and cleaning power from the vinegar content.
Leave this vinegar water combination inside cruddy pots to boil gently for five to ten minutes tops for the acetic acid in vinegar to break apart mineralization and other water related stains efficiently.
Use caution not to boil dry, then carefully discard the solution beforescrubbing as usual to remove any last vestiges of lingering gunk.
A final thorough rinse eradicates vinegar odor so foods absorb no off putting pickled taste either.
Doing this restores lackluster stainless steel’s gorgeous sheen beautifully.
5. Clean the Bottom of Pots and Pans

The bottom exterior surface of stainless steel pots and pans takes a beating from direct contact with the burner flames or heating element.
This high heat exposure causes stubborn stains and discoloration to accumulate over time.
Use a soft sponge or cloth dipped in warm, soapy water to gently yet thoroughly scrub the entire bottom surface.
Make a paste with 3 parts baking soda and 1 part water and apply to extra grimy areas.
Let sit 5 minutes before scrubbing again and rinsing clean.
For severe stains, boil water and diluted white vinegar, then scrub with baking soda paste.
Rinse and dry completely.
6. Do Post Cleaning Care
After exerting all that cleaning effort removing stuck on food debris, stains and mineral buildup from well used stainless steel pots and pans, putting in a little extra care while drying and storing them afterwards keeps your cookware looking spiffy moving forward too.
Failing to take a couple simple precautions now could necessitate re-cleaning everything again sooner than would be ideal.
Before stowing away clean, sparkling pans in cabinets after washing up, take pains to thoroughly rinse away every hint of soap residue or cleaning paste clinging inside and out after scrubbing.
Leaving behind lingering soap film or solution traces risks interacting with foods during meal prep resulting in odd tastes or even stomach upset.
Doing a final rinse with clean, running water flushes it all away.
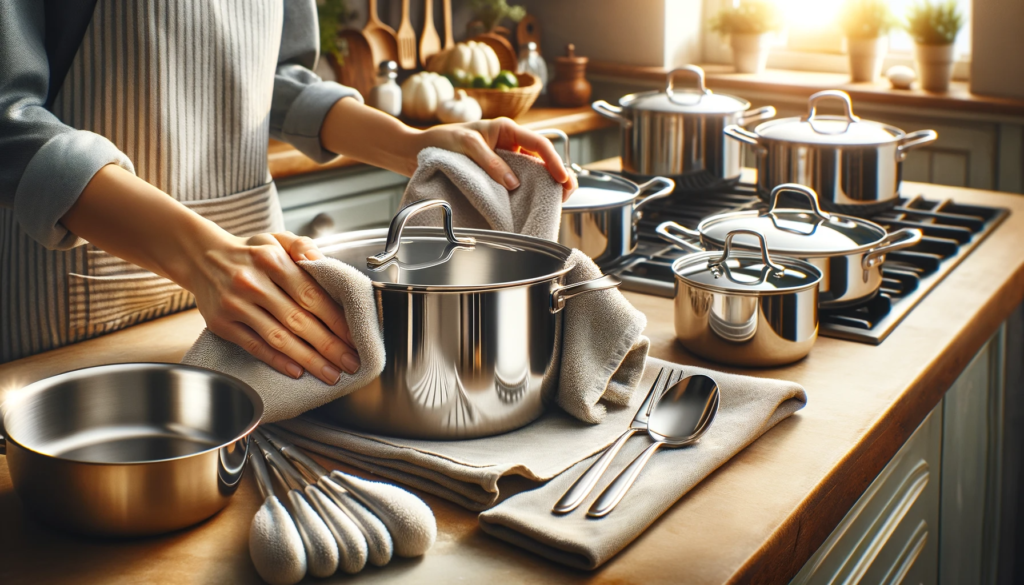
Additionally, extra care while drying freshly washed stainless steel cookware helps prevent ugly spotting or streaking damage to those awesome mirrored finishes brought out by intensive cleaning beforehand.
Rather than simply leaving wet things in a chaotic drain rack or layering things while still damp, carefully hand dry using only soft dish towels applying gentle pressure to lift away moisture without adding any fine scratches in the process.
Be sure to pay special attention drying crevices and crannies where hidden moisture likes to stubbornly linger then attract mineral residue accumulating yet again.
Allow nearly dry yet still faintly moist pans a good thirty minutes finish air drying too for an extra precaution before closing them up inside cabinets where ventilation is minimal.
Carefully drying and storing keeps cleaned stainless steel cookware looking fabulous much longer!
Conclusion
Properly caring for stainless steel cookware by promptly removing food debris after cooking then periodically deep cleaning with dish soap while addressing stains and discoloration ensures your pots and pans stay looking shiny and new for years of continued delicious meal making.
Following a thorough cleaning routine paired with careful rinsing and drying keeps stainless steel in tip-top shape both aesthetically and functionally.