Is all that stuck-on food driving you crazy when cleaning your stainless steel pans? What if you could easily get eggs to slide right off the surface?
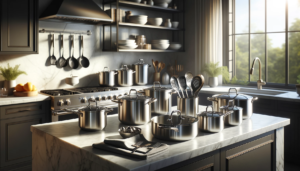
Seasoning stainless steel cookware can transform its cooking surface into a high-performing nonstick one that rivals cast iron for a fraction of the cost.
Let’s dive into everything you need to know about prepping, seasoning, caring for and troubleshooting stainless steel cookware to unlock superior nonstick properties.
Do You Need to Season Stainless Steel Cookware?
Stainless steel cookware does not need to be seasoned in the same way that cast iron or carbon steel pans do prior to use.
This is due to the fact that stainless steel contains chrome which makes the surface naturally corrosion resistant and nonstick.
When the metal is exposed to oxygen, a super-thin transparent layer of chrome oxide forms on the surface of the cookware.
This layer of chrome oxide is essential because it prevents food from interacting directly with the steel itself during the cooking process.
In addition, stainless steel does not react with or absorb food odors and flavors.
Its low porosity is the reason why seasoning is not required in order to create a nonstick cooking surface.
While pre-seasoning is not necessary for stainless steel pans, some cooks prefer to season their stainless steel cookware in order to enhance the nonstick properties even further beyond what is naturally provided from the chrome oxide layer.
Applying a lightweight coating of oil to the cookware and then heating it enables the oil to polymerize onto the surface which augments the natural nonstick quality already present.
The process of oiling and heating can be repeated multiple times to continue building up layers of polymerized oil over time, creating an extremely smooth cooking surface with superior food release capabilities.
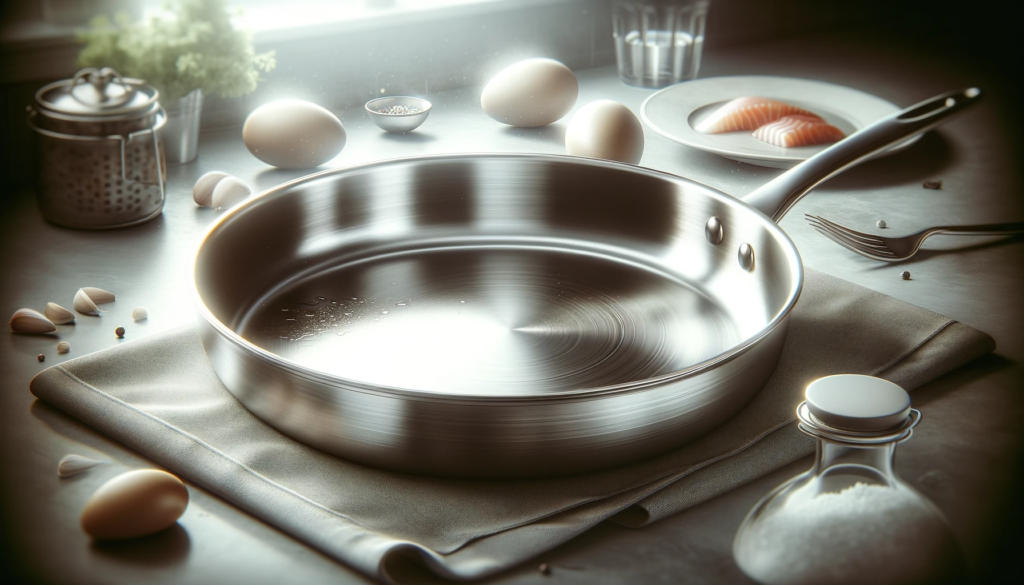
Pre-seasoned stainless steel may provide even better food release, especially when cooking delicate proteins like eggs or fish that tend to stick easily.
Seasoning also makes cleaning easier by preventing stubborn stuck-on food residues.
How to Season Stainless Steel Cookware
Seasoning stainless steel cookware is actually a simple process but it does take a little time and effort to do properly if you want the best results.
The basic method involves fully washing and drying the stainless steel cookware first, then gently heating it to open up the pores before applying a thin layer of oil across all surfaces.
The heating process enables the oil to penetrate into the microscopic pores of the steel itself so that a stable nonstick seasoning layer can develop.
1. Prepare the Cookware
Thoroughly washing and drying the stainless steel cookware is the essential first step that must be taken before attempting to season it.
It is critical to fully remove any food residues, oils, or protective coatings that may still be remaining on the surface of the cookware prior to seasoning.
Even small amounts of debris or oil residues can negatively impact results and cause uneven seasoning outcomes.
The best practice is to use regular dish soap and hot water to meticulously wash away any visible debris or residues.
For stubborn stuck-on debris and burnt oil spots, a stainless steel scrubbing pad can be gently used to remove them without damaging the surface.
However, abrasive scouring should be avoided to prevent scratching or damaging the cookware.
After thoroughly washing each piece of cookware, it is imperative that they are completely dried before the oiling process begins.
Any droplets of water remaining can cause splattering issues or prevent the oil from properly adhering during seasoning.
The best drying practice is to fully allow clean cookware to air dry for several hours before attempting to oil them.
However, if time is limited, a clean soft towel made from high quality linen or cotton can be used to diligently wipe down every surface and crevice until no moisture remains.
The cookware surfaces should be completely dry to the touch all over prior to oil application.
2. Choose an Oil
While technically any type of cooking oil can be used to season stainless steel pans, some oil varieties work significantly better than others for this purpose.
This is because certain oils – due to their chemical compositions – are able to polymerize exceptionally well onto steel surfaces when heated.
Polymerization enables oil molecules to link together in chains and bond tightly, resulting in a smooth, resilient nonstick coating.
The very best oils for stainless steel seasoning are those which have high smoke points and rapid polymerization capabilities.
Based on extensive testing and reviews from seasoned cookware experts, the following types of oils are superior choices for creating durable nonstick seasoning on stainless steel:
- Refined vegetable oil
- Neutral-tasting canola oil
- Stone-ground flaxseed oil
- Odorless grapeseed oil
- Rich, fruity avocado oil
In contrast, lower-quality oil options to avoid are olive oil and coconut oil.
The reason olive oil is not well-suited is its low smoke point and issues with rancidity that can develop over time.
Coconut oil has a tendency to leave behind a sticky, spotty seasoning layer instead of an evenly coated surface.
Technically, any cooking oil can be used for initial prep of stainless steel cookware, but those in the recommended list above will impart exceptional nonstick properties that enhance both cooking performance and ease of cleaning over the long-term.
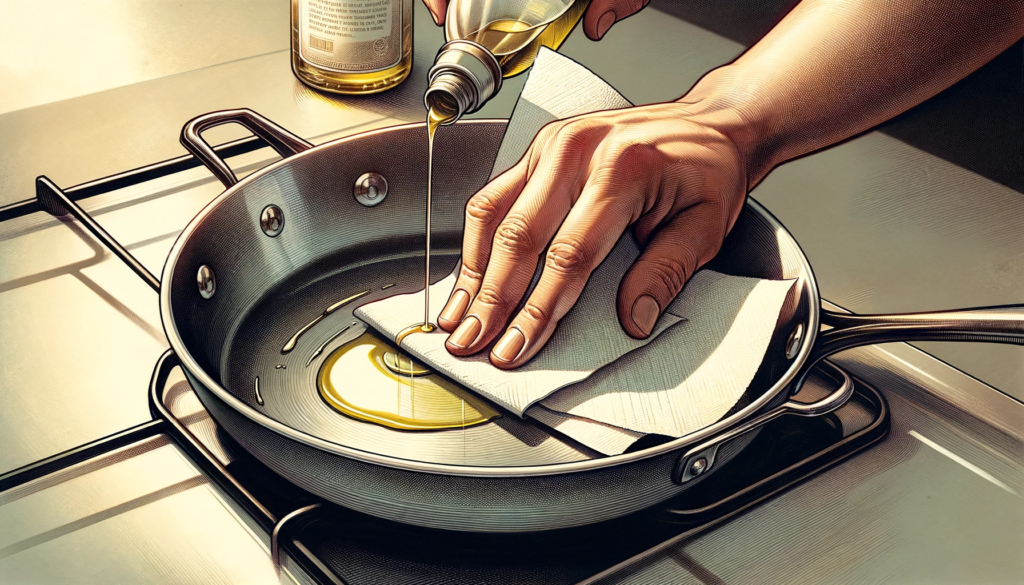
3. Apply the Oil
Once the ideal oil type has been selected, the next step is properly applying it to every surface of the stainless steel cookware.
Using a clean paper towel, soft cloth, or sponge brush, rub a very thin layer completely covering the entire interior cooking surface as well as the outer sides and bottom.
It is critical to coat evenly without leaving any thicker patches or oil drips.
The goal is maintaining a barely-visible oil layer that fully coats every inch of surface area.
If too much oil is applied, sticky residue and uneven cooking results can occur instead of a smooth polymerized coating.
Do not forget to oil handles, rivets, exterior walls, and any decorative lips or edges on the cookware as well.
The entire surface area will become nicely seasoned over time with proper oil applications.
Be thorough but conservative with oil usage, spend time evenly distributing just a thinly wiped layer.
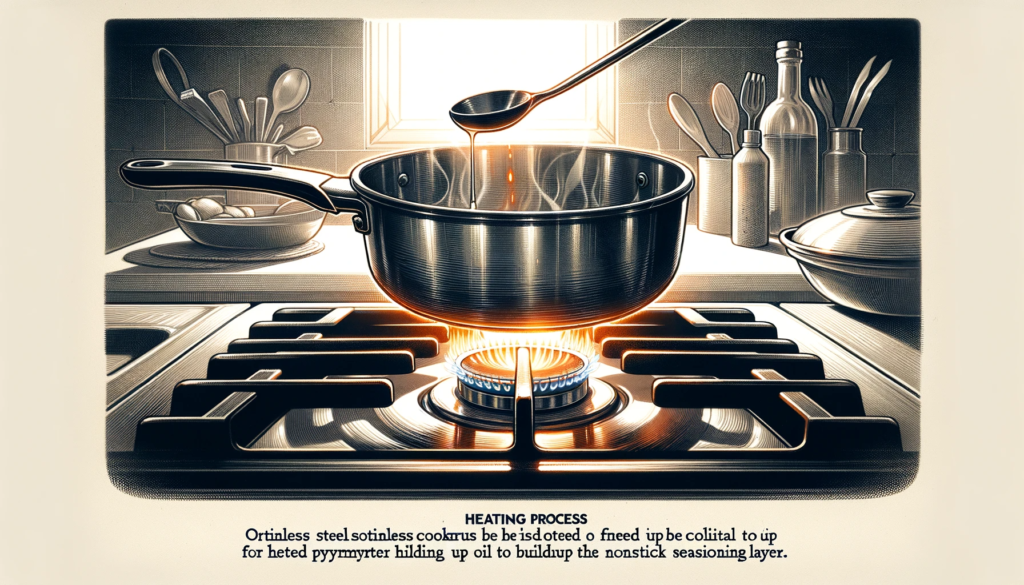
4. Heat the Oiled Cookware
After the entire surface area has been thoroughly coated with a thin, even layer of oil the preheating process can begin.
Place cookware upside down on a stovetop burner set to low-medium heat for 5 full minutes.
This gradual gentle heating allows the oil to start polymerizing without risk of burning, smoking, or splatter issues inside an upright pan.
With the cookware inverted, any excess oil can simply drip cleanly onto the burner below without creating a mess.
After the complete 5 minute duration, turn off the heat and allow the oiled cookware to cool down fully to room temperature.
This heating and cooling sequence should then be repeated between 2 to 3 more times to properly layer and build up the nonstick seasoning.
This process of controlled heating enables the oil to increasingly polymerize onto the microscopic steel pores each round, enhancing the natural nonstick properties significantly.
It is vital not to overheat stainless steel cookware while empty over high stovetop temperatures.
Doing so can compromise the temper of steel and result in dangerous warping or deterioration issues.
Slow graded heating on medium or below is essential to safety and proper oil seasoning procedures.
5. Maintain Seasoning Over Time
The more a pre-seasoned stainless steel pan gets used for cooking, the better its nonstick seasoning will continuously become.
This is because each additional round of stovetop cooking contributes more built-up layers of oil polymerization from fats and juices released from food.
So the seasoning improves automatically through repeated usage alone.
Over an extended period of months or years, a well-used stainless steel pan can develop a seasoning patina equal to or even exceeding that of cherished cast iron cookware.
To maintain nonstick seasoning over lengthy usage periods, strictly avoid abrasive scouring tools or harsh dish detergents when cleaning after cooking.
Soft sponges, warm soapy water, and gentle scrubbing are best to preserve seasoning.
If more aggressive stuck-on residue removal becomes necessary, Bon Ami or Barkeeper’s Friend cleansers can be safely used without stripping away existing seasoning when used as directed.
If the nonstick performance of a seasoned pan starts to decline noticeably overtime, simply wash thoroughly, dry completely, and repeat the oil application and controlled heating from initial seasoning prep work.
Often only one full re-seasoning treatment is adequate to restore the pan’s surfaces to like-new nonstick condition again.
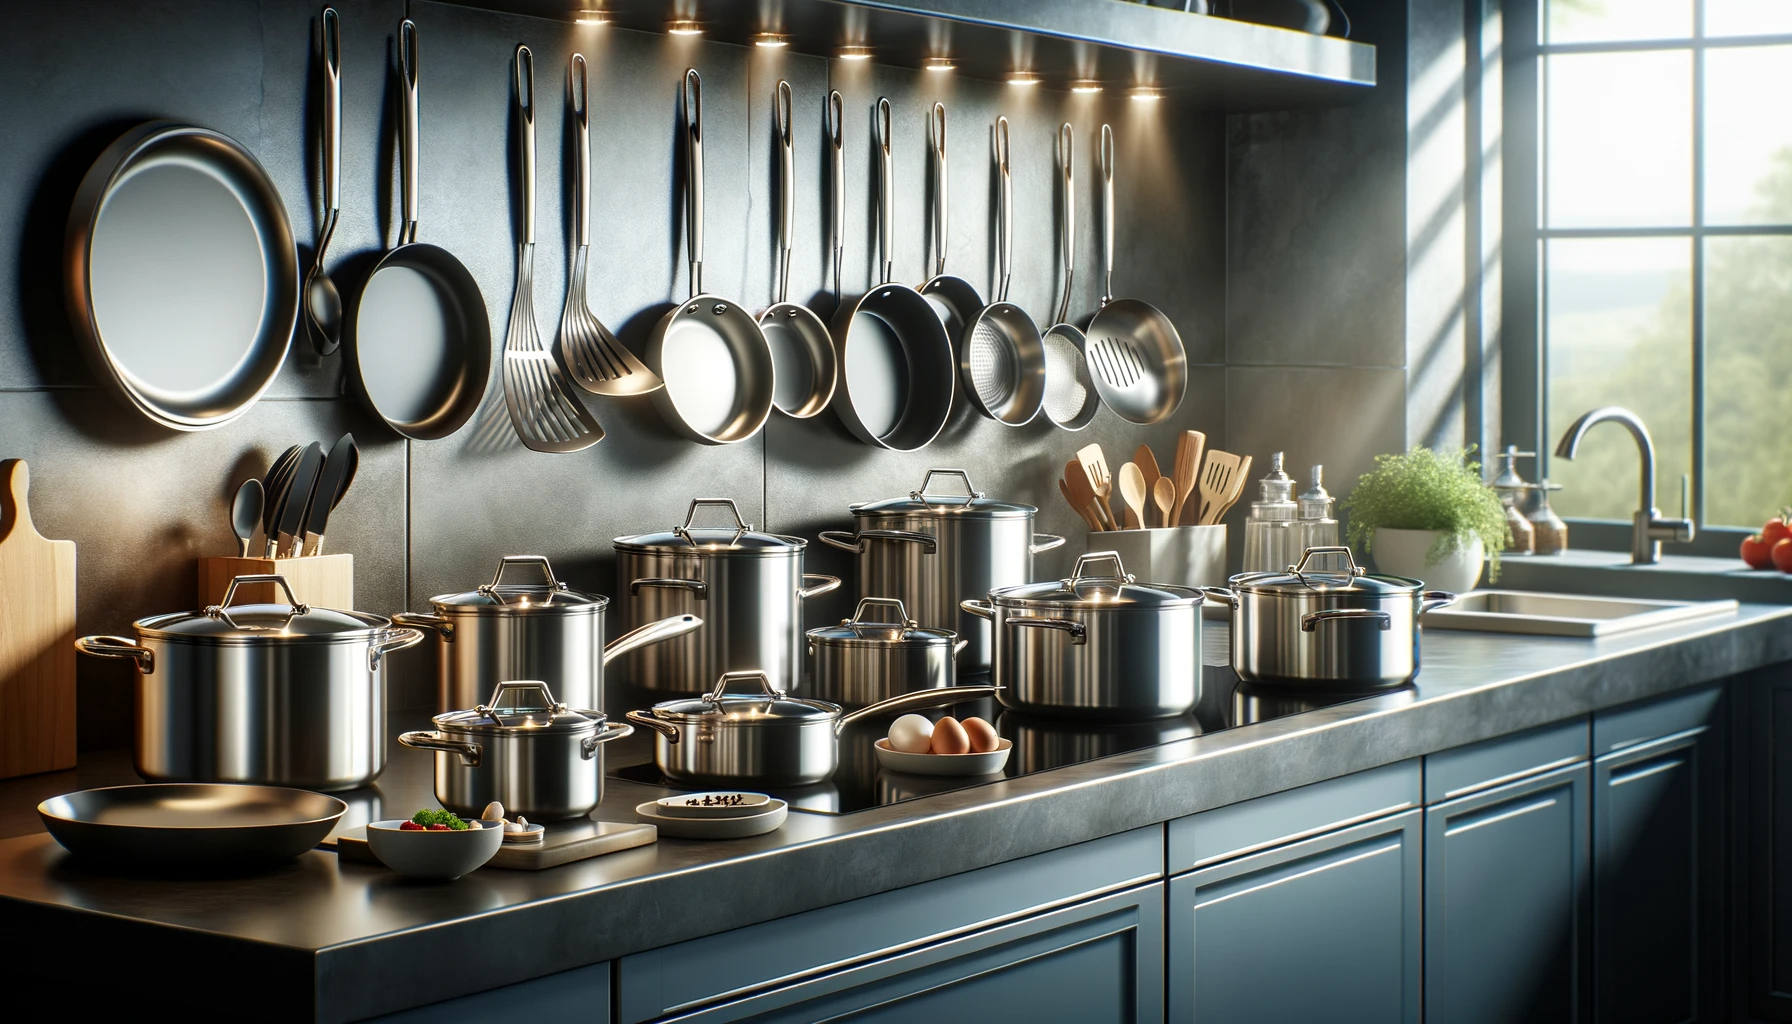
Caring for Seasoned Stainless Steel Cookware
Quality seasoned stainless steel cookware does require some specific care practices to prevent accidental damage or removal of the nonstick seasoning layers that build up gracefully over repeated usage.
Harsh scrubbing, scouring, or dishwashing can strip away weeks or months of carefully developed seasoning, so gentle hand washing methods are imperative.
Periodic re-oiling and touching up between deeper cleaning can help seasoned stainless steel retain its nonstick properties for years on end.
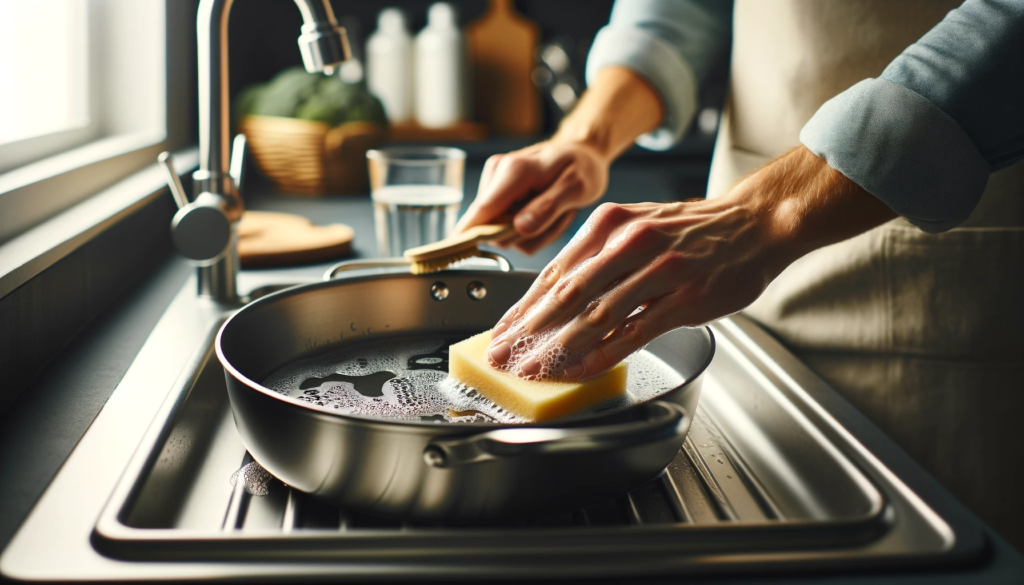
Hand Washing
It is considered best practice among professional cooks to gently hand wash seasoned stainless steel cookware using only mild dish soap, warm water, and soft sponges or cloths.
Rough abrasive scrubbing should always be avoided on surfaces containing nonstick seasoning, as this will rapidly degrade and wear away the oil polymerization layer that provides food release and easy cleaning.
After cooking, allow pans to fully cool before hand washing to prevent dangerous warping issues.
Use a soft premium sponge, microfiber cloth, or soft-bristle brush to gently remove any visible food debris or sauces coating the interior surface after cooking.
If residues appear heavily stuck-on after an initial gentle wipe down, allow cookware to soak briefly in warm soapy water to loosen the stubborn debris.
Then gently scrub again if needed to methodically wash away any lingering oils or sauces without damaging the seasoning.
Thorough drying immediately after washing is recommended before either storage or reuse occurs.
Dishwasher Detergents
While modern dishwasher detergents are formulated to be gentle on most cookware finishes, seasoned stainless steel should never be washed using automated dish washing methods.
The intensely hot water, high pressure spray, and strong detergents will damage protective seasoning over short order.
The heat and physical water pressure also promotes food residues stubbornly sticking into seasoning layers rather than gently washing away.
For longest lasting nonstick performance, hand washing is widely preferred by professional chefs to gently clean while preserving seasoning on prized stainless steel pans.
Storage & Handling
After cooking and cleaning, allow seasoned stainless steel pans to fully cool down prior to storage to eliminate condensation buildup.
Then lightly apply an ultra-thin rub of fresh oil over interior cooking surfaces before storage inversion or placement into cabinets.
This delicate re-oiling protects the nonstick patina from oxygen and humidity damage during sedentary periods.
Store cookware in a reliably dry, low-humidity space without extreme temperature fluctuations to prevent oil oxidation or moisture corrosion issues over lengthy storage.
In terms of suitable cooking utensils, metal spatulas, spoons and whisks will not damage or scratch seasoned steel surfaces during cooking.
However, harsh scraping or cutting foods directly in the cookware should be avoided to prevent scratching.
Sliding pans aggressively across stovetops or banging cookware can also gradually damage delicate seasoning layers over time, so care should be taken whenever handling prized seasoned cookware.
Re-Seasoning
While stainless steel seasoning can last for months or years with proper care, periodic re-application will become necessary whenever the nonstick performance starts to noticeably decline.
This can be indicated by foods sticking more than normal or water no longer beading on interior surfaces.
Any degree of sticking demonstrates gaps are forming in the polymerized layers, so refreshing is required to keep optimal nonstick function intact long-term.
To re-season seasoned stainless steel, first wash and dry fully as was done originally prior to initial oiling.
Then apply an ultra-thin uniform layer of new oil across all interior and exterior surfaces.
Repeat the heating and cooling process cycle from the original seasoning prep work, often only one round is needed to fully refresh the pan.
This gently re-melts the existing seasoning to fill any gaps developed through repeated cooking use.
After re-seasoning is complete, the pan will function like new again!
Key Tips for Seasoning Stainless Steel Cookware
By keeping these essential tips in mind, properly prepping, developing, and maintaining nonstick seasoning on stainless steel cookware can become second nature:
Prep Tips
Before seasoning, completely wash all cookware using hot water and mild detergent to remove oils, coatings, or debris from manufacturing, storage or previous cooking.
Gently scrub with non-abrasive tools if needed to fully degrease and clean surfaces.
After washing, let pans completely air dry for several hours or thoroughly wipe down every surface with clean soft towels to fully dry.
All moisture must evaporate before attempting to oil and season pans.
Oil Choice Tips
For best results, use only high smoke point, rapidly polymerizing food oils.
This includes vegetable, canola, grapeseed, avocado or specialty flaxseed oils.
Avoid thick oils like olive or coconut oil which can turn sticky.
Thin fast-drying oils develop harder seasoning layers.
Too much oil makes surfaces sticky and goopy instead of slick nonstick surfaces.
Apply oil in a sheer wiped-on layer covering every square inch of surface area thoroughly but thinly without drips or puddles.
Application Tips
Use soft towels or high-quality sponge brushes to apply oil, rubbing to distribute evenly without missing spots or letting excess pool.
Metal surfaces often need extra oil worked into microscopic pores.
Curved rims and slope transitions typically need extra attention as its easy to miss full coverage on these areas when oiling.
Visually inspect under light to confirm completely uniform sheer oiling before heating.
Heating Tips
Use medium-low stovetop heat only to gently preheat upside down cookware for 5 full minutes before cooling to polymerize oil.
Repeat 2 to 4 heating cycles to gradually build up layered durable patina.
High heat risks smoking, burning, warping, and oxidation damage so always keep temperatures moderate.
More cycles develop harder seasoning and better release over time.
Steady, gradual heating ensures oil properly penetrates and bonds for long lasting nonstick performance.
Cleaning Tips
Gently hand wash only using non-abrasive soft sponges and mild detergent to preserve seasoning between deeper re-seasoning treatments.
Avoid metal scrubs or harsh dishwasher chemicals that rapidly degrade oil polymerization.
Brief soaking loosens tough residues if gentle scrubbing fails on first wash attempt.
Immediately dry thoroughly after hand washing is complete to inhibit corrosion and water marks which can damage existing seasoning layers.
Storage Tips
Before storing, always re-apply a micro-thin oil layer and let fully dry to protect polymerization between uses.
Keep in a humidity controlled space if possible.
Avoid direct heat, steam, or extreme temperature swings through seasoning can degrade more rapidly without oil protection and dry stable conditions.
Periodically re-season to refresh coating after heavy kitchen use over time.
Conclusion
Properly seasoning and caring for stainless steel cookware may take some initial effort, but the long-term benefits of superior nonstick performance and easy cleaning are well worth it.
With the tips provided throughout this guide, you now have all the information needed to turn standard stainless steel into a slick, high-performing nonstick pan rivaling cast iron.
Next time you cook, consider taking just a little extra time to wash, dry, oil and season your stainless steel cookware to unlock its full potential.