Does your salmon filet glue itself to the pan every time? Are your lean chicken breasts suddenly fused to the metal surface no matter what you try? Sticking disasters don’t have to be part of stainless steel cooking.
With some basic seasoning, cooking adaptations and post-meal care, you can say goodbye to scrubbing stuck bits and instead enjoy easy clean results meal after meal.
Let’s dive into the key techniques for preventing food from adhering so you can reclaim non-stick abilities from your stainless steel cookware.
How to Prevent Food from Sticking in Stainless Steel Cookware?
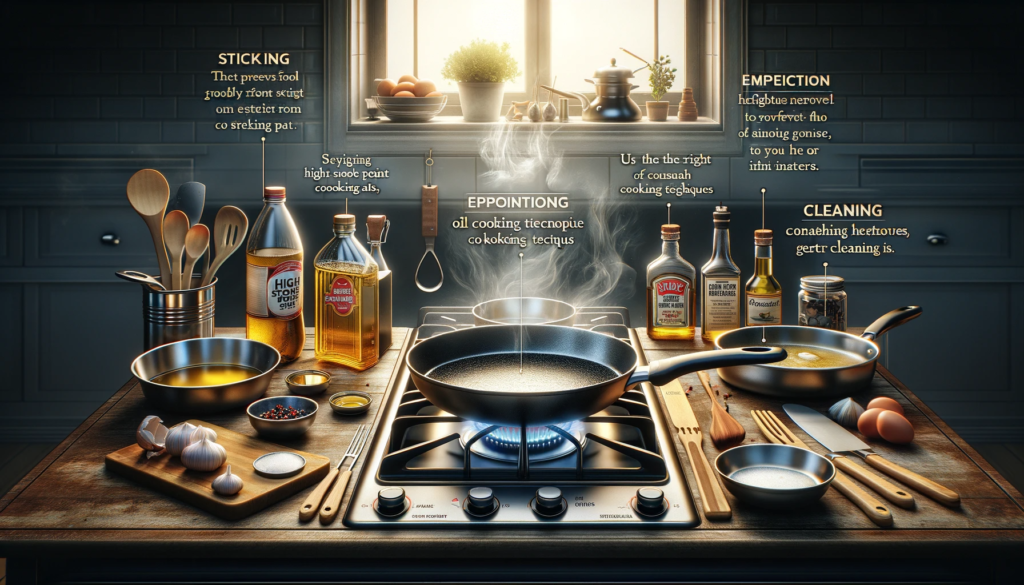
The key to preventing food from sticking in stainless steel cookware lies in proper seasoning, fat usage, cooking techniques, and cleaning methods.
Seasoning fills microscopic pores to create a nonstick barrier while cooking fats facilitate release.
Appropriate heat adjustments followed by steam or oven finishing avoids overcooking and adhesion.
Gentle yet thorough cleaning maintains seasons without damaging the pan.
Below we’ll explore these methods further for failproof nonstick stainless steel cooking.
Properly Season Your Pan
Stainless steel is often touted for its durability and ease of cleaning, but it can be quite sticky and prone to food adhesion if not properly seasoned first.
This is because stainless steel doesn’t have a naturally non-stick surface like cast iron or ceramic non-stick pans do.
When the stainless steel surface is brand new or freshly cleaned, it’s extremely smooth which allows food to cling easily and stick firmly.
Seasoning your stainless steel pan when new and periodically re-seasoning helps “rough up” the cooking surface with a thin layer of baked-on oil that fills in microscopic pores in the steel.
Food will have an easier time forming a fond, those flavorful brown bits, on a seasoned surface while also releasing from the pan easier after adequate browning.
A well-seasoned stainless steel pan rivals the non-stick ability of Teflon cookware with better searing qualities and depth of flavor in the food.
To properly season a new stainless steel pan, focus on creating a very thin coating of oil that can polymerize onto the steel surface.
Avoid using too much oil or using low-smoke point oils which can leave a sticky residue instead.
It is generally best to season over medium-low heat to avoid burning the oil into patches with pepper specks of seasoning rather than an even layer.
How to Season a Stainless Steel Pan
Start by washing your new stainless steel pan thoroughly with hot soapy water and a non-abrasive sponge or cloth.
Stainless steel is prone to coming from factories or manufacturing facilities with a waxy oily residue that can interfere with proper seasoning.
Dry the pan thoroughly after washing since any droplets of water on the surface while heating can cause uneven seasoning as well.
Use a towel to carefully dry the entire interior cooking surface.
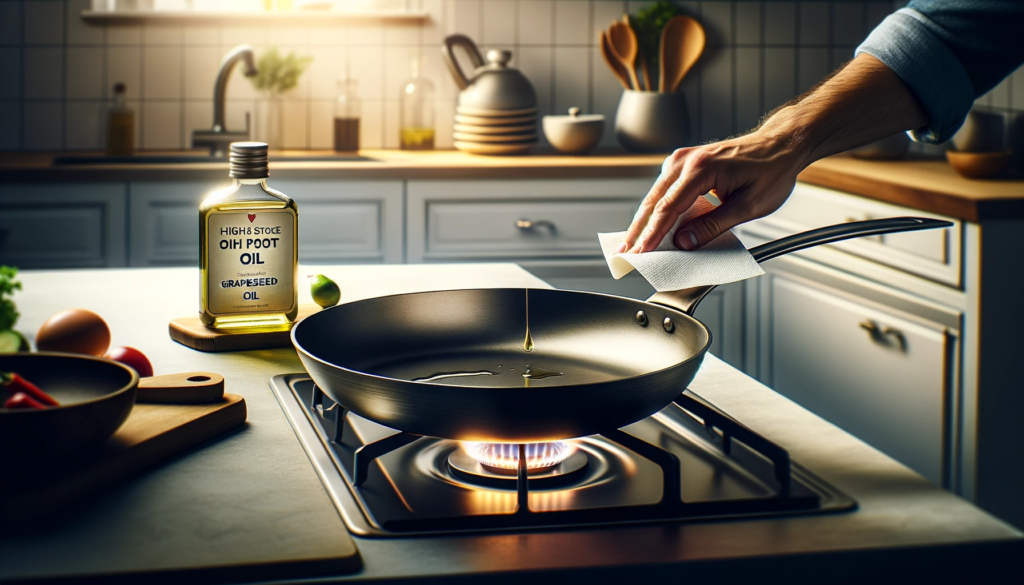
Once fully dry, pour in about a teaspoon of high smoke point neutral oil such as grapeseed or avocado oil.
Using a paper towel, massage a thin coating of oil over the entire cooking surface, sides, and handles.
Add more oil sparingly if needed but focus keeping the layer thin for even heating and polymerization.
Place the oiled pan upside down on the center rack of your oven set to 375°F.
Allow 10-15 minutes for the oil to lightly bake onto the surface watching carefully to avoid heavy smoking or burning.
If smoking occurs, remove immediately and allow to cool before reattempting with less oil and lower heat.
When properly seasoned, the cooking surface will develop a mottled brown appearance – this is the oil polymerized onto the stainless steel.
Avoid any thick or sticky residue.
Repeat the oiling and heating process if needed for an even application of seasoning but most pans only need one round.
Periodic Re-Seasoning
Periodic re-seasoning of your stainless steel pan every few months helps refresh the protective patina of oil allowing for continued slick release of foods.
Without re-seasoning, stainless steel has a tendency to lose its non-stick abilities from constant abrasive scraping or acidic ingredients slowly breaking down the oil over time.
You generally only need a round or two of re-seasoning to renew that slick surface rather than fully stripping and re-seasoning which should be reserved for times when nothing else releases stuck-on residue.
Harsher chemical or abrasive cleaners can also necessitate re-seasoning if they wear down the protective layer of oil too quickly.
The best rule of thumb for maintaining well-seasoned stainless steel cookware is gentle cleaning by hand, periodic re-oiling followed by heating upside down, and avoiding anything too abrasive whether in cleaning or cooking.
With a little care, your stainless steel will become beautifully slick, building flavorful fond from sautéed meats or vegetables while still allowing release after steaming, simmering or developing a pan sauce.
Non-stick cooking abilities and easy cleanup is achievable through seasoning.
Use the Right Cooking Techniques

Cooking techniques make all the difference when attempting to avoid stuck and burned on bits of food in stainless steel cookware.
Stainless steel conducts heat quickly but unevenly which can lead to hot spots and rapid cooking or searing in certain areas while others remain under-heated allowing food adhesion.
Using proper preheating methods, choosing appropriate stove top heat settings, moving foods at the right phase of cooking, and incorporating lidded steaming for finish cooking are all useful techniques for failsafe stainless steel cooking.
Heating New or Newly Cleaned Pans Properly
Heating an empty or newly cleaned stainless steel pan too quickly can warp the aluminum or copper core leading to spin as well as uneven heating.
Always heat a stainless steel pan over medium-low heat for 2-3 minutes before increasing heat.
Swirl to check for consistent heat distribution – if you see certain areas heating faster, decrease heat further until evenness is achieved.
The need for even, consistent heating can’t be overstated when attempting to prevent sticking.
The slick stainless cooking surface needs time to loosen up through gradual heating allowing for expansion and distribution of heat.
Food hitting an already hot surface sticks immediately so patience in preheating is required.
Once heated to desired sauté or frying temperature, add your fat or oil coating the interior surface thoroughly – an uneven sheen of oil means uneven cooking surface and likely sticking as a result.
The oil will shimmer evenly across the base, up sides and handle area when the pan is ready for ingredients.
Appropriate Stovetop Heat Adjustments
Stainless steel is responsive to heat changes so maintaining an appropriate cooking temperature for what is being prepared prevents both burning and sticking disasters.
High heat should be reserved only for boiling liquids or searing meats to develop fond before either backing off heat to finish cooking or transferring to a 300°F oven.
Delicate proteins like fish fillets, chicken breasts without skin and pork chops do better starting over medium-low heat just until batter sets or a browned crust forms before dropping the heat to low.
Adding a lid after the initial sear stage allows gentle steam cooking without the higher heat level promoting sticking.
Thinner vegetables like sliced peppers or onions also benefit from higher heat stir frying then reducing heat once they start softening.
Thicker vegetables and root starches release better at a consistent low to medium low temperature with lidded steaming again being hugely helpful to finish cooking without burning or adhesion.
Get to know your stove top settings correlating numerical heat ranges or Low to High correlates to different food items for non-stick, flavorful cooking.
Be prepared to adjust as needed based on readings of the stainless steel surface temperature and the doneness of what you are preparing.
Avoid Moving Foods Too Early
A key technique for failsafe stainless steel cooking is resisting the urge to move proteins or vegetable medleys too early before an adequate browned crust or fond has formed.
Premature movement interrupts the searing process requiring restarting the caramelization once moved back into place.
This starting and stopping of heat contact ups the chances for sticking each time.
Properly oiled stainless steel pans rely on the quick development of browned bits known as fond which then release from the cooking surface allowing flip or stir movement.
If your food is glued in place without any visible spot browning, allow further undisturbed heating before attempting to dislodge.
Use metal tongs or stiff angled spatulas for leverage versus flexible low edged flippers.
Aim for visible crust formation or light charring before moving or flipping meat cuts or full vegetables.
Softer items like cubed meats for stews can be stirred more readily once initially seared since continued cooking will further develop fond even with intermittent movement.
Finish Cooking with Steaming
Transferring a pan of properly seared protein or vegetables to a 300°F oven allows gentle heat redistribution for finish cooking without the intensity of stovetop burners.
The lower, ambient air heat of the oven essentially steams foods in their own juices preventing further sticking issues.
Beyond oven finishing, lidded stovetop steaming likewise prevents adhesion once an initial sear or sauté provides flavorful fond development on stainless steel.
Investing in oven-safe stainless steel cookware expands your finish cooking options beyond the stove top.
Look for brands touting encapsulated bottoms which allow for more even heat distribution from burner to oven.
All-Clad is renowned for their bonded and encapsulated tri-ply construction leading to responsive, even heating reducing stick spots.
For stove top finishing, utilizing a tight fitting lid locks in steam allowed ingredients to gently finish cooking in their own juices.
Soups and braised dishes benefit from uncovering only for brief stirring intervals once at a simmer.
Delicate proteins like fish also cling less once an initial sear at higher heat is achieved on stainless steel pans before topping with sauce and lid for gentle steam braise doneness.
Use Plenty of Oil or Fat
While keeping stainless steel pans well-seasoned provides a layer of slick protection against stuck on foods, adequate use of cooking fats and oils prevents adhesion even with a brand new unseasoned pan.
Stainless steel relies heavily on sufficient oil or rendered fat application before adding any ingredients for successful non-stick cooking and easy release of completed dishes.
Choosing high smoke point, appropriate fat sources for the heat level required prevents burning and polymerization before ingredients make contact for full coverage slick surface.
Thoroughly Coat Interior Pan Surface
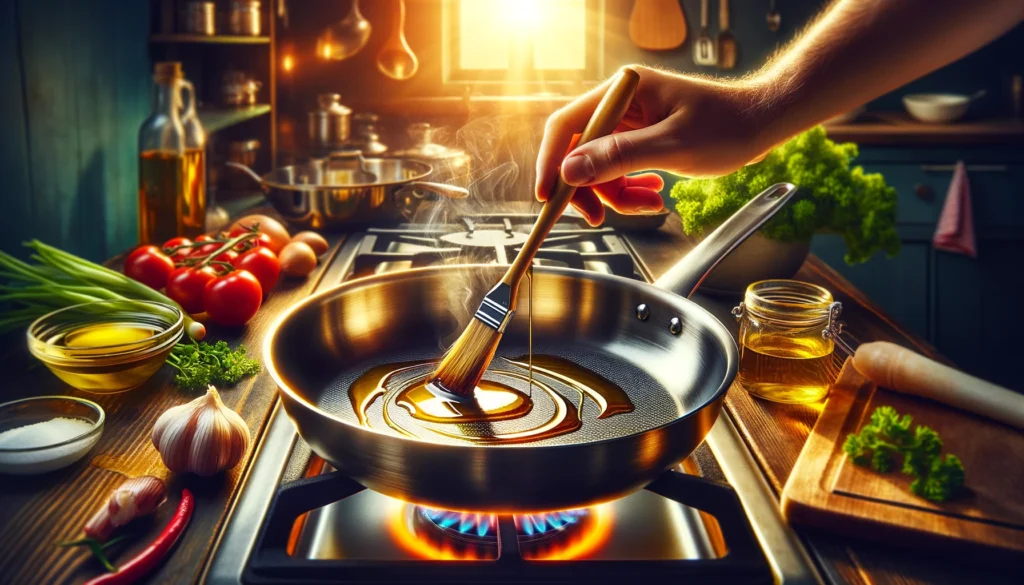
Regardless of how well seasoned your stainless steel cookware may be, preventing food from clinging requires thoroughly coating the cooking surface in oil or rendered fat before anything else touches.
Cold ingredients hitting an oiled hot pan sizzle nicely but hitting an unequally heated dry stainless surface causes immediate sticking disaster.
Oil should shimmer in an even layer across the entire base, reaching up the sides of skillets or sauce pots allowing complete surrounding of ingredients in fat for ease of movement.
If your oil forms an uneven coating or beads up across the surface, redistribution of fat helps prevent uneven searing or gluing in place of food bits.
Get in the habit of fully coating a sufficiently heated stainless cooking surface in oil before adding any ingredients every time for consistent non-stick success.
An extra 30 seconds oiling leads to easier release of completed dishes.
Reapply fat any time moisture cooks off or ingredients start to slightly stick.
Choose High Smoke Point Oils
High temperatures reached on stovetop stainless cookware limit oil options to higher smoke point types which polymerize rather than burn up or break down readily.
Quality olive, avocado and grapeseed oils withstand the demands of stainless steel cooking better than salted butter or virgin coconut oil which smoke aggressively and lose integrity.
Nutrient dense options like extra virgin olive oil offer wonderful flavor but compromise on sticking prevention at the heat intensity good stainless steel cooking requires.
Using half extra virgin olive oil blended with a vegetable or neutral oil raises the smoke point enough for good frying and sautéing results.
Grapeseed, peanut and high oleic safflower or sunflower also withstand high heat beautifully.
A combination of rendered animal fat like bacon drippings, duck fat or browned butter boosted by a high smoke point plant oil creates an outstanding release agent for fuss-free stainless cooking.
Always match your fat type for flavor desires alongside cooking methods for optimal food release.
Increase Fat Usage as Needed
If your ingredients start sticking mid-cook despite an initially oiled surface, immediately add a bit more fat or liquid element to loosen food bits before encouraging release.
Splash a little wine, stock or water being careful to avoid burns from spatter before attempting to move ingredients.
Adding extra virgin olive oil, butter or thicker sauce ingredient works to free stuck food as well.
Be prompt when sticking starts to prevent burning in place or fused on bits requiring extensive soaking later.
Get in the habit of adding extra fat/liquid anytime food doesn’t release easily allowing for non-stick cooking in progress instead of waiting until after serving attempts.
Adequate fat makes all the difference in stainless steel preparation for both flavor building and easy clean results.
Know What Tends to Stick More

Understanding which foods by nature tend to be more sticky and glue-like on cooking surfaces allows adaptation of techniques to prevent adhesion on stainless steel pans.
More delicate proteins like eggs, fish fillets and leaner cuts of meat prone to drying out all benefit from special care against sticking catastrophe including sufficient fat, gentler initial heat and quicker transfers to steam finishing.
Starchier vegetables and dairy-based dishes also require special preventative measures for ease of plating.
Eggs
From scrambled mixes to sunnyside fried eggs, proteins tend to spread, feather out and stick fast to hot metal cooking surfaces resulting in torn appearances leaving excessive bits behind.
The quick coagulation process eggs undergo at warmer temperatures leads to immediate adhesion if not properly managed.
Using gentle heat with plenty of fat allows eggs to set slowly before releasing crusts form for easy flipping if desired.
Combining eggs with liquid or extra yolks also delays setting for easier cook time.
Non-stick spray on the stainless surface helps but should not replace adequate butter or oil for best release.
Silicone tipped heat resistant spatulas aid greatly in gently freeing stuck on bits of egg after slower cook times while allowing flip motion if wanting over easy or any variation requiring it.
Avoid aggressive scraping or flat edged utensils against delicately setting eggs.
Fish Fillets
Moist proteins like fish fillets tend to cling to hot metal pans without a sufficient ticker skin side for initial crisping before release.
The combination of wetness with quick cooking fragility causes sticking without plenty of fat layered underneath as a releasing mechanism.
Aim for moderate heat and high smoke point oil combinations to allow a browned crust protecting the delicacy of the interior flesh before attempting to move or turn fillets.
Invest in thin yet sturdy fish spatulas with edges allowing you to get under initially stuck bits for gentle leverage during cooking.
Quick sauce pan deglazing and lidded or oven finishing prevents prolonged exposure to high heat which dries out exterior layers leading to tearing, sticking and overcooking.
Pay close attention to crust formation color before releasing.
Lean Meat Cuts
Pasture raised poultry along with leaner pork and grass-fed beef cuts tend to cook up drier than their factory farmed counterparts as a function of chemical free diets.
Less internal fat content means quicker drying when exposed to high heat.
Prevent lean meat cuts from sticking by utilizing cooking fats rich in moisture supporting lipids like duck fat, bacon grease or well-marbled beef tallow.
Serve thin cuts in a sauce or slice against the grain after resting for a more tender texture.
Lower initial cooking heat allows time for fat rendering to keep the exterior surface most prone to sticking moistened throughout searing allowing better release from stainless steel pans.
Avoid cooking beyond browned and drained fat pooled levels for healthiest results.
Starchy Vegetables
Root vegetables and squash varieties higher in starch often turn gluey during oven roasting or sautéing as starches interact with the metal cooking surface.
Prevent sticking issues by mixing starchy plants with oils before heat exposure.
Toss diced potatoes or squash cubes thoroughly in high smoke point oil, broth or non-dairy milk early in the cooking process for ample coating all sides before steaming or pan frying.
Move only after visible crusting without tearing interior sections.
Soak potatoes in cool salted water for 30 minutes up to overnight before roasting or pan frying to remove excess starches.
Pat thoroughly dry before oiling and cooking for crispier, easy-release results every time.
Clean Carefully and Thoroughly
Even with the best attempts at sufficient fats, gentle movement and lower finish heat, some sticky bits or burnt edges inevitably cling to well-used stainless steel pans.
Addressing stuck on residue after each use prevents accumulation leading to fully fused on layers warranting steel wool and elbow grease down the road.
Learn how to properly clean stainless steel cookware avoiding further damage while incorporating deglazing and soaking steps for problem areas refusing to budge.
Scrub Gently
Repeated scraping with harsh abrasive pads or scouring tools wears away at the protective layer of seasoning leading to further sticking issues.
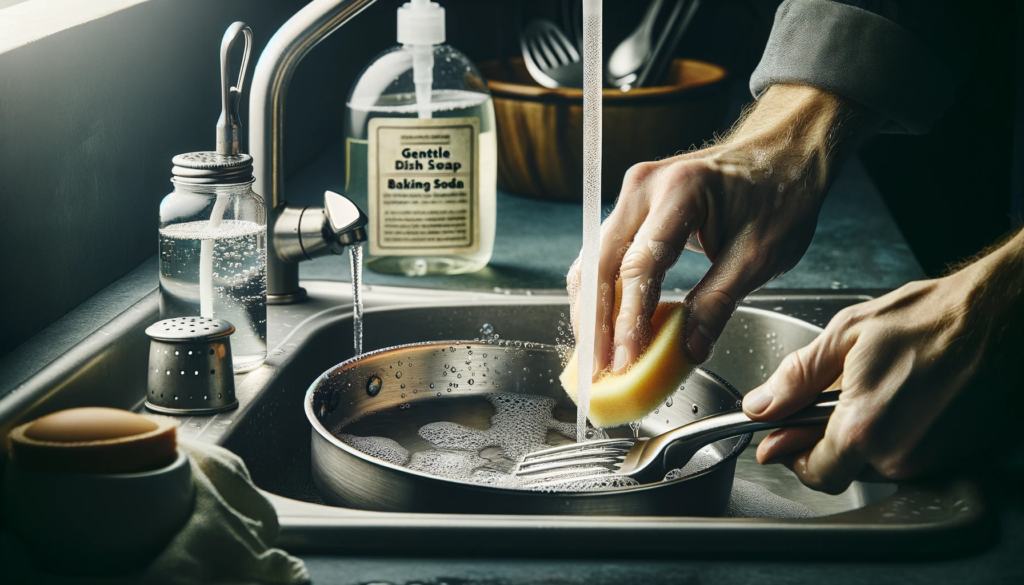
Carefully hand wash stainless steel pans ideally with non-scratch sponges and soft bristle brush scrubs where needed.
Simply Steel, Lodge Scrapers or Scotch-Brite Dobie Pads all help lift residue while protecting the cooking surface beneath.
When discoloration, browned bits or oily areas refuse soft hand scrubbing, sprinkle some baking soda or salt crystals over stuck spots before gently rubbing additional passes.
The light abrasion from coarse salts lifts stubborn debris without damaging good seasoning underneath when combined with non-scratch scrubbers.
Rinse and dry thoroughly after cleaning.
Deglaze Early and Often
Sugary sauces or melt-prone dishes like scrambled eggs and quesadillas require immediate attention if baking on or getting too crispy around the edges.
Pour or scrape out as much as possible before the remaining bits harden further setting in place.
Fill the pan with enough wine, stock, vinegar or water to fully immerse the bottom residue allowing it to loosen entirely from the cooking surface beneath when simmering.
As the liquid boils, use wooden spoons or spatulas to gently free and dissolve any still stuck areas until fully clear and clean.
Soak as Needed
For pans with encrusted layers or discoloration refusing other cleaning attempts, try a diluted white vinegar soak to help break bonds.
Water down vinegar significantly before adding to cold cookware since higher concentrations damages stainless steel finishes.
Allow to soak anywhere from 30 minutes up to a full 24 hours for stubborn issues.
Alternate soaking with baking soda and salt crystal applications as needed to lift residue protecting as much original shine as possible.
Always avoid steel wool or other harsh abrasives not designed specifically for stainless steel pans – choose gentle cleansers when possible through correct cooking methods for prolonged pan integrity.
Conclusion
Properly seasoning, using good cooking techniques, applying adequate fats, understanding problematic foods, and cleaning carefully allows stainless steel cookware to deliver easy release results rivaling non-stick pans.
With some care taken to prevent sticking from the start, your stainless pans will build impressive fond for full flavor all while letting foods slide right off after cooking.