Has your stainless steel cookware lost its luster over years of use?
Don’t despair or replace it yet – restoration to like-new status is often achievable with some tender loving care.
This guide covers step-by-step instructions for renewing worn stainless steel cookware through careful cleaning, repair of minor damages, addressing rust and discolorations properly, and protecting revived finishes for lasting performance.
Let’s dive into essential assessment and processes for restoring treasured stainless cookware pieces…
How to restore stainless steel cookware

To restore stainless steel cookware, first clean it thoroughly to remove any stuck on residue.
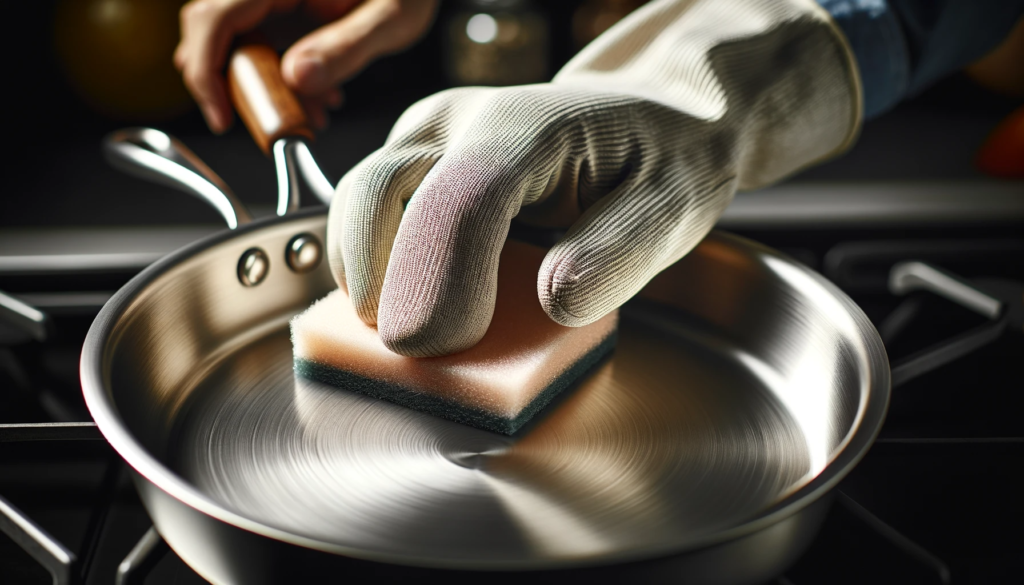
Then use a soft scouring pad to gently buff away small scratches, and a stainless steel polish paste for discoloration.
For heavier damage from overheating or rust, scrub the affected areas with more abrasive pads along with an oxalic acid cleaner to dissolve the issues.
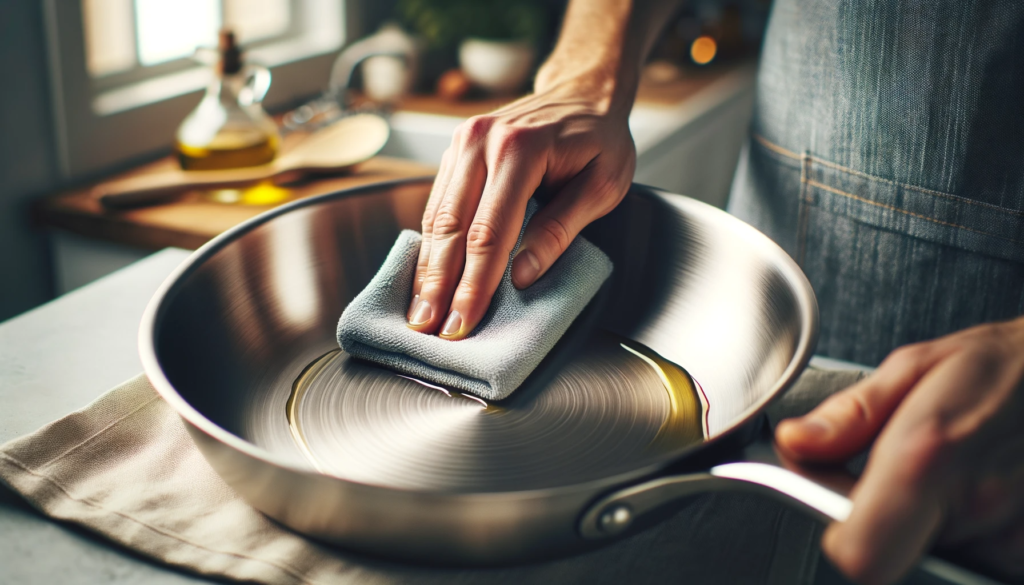
Finally, season the interiors with a light oil coating to help protect against future rust and scratches during continued use after restoration.
Handle with care going forward to maintain the renewed condition of the restored stainless steel cookware.
Below is how you can restore stainless steel cookware in depth.
Here goes:
Assess the Cookware’s Condition
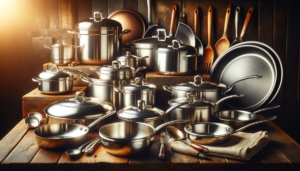
When you are attempting to restore stainless steel cookware, the first step is to thoroughly assess the current condition of the cookware.
Carefully examine the interior and exterior surfaces of all your pots and pans to check for any signs of damage or wear and tear that may need to be addressed.
Scrutinize the cookware under bright lighting and from multiple angles to notice any issues present.
Look for corrosion, pitting, scratches, discoloration, heat tinting or other problems with the finish or integrity of the stainless steel.
Use your fingers to feel for damages as well – detection of pitting, gouges or scratches may be easier by touch in some cases.
Determine if restoration seems feasible and worthwhile based on the types and extent of flaws discovered during inspection.
For example, minor scratching or superficial discoloration can likely be improved with some gentle polishing and buffing efforts.
However, pervasive pitting from corrosion or deep gouges and scrapes may indicate replacement is a better option than attempting repairs and refurbishment.
If cookware exhibits excessive damage comprising its structural stability and functionality, it may be unsafe to attempt continued use from both a performance and food safety standpoint.
However, evaluation requires weighing factors like repair feasibility, economic considerations of replacement costs compared to restoration efforts, and personal situations like frequency of use or sentimental value.
Read more here…
Clean the Cookware Thoroughly
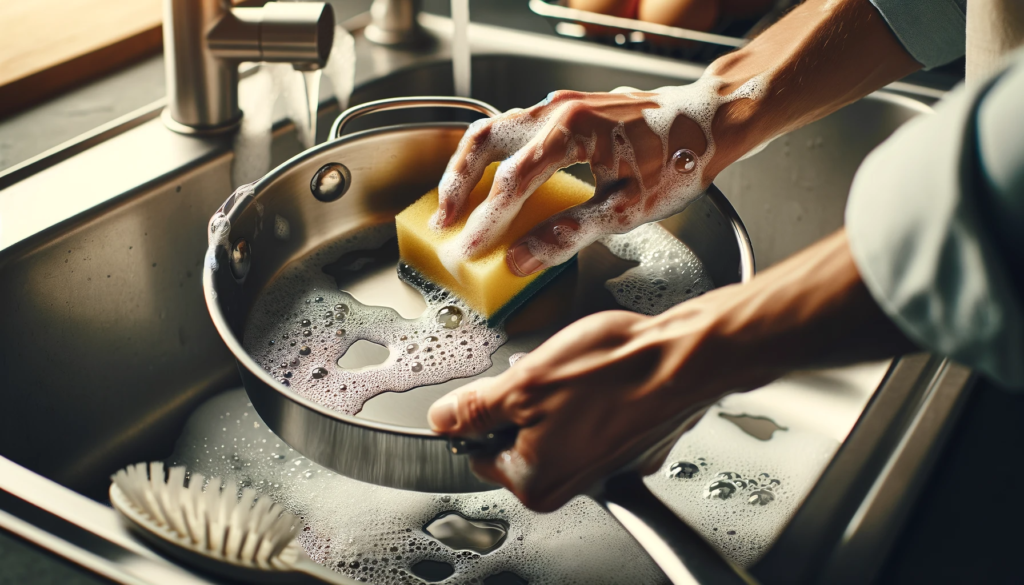
Once you decide to restore your stainless steel cookware based on condition assessments, thoroughly clean each piece first before undertaking restoration techniques.
Proper cleaning paves the way for more successful repair outcomes by removing accumulated surface debris, stains and stuck-on cooking residues which could interfere with restoration processes.
Use hot water and dish soap along with soft cloths or non-abrasive sponges to gently wash both interior and exterior surfaces.
Pay close attention when scrubbing to not inflict any new light scratches during this preliminary cleaning phase – that would undermine restoration goals focused on shine and smoothness renewal.
Be careful when cleaning crevices, engraved brand logos or handles to eliminate all stuck-on grime deposits.
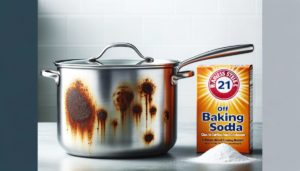
For more stubborn stains or cooking residue like burnt grease needing dissolution prior to removal, apply a stainless steel cleaner to the affected areas.
Let the cleaner soak for a few minutes before gently scrubbing with non-abrasive sponges or soft bristle brushes.
Scrub lightly in the direction of the metal grain so any minor new scratches incurred blend with existing brush pattern.
Common cleaners used include Bar Keepers Friend, Bon Ami and Cameo Silver Cream, but check manufacturer guidance to avoid damage risk with excessive exposure times.
Thoroughly rinse all cookware pieces using clean running water after cleaning to remove all traces of debris and cleaning solution residue.
Allow cookware to fully air dry before commencing restoration for best results.
Remove Light Scratches and Discoloration
If your stainless steel pots and pans exhibit minor cosmetic flaws like shallow scratches, scuffs or mild discoloration, these can frequently be reduced in appearance or removed entirely through gentle abrasive buffing and polishing by hand during restoration.
Read more here…
Keep in mind however that vigorous, careless scouring runs risks of inflicting additional fine scrapes so restraint and care is necessary.
Use a delicate touch and constant surface evaluation under shifting light during your efforts to renew shine and smoothness.
Work in small sections utilizing stainless steel scrubbing pads, very fine grit sandpaper or ultra-soft brass wire brushes designed for metal polishing.
Gently rub the interior and exterior cooking surfaces to lift superficial imperfections over time through mild abrasion, checking progress after a few minutes.
Rotating motions with even pressure applied seems most effective at gradually evening surface variations without risking new damage through overzealous scouring.
Pay added attention to the most visibly damaged areas by focusing extra efforts there, but restrain any vigorous inclinations to prevent further scratching or gouges.
Patience delivers the best outcomes.
Combining mild hand abrasion with stainless steel polish can also prove useful in minimizing small scratches while restoring brighter shine.
Apply polish to cooking surfaces and let set briefly before gently buffing clean using soft dry cloths.
Some polish formulations also contain fine abrasives for added light scouring action while protecting existing metal grain.
Repeat cleaning, polishing and careful buffing attempts may be required to fully achieve aesthetic goals, but avoid excessive persistence that detriments the renewed surface through accidental deep scratching or gouges.
The objective involves evening and blending superficial flaws, not removing layers of metal or worsening appearance.
Repair Damage from Overheating
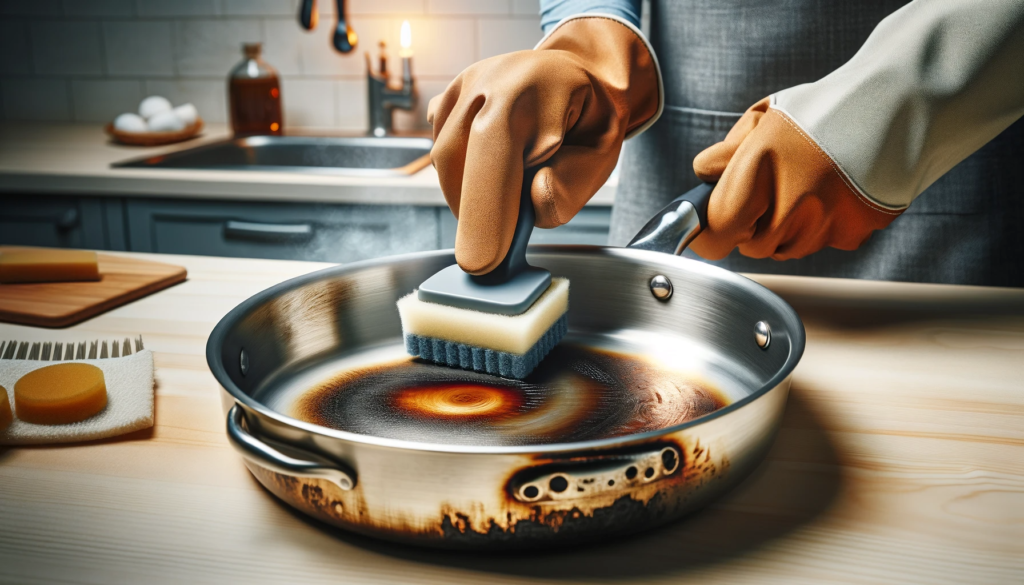
Stainless steel cookware overheated excessively during use can sometimes exhibit heat tinting damage seen as amber, golden, brown or rainbow discoloration across all or portions of the base.
This effect comes from structural changes to the steel itself induced by temperatures exceeding 1500°F or so.
While such extreme heat alterations cannot be undone entirely since the steel composition and grain itself is modified, the visual appearance of tinting can frequently be reduced notably through concentrated scouring and polishing efforts.
This allows damaged yet still functional cookware to remain serviceable.
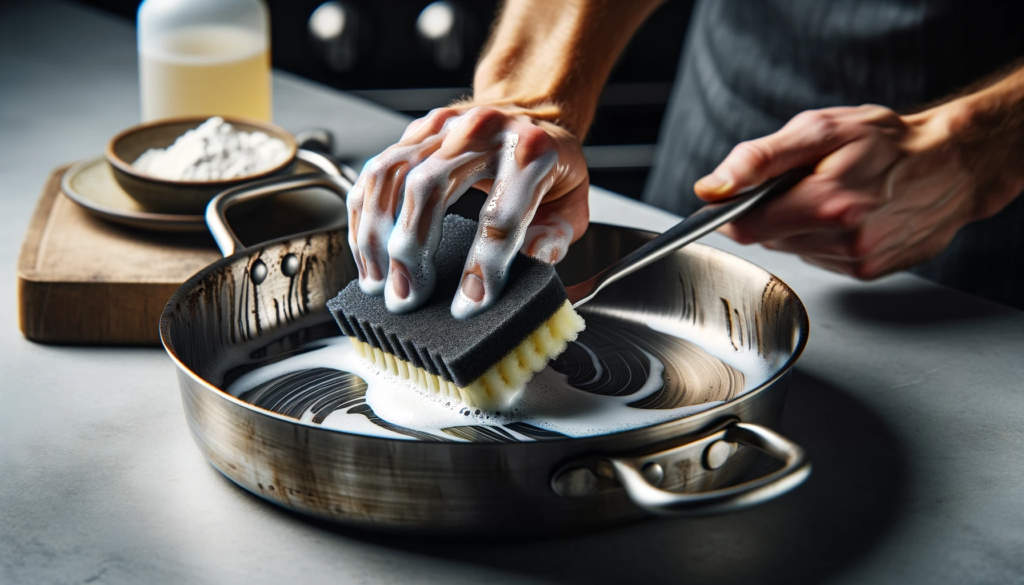
Use a Scotch-Brite Heavy Duty Scour Pad, very fine grit sandpaper or ultra-soft wire brush to manually scrub affected areas, taking care to avoid inflicting new unrelated scratching.
Work in conjunction with powder cleansers mixed into an abrasive paste which offers more concentrated cutting action when rubbed vigorously into discolored sections.
Check appearance after several minutes to gauge progress, cease buffing attempts if worsened scratching becomes evident and modify technique as needed to maximize tint removal while preventing further damage.
Piecemeal or rushed work risks degrading cookware condition, so restoring acceptable visual uniformity following overheating issues requires patience and care.
https://enlivewire.com/stainless-steel-cookware/how-long-stainless-steel-cookware-lasts/ talks about how low should a stainless steel cookware last.
Be more attentive during all future cooking uses toward preventing recurrence of excess heat exposure risks.
Utilize appropriate burner heat settings correspondant to individual cookware piece size and ingredients, stir food mixtures frequently and make only gradual temperature increases as needed to complete recipes properly without equipment overstress failure over time.
Deal with Rust Problems
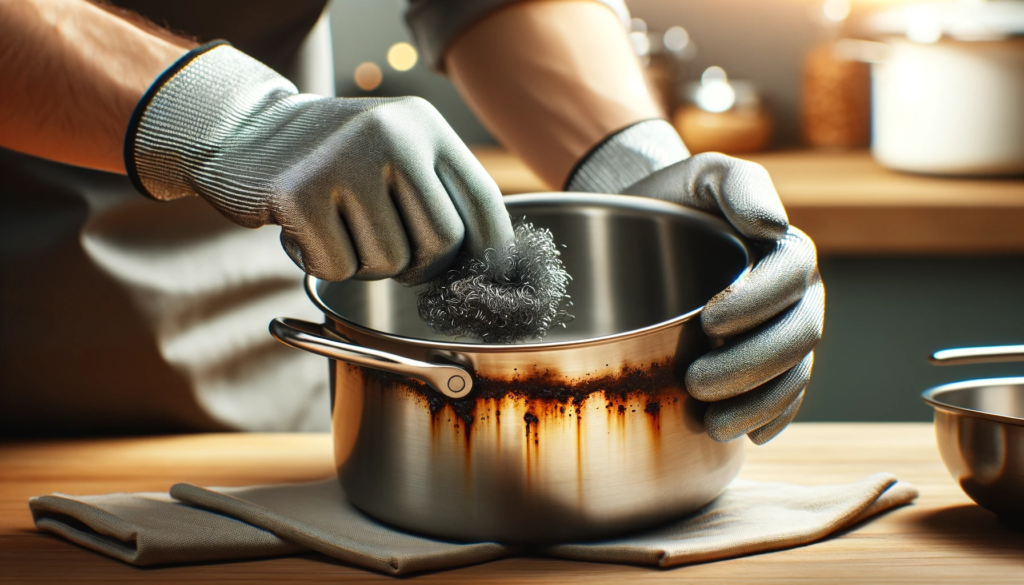
Since stainless steel alloys still contain iron, prolonged or repetitive water exposure creates vulnerability to surface rust accumulation despite other corrosion resistance advantages over ordinary steel.
Preventative seasoning and gentler washing habits help guard against rust, but once present, direct removal steps become necessary.
Exterior rust visually detracts but poses no food safety risks unlike interior rust exposure, though all accumulation should be removed and prevented regardless.
Use 0000 grade steel wool or specialized stainless steel wire brushes to scrub exterior rust.
Applying upward strokes with moderate pressure concentrated on affected areas typically proves most effective for removal by manual abrasion.
For interior rust which does risk food contamination without elimination, chemical measures require consideration for optimal removal results.
Several commercial cleanser products offer rust-dissolving properties, including formulations relying on oxalic acid as the active ingredient.
Bar Keepers Friend Cleanser and Rust Remover typifies options widely available containing oxalic acid approved for food surface applications.
Follow all manufacturer safety and exposure recommendations to allow adequate treatment contact time before wiping away bubbled up rust residues with soft cloths.
Thorough post-treatment rinsing remains imperative as well. Read our article on cleaning stainless steel cookware: https://enlivewire.com/stainless-steel-cookware/how-to-clean-all-clad-cookware/
Some light pitting may persist after removal efforts depending on original severity and steel composition weaknesses.
Repeat applications likely prove beneficial to maximize restoration results, taking care that extensive rubbing does not worsen existing pitting through unintended deepening.
Gentler secondary cleaning strokes should follow initial intensive rust removal as needed.
Season and Protect the Cookware
Once your stainless steel cookware restoration process concludes all necessary remedial measures like discoloration removal or rust treatment, take proactive steps to protect revived interiors against rapid redeterioration, water staining, food sticking or future rust development through dutiful seasoning and protection protocols after each usage instance.
Interior metal seasoning typically involves wiping a thin coat of cooking oil evenly over the entire cooking surface, letting it set for several minutes for bonding and then gently buffing away any leftover excess oil with paper towels or soft dry cloths.
Vegetables oils like canola or grapeseed work well, providing protection without heavy residue or smoking risks when reheated like some other options.
This oil layer minimizes exposure of bare stainless steel to moisture, air and food acidic compounds during subsequent cooking tasks that degrade finish integrity over repetitive occurrences.
The protective barriers thus augment the inherent corrosion resistance strengths of stainless steel for enhanced longevity and optimal appearance retention following your restorative efforts.
Similarly, making the habit of hand rubbing a small amount of oil into cookware interiors after each washing or letting pieces air dry rather than towel drying helps minimize surface rust risks through inevitable moisture contacts.
Allow the lubricative oil to set briefly before wiping out any excess pooling using dry soft cloths.
Avoid harsh scouring or very abrasive cleaners during future usage which could rapidly degrade renewed uniformity.
Gentle hand washing remains ideal over dishwasher cleaning for preserving restored stainless steel cookware conditions whenever feasible.
Take care as well to not use metal cooking utensils which risk scratching.
With conscientious seasoning and handling habits, your renewed cookware can deliver lasting beauty plus performance for years following restorative measures.
Read here for more details.
Conclusion
Proper stainless steel cookware restoration requires patience and a gentle approach, but can renew worn pieces to like-new condition.
Follow these steps of careful cleaning, repairing minor damages, dealing with rust and discoloration issues, and protecting finishes, and you can restore cherished cookware’s visual appeal and integrity for continued cooking enjoyment.