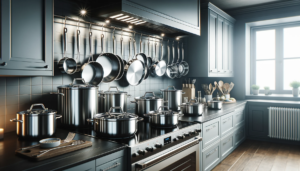
Have you ever pulled a favorite stainless steel pot from the cabinets only to find it covered in deep, ugly scratches? Those mars make cookware look old and unappealing.
But don’t worry – with some DIY techniques, you can buff even serious scratches out of stainless steel restoring the original finish.
Careful application of buffing compounds and abrasives allows removal of scratches without damaging the underlying surface.
Achieving an even, uniform appearance again comes down to methodical technique.
Let’s dive in to find out exactly how to erase annoying scratches from stainless steel pots and pans…
Can Deep Scratches Be Buffed from Stainless Steel Cookware?

Yes, deep scratches can in fact be removed from stainless steel pots and pans through buffing techniques.
Using mildly abrasive compounds, fine grit sanding sponges, ultra-fine steel wool, and consistent circular motions, the damaged surface can be re-leveled and smoothed out again.
Power drill attachments help speed the process for large or seriously marred areas.
With some effort and the right materials and approach, cookware scratched all the way through the stainless coating can regain its original uniform sheen.
As we’ll explore in more detail below, effective DIY methods for renewing scratched stainless steel rely on working up gradually through finer and finer polishing materials.
This carefully lifts out deeper imperfections without causing further damage or altering the brushed metal grain.
Restoring an even, flawless finish requires focusing attention beyond the immediate visible scratches to the entire inner surface.
But with methodical technique, truly deep mars and abrasions can indeed be removed through buffing.
Assessing the Scratches
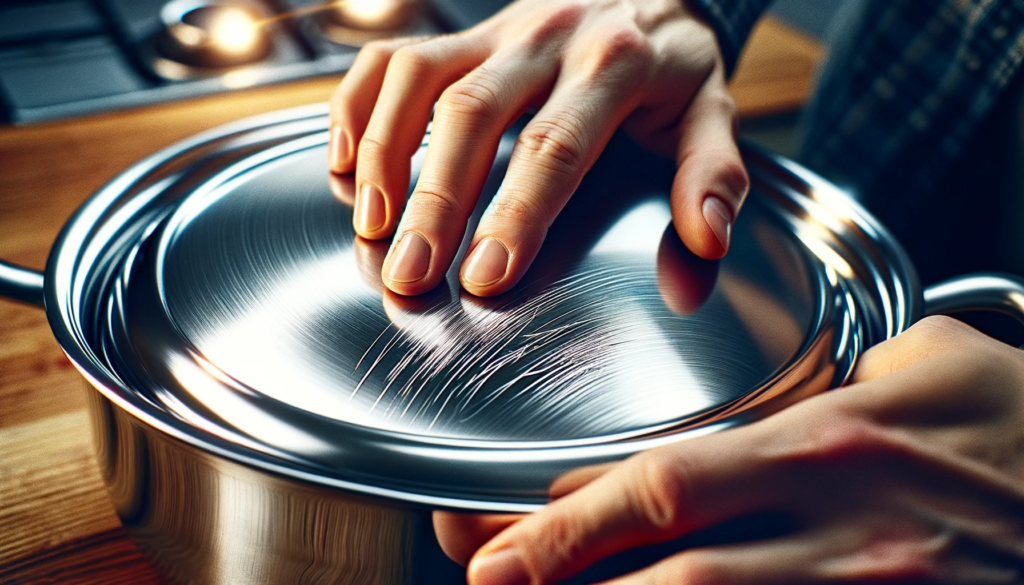
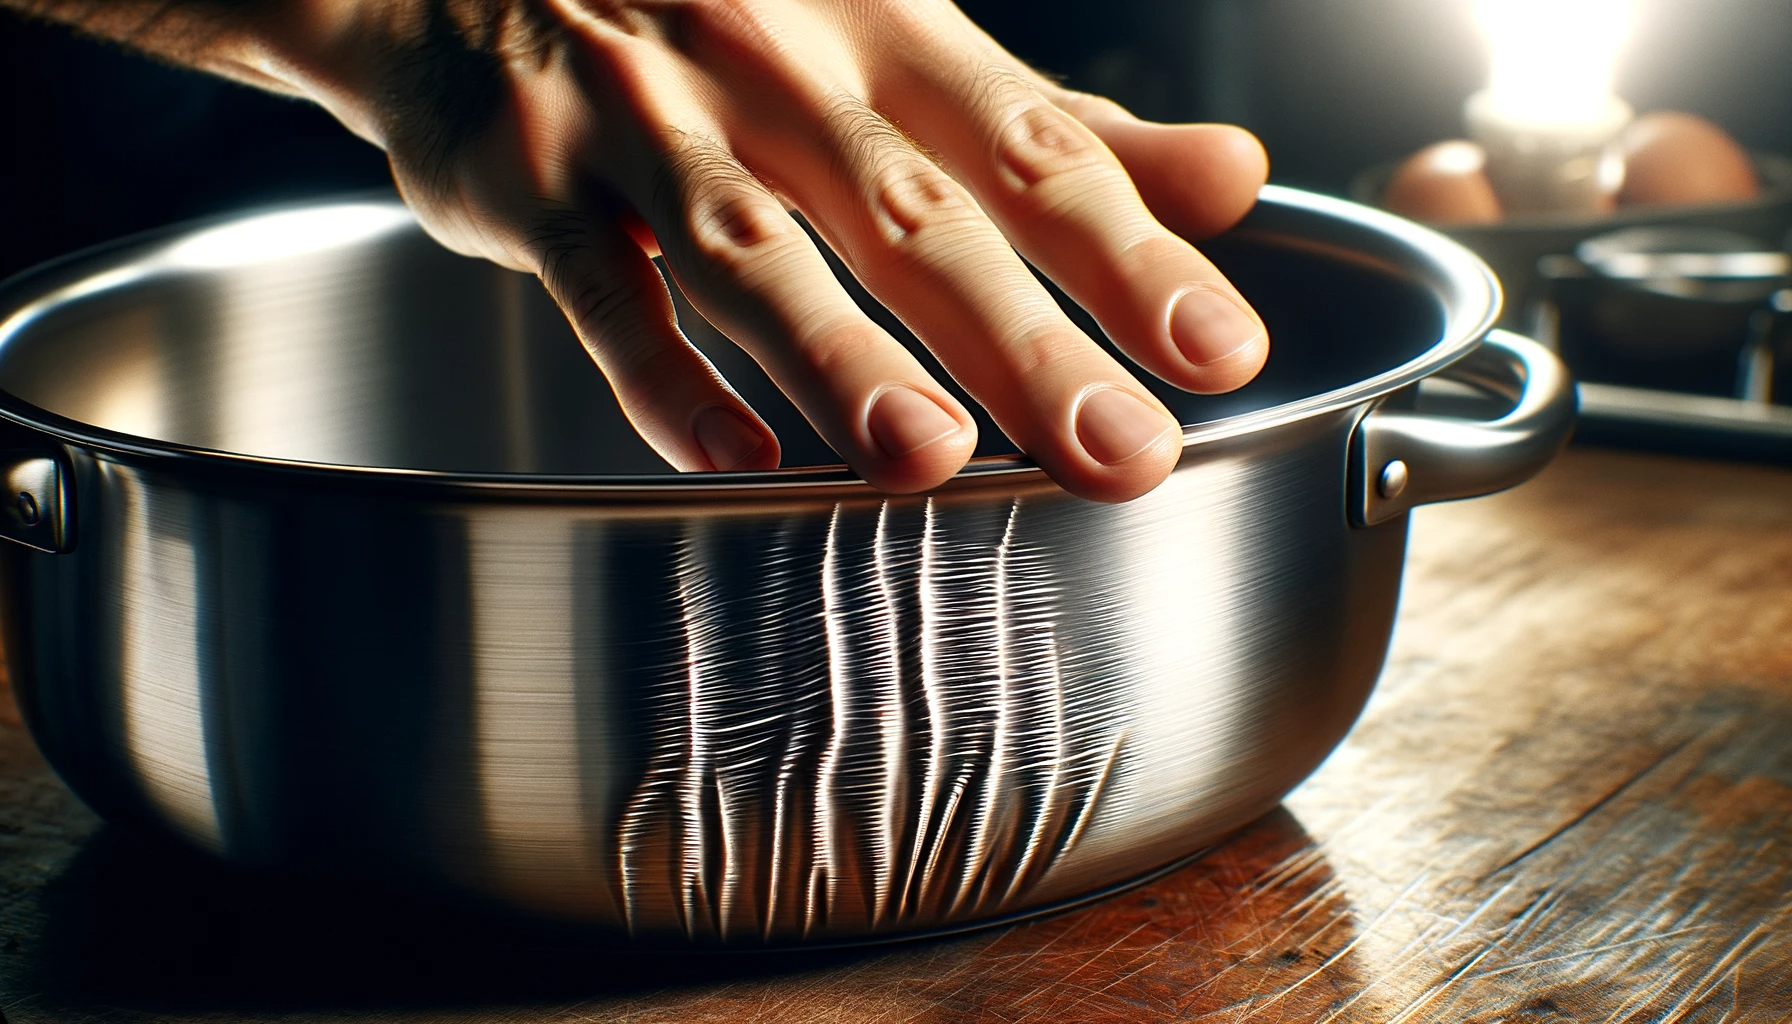
Take a close look at the scratches on your stainless steel pots and pans.
Are they surface level marks that can be rubbed out, or are they deeper grooves cut into the metal? Run your fingers gently over them to determine if you can catch a nail.
Deep set scratches will require a little more work and effort to remove.
Determine if the scratches go all the way through the stainless steel coating down to the core metal underneath.
Some stainless steel cookware has an aluminum or copper base that gets scratched more easily.
This will have an impact on the buffing techniques and products you’ll need to use to repair the damaged surface.
Pay attention to any puffy edges or peeling spots around the scratches as well.
Gathering the Right Materials
There are a few key supplies you’ll need to have on hand before starting to remove scratches from stainless steel:
Soft buffing pads made of cotton or microfibers work well for manual techniques.
Look for the kind without abrasive scrubbing surfaces that could cause more fine swirl marks.
You’ll need grades ranging from light duty to heavy cut depending on the depth of the scratches.
Steel wool scrubbing pads also come in ultra fine grades numbered from 000 (lightest) up to 4 (heavy duty).
The finest 000 or 0000 steel wool lightly polishes without leaving behind particles of metal behind that could further scratch surfaces.
Buffing compounds are mild abrasive pastes and creams that help scrub away imperfections.
Brands like Flitz or Bar Keepers Friend are good stainless steel cleaners to try.
They come in different grit sizes as well.
For cookware with heavy scratches, a power drill with buffing wheel attachments can save time and effort over doing the work by hand.
Conical shaped buffer wheels made from cotton or felt work best for the rounded surfaces of pots and pans.
Be sure to wear protective gloves and eyewear when power buffing to guard against flying debris and compounds.
Things can get messy!
Manual Buffing Techniques
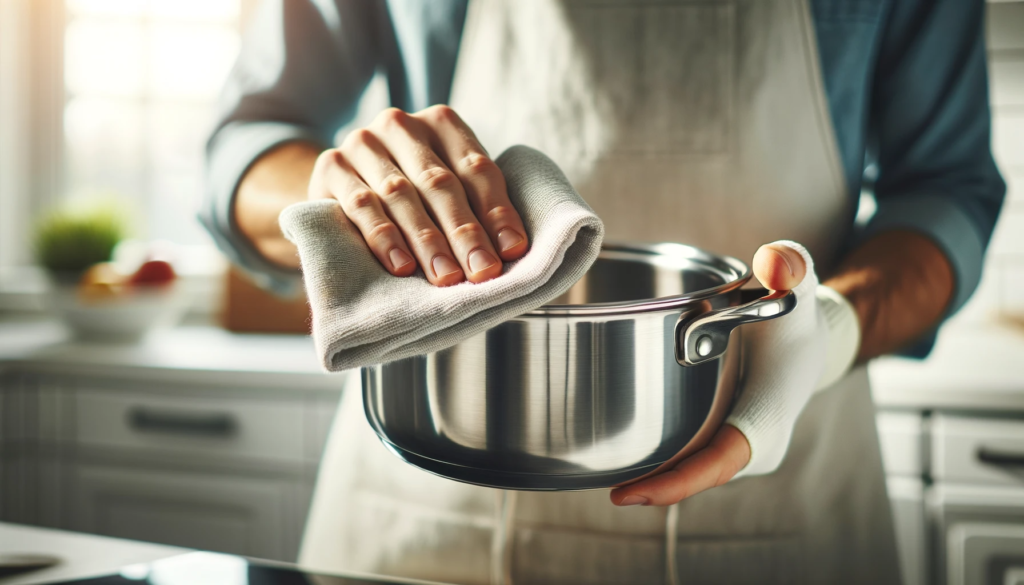
For light surface scratches, start by applying a small amount of buffing cleaner paste directly onto the stainless steel cookware.
Using a soft cotton cloth, rub the compound over the scratched area using very light pressure in consistent circular motions.
Let the mild abrasives in the formula do the work – no need to bear down hard.
If the fine scratches remain after buffing for 2-3 minutes, step up to a more aggressive approach.
Try using a plastic abrasive scrubbing pad designed for stainless steel.
These are colour-coded by grit grades – green for light duty, gray or white for more cut.
Apply buffing paste and work in the same circular pattern starting lightly and adding more pressure if needed.
For the deepest marks not removed by scrubbing pads, switch to ultra fine grade 0000 steel wool.
The steel particles will cut into the scratches to lift them out.
Use a drop of dishwashing liquid as lubricant and go over the same spots repeatedly until the scratches fade.
Rinse thoroughly after steel wool scrubbing and make sure no particles get left behind.
Using Power Buffers
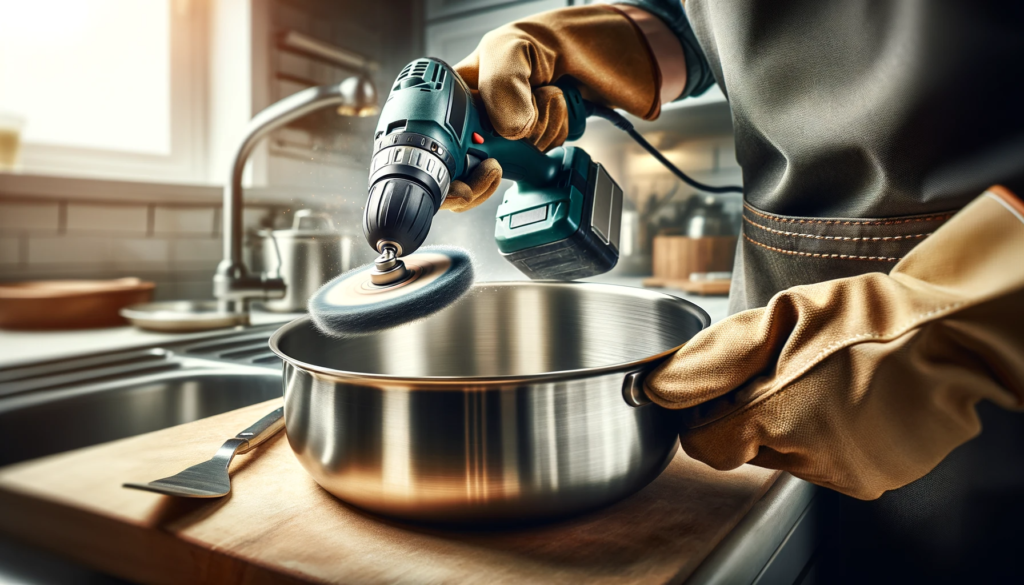
For cookware with many deep scratches or over a large surface area, save yourself some elbow grease by using a power drill with buffing wheel attachments.
This automates the repeated motions needed to sand away stubborn imperfections in stainless steel.
Start by securely clamping the cookware in place on a stable work surface to keep it stationary while buffing.
Position it to maximize access for the buffer wheel over all the scratched areas.
Apply a coarse grit buffing compound to the buffer wheel designed for cutting metal – something in the range of 60-80 grit.
Using light pressure, hold the rotating wheel over the scratches moving steadily back and forth until you see visible improvement.
Don’t linger too long in one area to avoid damaging the underlying metal or causing excess heat buildup.
Once the worst scratches have diminished, repeat the process working your way up to finer and finer grit buffer wheels and compounds.
This could mean stepping through 120, 180 and 220+ grit sizes sequentially.
Be sure to thoroughly wipe away residue and reapply fresh compound each time you switch wheels.
Take precautions during power buffing not to overheat the surface or apply too much pressure at once causing waviness or depressions.
This can permanently alter the appearance of stainless steel.
Go slowly checking often for changes in reflectivity or texture.
Achieving a Consistent Finish

When manually or power buffing out scratches, it’s tempting to focus your efforts only on the immediate damaged areas.
But stopping halfway leaves you with a patchy surface – the buffed zones will stand out against the remaining unpolished stainless steel.
Be sure buff the entire interior cooking surface of the pot or pan to achieve an even consistent appearance.
Overlap your motions to blend the transition areas where you can still see evidence of the deepest scratches.
It helps create uniform scraping and polishing of the microscopic peaks and valleys that make up brushed or satin finishes.
Periodically rinse off all residues and dry the surface to inspect it under bright light.
See if any hints of the original deep scratches are still detectable, or if lighter imperfections get revealed.
Repeat the buffing process targeting any remaining problem spots until the entire interior takes on the same uniform sheen and feel.
Caring for the Finish
Once you have invested all that effort into erasing nasty scratches, you’ll want to keep your stainless steel cookware looking pristine.
Taking proper care of the surface will prevent rapid reappearance of new mars and abrasions with daily use.
Get in the habit of washing pots and pans gently by hand using soft sponges and plenty of hot water.
Avoid abrasive scrubbers or steel wool pads that could cut into the finish.
Over time even non-stick safe plastic scrubbers can leave minor surface wear.
Use non-abrasive liquid dish soaps without harsh ingredients that strip away protective coatings.
Alternatively, try a specialty stainless steel cleaner for the cleansing step.
Dry thoroughly with a soft lint-free cloth each time to prevent water spots.
The harsh environment inside a dishwasher can be problematic for delicate mirror polished finishes.
High heat, caustic detergents and contact with other dishes during the wash cycle slowly degrade surface appearance.
Limit dishwasher usage or select gentle, low temperature cycles whenever possible.
Protect your buffed stainless steel through proper cooking practices as well.
Don’t drag or scrape metal utensils against interior surfaces which causes fine abrasions to accumulate.
Use the right style tools for the pan material – silicone, wood or plastic.
Every month or two, do a quick manual re-buffing of the inside surfaces using fine steel wool and buffing paste.
This will maintain the renewed uniform appearance you achieved through your initial deep scratch removal regimen.
A little preventative care goes a long way!
Conclusion
After reading this guide, you should now feel equipped to tackle even the deepest, most stubborn scratches in your stainless steel pots and pans.
With the right buffing materials, some elbow grease, and consistent technique, you can erase unsightly marks to restore a uniformly smooth surface.
Be sure to care properly for the renewed finish by washing gently, avoiding abrasives, and doing periodic touch-up buffing.
With this knowledge, you can keep your stainless cookware looking like new for years of continued cooking enjoyment.