Does your steak stick and tear or do pancakes glue themselves to the bottom every time you cook in stainless steel pans?
Food bonding to the porous metal surface during cooking is a huge annoyance but avoidable with the right seasoning and practices.
Understanding why stainless steel is prone to sticking along with specific oil-heat conditioning processes to fill pores will transform the pans’ performance for non-stick cooking.
Let’s explore the sticking tendencies of stainless steel cookware and how to create slick, non-stick pans at home easily.
Is Stainless Steel Cookware Non-Stick?
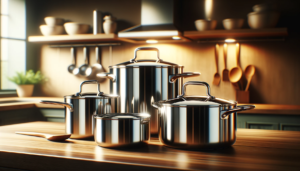
Stainless steel cookware is not naturally non-stick in the way ceramic or coated pans are.
Stainless steel has a porous, uneven surface on a microscopic level that allows food particles to get caught and stuck.
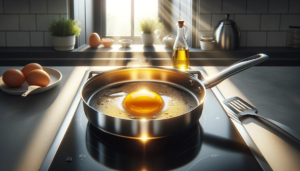
When cooking with oil or moisture, the stainless steel absorbs some of the oil and moisture, causing food to adhere to the surface.
So while small amounts of food may brown or crisp on stainless steel cookware, the surface is not as slippery or non-reactive as true non-stick pans.
With some seasoning techniques and proper cooking methods, however, you can get stainless steel pans to perform nearly as well as coated non-stick ones.
Why Food Sticks to Stainless Steel
Surface Is Porous And Uneven On A Microscopic Level
If you were to look at an untreated stainless steel pan under a microscope, you would see an uneven landscape with peaks and valleys that provide plenty of opportunities for food to get caught.
When bit and pieces of food slide around during cooking or cooling, some particles inevitably slide into these little grooves or divots and then get stuck there through cooling and coagulation.
The metal itself provides a grippy surface for food particles at this microscopic level.
Food Particles Get Caught In Small Grooves
In addition to the general uneven surface, most stainless steel cookware specifically has a brushed or satin finish which produces small linear grooves along the cooking surface.
This brushed texture is applied to help distribute heat more evenly and provide an appealing look, but it also means there are tiny little grooves all along the base of the pan for food particles to slide into.
Bits of protein or carbohydrates get caught in these little valleys easily.
Moisture And Oil Are Absorbed, Causing Food To Stick
Another contributor to food sticking on stainless steel is that the metal absorbs small amounts of oil and moisture during cooking.
When you add oil or butter at the beginning to help prevent sticking, some of the lipids get pulled into surface pores in the stainless steel.
As the moisture cooks off, the fat essentially gets fried onto the metal surface in spots creating sticky areas that snag food.
Water from moist ingredients like meat, dough, or sauce also can get absorbed then evaporate away, concentrating proteins or starches directly on the pan surface leading to sticking.
How To Make Stainless Steel Non-Stick
While stainless steel pans will likely never perform as well as ceramic or properly seasoned cast iron when it comes to being non-stick, there are some seasoning techniques and cooking practices you can adopt to minimize how much food sticks to the surface during cooking.
With the right prep and handling, stainless steel can become relatively non-stick.
Season The Pan By Oiling And Heating Repeatedly To Create A Patina
Seasoning a stainless steel pan is very similar to seasoning cast iron cookware.
The goal is to embed oil into the microscopic pores of the metal through repeated heating cycles in order to fill in the rough areas and create a smooth, non-stick surface layer called a patina.
To season, rub a small amount of high smoke point neutral oil like avocado or grapeseed over the entire interior cooking surface.
Place the oiled pan upside down on the top rack of the oven and bake at 450°F, allowing it to heat for at least an hour before turning off the oven and letting it cool down gradually.
Repeat this process half a dozen times until the pan develops an even, semi-golden sheen.
This patina smooths out the pancreatic surface and fills in those little grooves, preventing food from getting trapped.
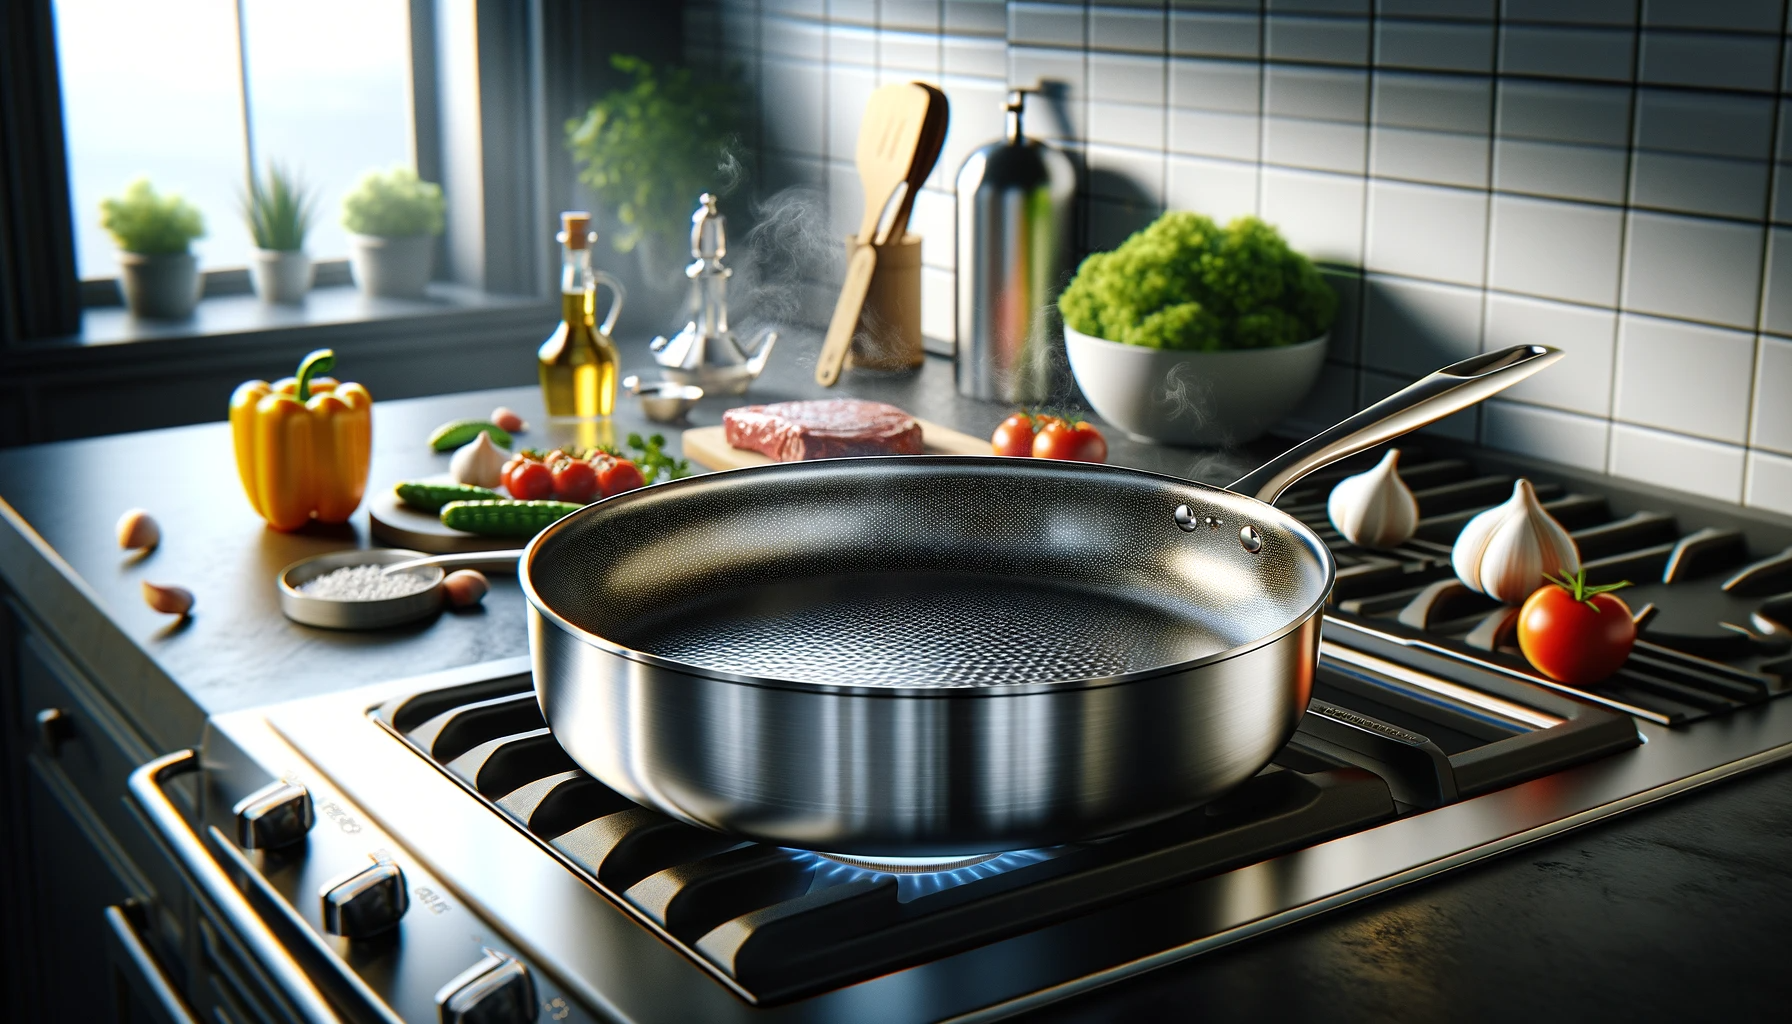
Always Preheat To Ensure Food Doesn’t Stick On Contact With Cool Metal
One of the most common mistakes people make when cooking with stainless steel pans is not properly preheating before adding food.
Stainless steel has poor conductivity compared to other metals, meaning it takes longer for the heat to spread evenly across the surface.
When cool spots remain, food almost instantly sticks on contact.
Make sure to give your stainless steel pan at least 5 minutes over medium low heat to allow gradual, even heating.
Test the pan by sprinkling a few drops of water across the surface – if they skitter and evaporate rapidly without sticking and steaming, you’ve sufficiently preheated.
Starting with an evenly heated pan is key for preventing food from adhering.
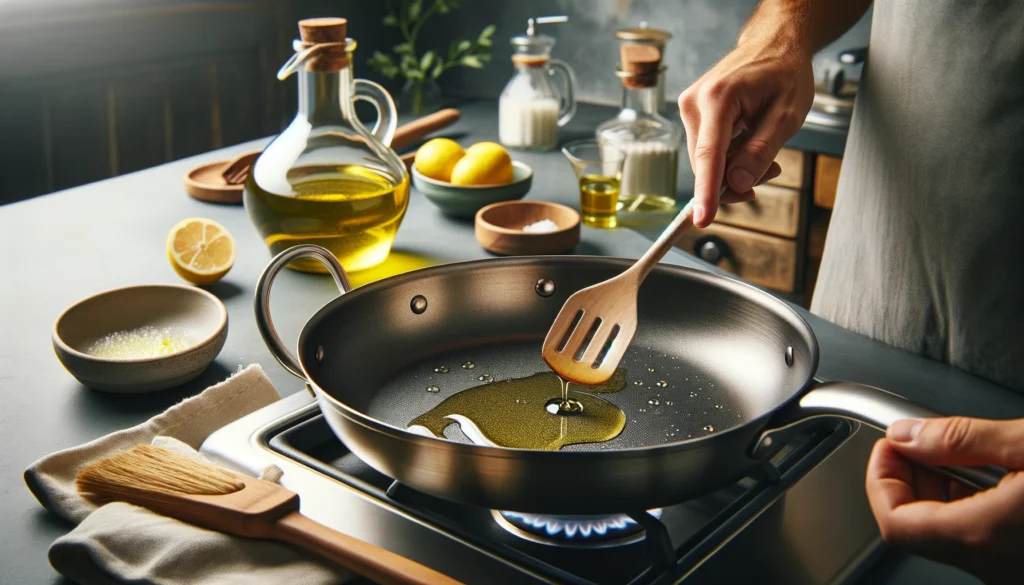
Use Enough Oil Or Butter When Cooking To Prevent Sticking
While the seasoned patina you build up should cut down on the number of sticky spots, you’ll still need to use a moderate amount of fat when cooking to keep food from adhering during the cooking process.
Make sure to add at least a teaspoon of oil or butter to the preheated pan before adding ingredients.
Swirl gently to evenly coat the entire cooking surface with the fat before adding food.
The small layer of oil creates a barrier between the food and the metal, keeping moist sauces or sticky starches separated so they slide instead of cementing onto the underlying pan.
Add additional small amounts of fat during cooking as needed if you notice food beginning to stick.
Deglaze The Pan During Cooking With Liquid To Loosen Stuck Bits
Even if you properly season and preheat your pan, some sticking is inevitable during cooking.
Sugars, milk proteins, egg, and other reactive ingredients can still react with the heated metal over time.
Deglazing means adding a bit of acidic liquid like wine, lemon juice, vinegar or broth and scraping up any fond or stuck bits that have formed.
The moisture helps hydrate connections between the food and metal surface so you can scrape it away, while also capturing delicious browned bits that add tons of flavor.
Deglaze your stainless steel pan multiple times during longer cooking processes to continually release any food that may have gotten stuck instead of letting it accumulate and char.
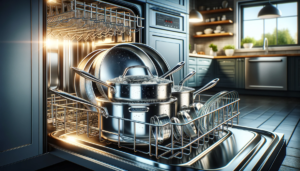
Clean Gently With Non-Abrasive Tools To Avoid Damaging Seasoning
Aggressive scouring is an obvious no-no for maintaining your pan’s patina and non-stick properties.
But even mild scrubbing with soapy pads or sponges can slowly degrade the seasoned layer over time.
Instead, let your pan cool fully after cooking then pour in hot water to soak away any residue before wiping out gently with a soft sponge or towel.
If any bits remain stuck on, bring water to a boil directly in the pan for a few minutes to loosen then scrape away gently with a wooden spoon or spatula.
Avoid abrasive cleaners or scrub pads as the abrasion slowly erodes those seasoned oil layers that help prevent food from sticking.
Maintaining A Non-Stick Finish
Keeping your stainless steel cookware’s non-stick patina intact takes some care but very much pays off when it comes to easy release of pancakes, fish filets, and more.
Follow these simple rules for maintaining the finish over months and years of cooking.
Continue Seasoning Over Time With Oil To Build Up Patina
Maintaining that smooth seasoned finish requires periodically re-treating your pans with repeated oven seasoning sessions.
Each time you notice food sticking a bit more than usual, rub down the interior with oil and give it an hour upside down in the hot oven.
The more layers of polymerized fat built up over time, the better the non-stick function.
Think of it like applying another coat of wax to a car or floor.
Putting your pans through seasoning cycles 2-3 times per year helps reinforce non-stick performance.
Avoid Abrasive Cleaners Or Scouring Pads
As explained previously, it’s vital not to scrub away the patina you’ve worked so hard to establish.
Using abrasive powder cleaners or rough scrub pads wears down the seasoned polymer surface over time.
Stick to gentle cleaning methods involving hot water soaking and soft wiping instead.
You can use diluted vinegar water or baking soda if necessary to lift stuck bits after boiling water, but avoid harsh chemicals that strip away oils.
The less disruption to that fat-slicked coating, the better it will hold up.
If Food Sticks, Boil Water In Pan To Loosen Residue
Inevitably food will occasionally stick, no matter how well-seasoned your pan.
Instead of reaching for steel wool or a Brillo pad, fill your stainless steel pan with plain water and bring it to a rolling boil for several minutes.
This hydrates and dissolves starches or sugars bonding food to the metal and allowssemi-stuck bits bubble free.
Deglaze further with a wooden spoon or spatula, pour out water, then wipe cleanly with minimal scrubbing to lift away residue.
Harsh scrubbing or burning stuck food onto the pan are far more damaging than the temporary stickiness of boiling water loosening.
Re-Season If Necessary With Oil And Heat Method
Over many years, seasonal cycles, and dozens or hundreds of cooks, even the best kept stainless steel pan seasoning will eventually fail or wear away.
At the first signs your carefully developed patina has eroded based on food going back to sticking relentlessly, it’s time to re-season.
Use a gentle baking soda scrub or pan-boiling water method described prior to remove buildup or sticky spots as a starting base.
Once you have a clean, dry surface again it’s just like when the pan was new – layer on oil, invert in the oven, and patiently build seasoned layers back up.
The Right Cooking Techniques
In additional to having a well-seasoned pan, certain cooking techniques either alleviate or contribute to stainless steel’s sticking tendencies.
Follow these best practices for getting the best non-stick stainless steel performance while cooking.
Use Medium Or Lower Heats To Prevent Burning In
While stainless steel pans are oven safe to 500°F+ and fine for searing, keeping everyday stovetop cooking to medium or medium low heat helps prevent burning in residue.
The higher the heat, the quicker food bonds start to form between pan and proteins.
Slow steady cooking allows reactions between metals, sugars, and proteins happen in moderation before you can address them with deglazing and oil.
Super high heat also warps pan seasoning quicker by burning off that protective top layer of fat.
Allow Food To Release Naturally With Spatulas And Tongs
Avoid aggressive scraping or stirring with utensils that can scratch the pan surface.
Let seared meats finish cooking unmoved for example so a browned crust can form gently release with minimal prying.
Flip pancakes or frittatas with care using slim spatulas.
If something is overly stuck, add moisture before prying rather than gouging at it dry which degrades the non-stick texture.
Be patient and let food finish cooking before attempting to dislodge it.
Use Oils With High Smoke Points Like Avocado And Grapeseed
Butter and olive oil may sound delicious but burn easily leaving sticky residue behind on stainless steel.
When seasoning or cooking in your pan, stick to high heat oils like avocado, rice bran or grapeseed.
Their higher smoke points mean less burning at normal cooking heats, preventing blackened bits of oil from sticking tightly to the metal.
Seasoning the pan with a neutral oil also allows any flavors absorbed into the metal to come through rather than imparting its own taste.
The Benefits Of Seasoning Stainless Steel Pans
Putting in the work to properly pre-treat and cook with your stainless steel pans unlocks better performance plus some helpful bonuses beyond non-stick cooking.
Here’s why taking the time to season is very much worthwhile for most home cooks.
Environmentally Friendly Compared To Chemical Non-Stick Pans
The synthetic PTFE coatings used on most non-stick pots and pans slowly degrade into carcinogenic compounds, contaminate food, and create health hazards for factory workers.
Developing an organic patina made from harmless fats and oils avoids these risks and disposability problems inherent in chemical “forever” chemicals used on popular non-stick surfaces.
Seasoning also makes for naturally compostable pans at end of life unlike their coated counterparts.
Improves Over Time With Building Patina
Rather than degrade over time the way Teflon eventually loses effectiveness, seasoning on stainless steel actually improves and enhances performance the longer you use the pan properly.
Each round of hot oil treatment fills in microscopic pores more, increasing slick release ability.
Kind of like a well-loved cast iron skillet, stainless steel pans develop character and history embedded within the developed patina.
Enhances Flavors And Appearance Of Cooking
In addition to non-stick properties, seasoning on stainless imparts warmer, richer browning and overall better cooking.
Reaction with the oil-slicked metal accelerates Maillard reactions leading to better searing and more complex flavors.
Pan sauces also gain more depth pulling up the hints of fat infused within seasoned pores.
And the golden sheen patina lends a beautiful appearance similar to polished cast iron.
Conclusion
While stainless steel cookware will never be as slick as ceramic or titanium options, taking the time to properly season the pans makes a significant difference in releasing foods effortlessly.
Developing that natural, non-toxic patina takes patience but pays off for years to come with better browning, easier cleaning, and outstanding versatility across cooking techniques.
Follow the seasoning and cooking steps outlined to turn your stainless pans into reliable non-stick workhorses.