Does your stainless steel cookware look dull and lackluster? Restore it to gleaming brilliance with these simple polishing techniques.
Polishing stainless steel pots and pans every few months removes scratches, restores lost luster, and creates a protective barrier that keeps the steel looking new while making cooking and cleaning easier.
Let’s dive into the step-by-step process to revive your cookware’s shine…
How to Polish Stainless Steel Cookware?
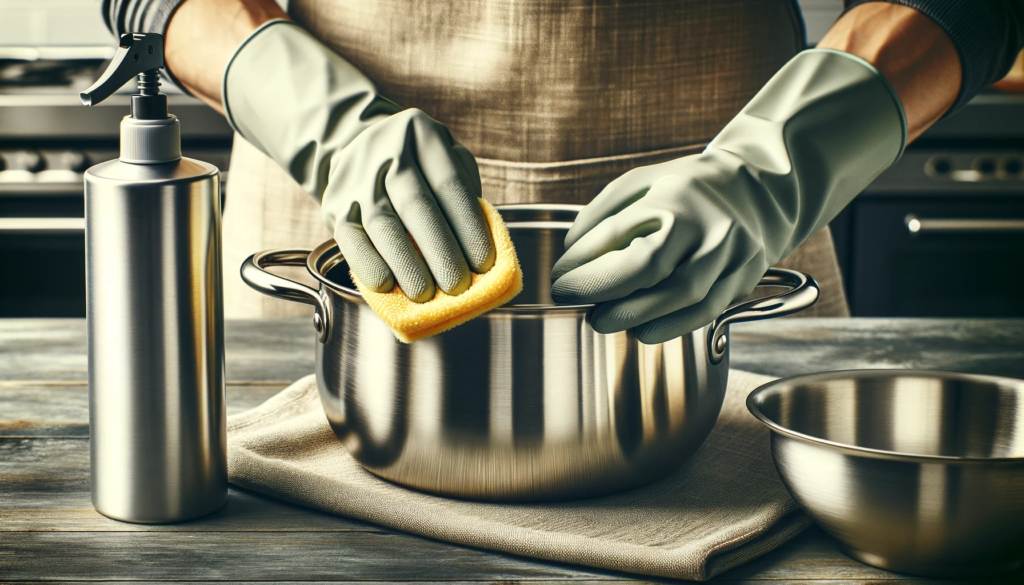
How to polish stainless steel cookware comes down to using a specially formulated cleaner/polish and soft cloth designed specifically for the stainless steel surface.
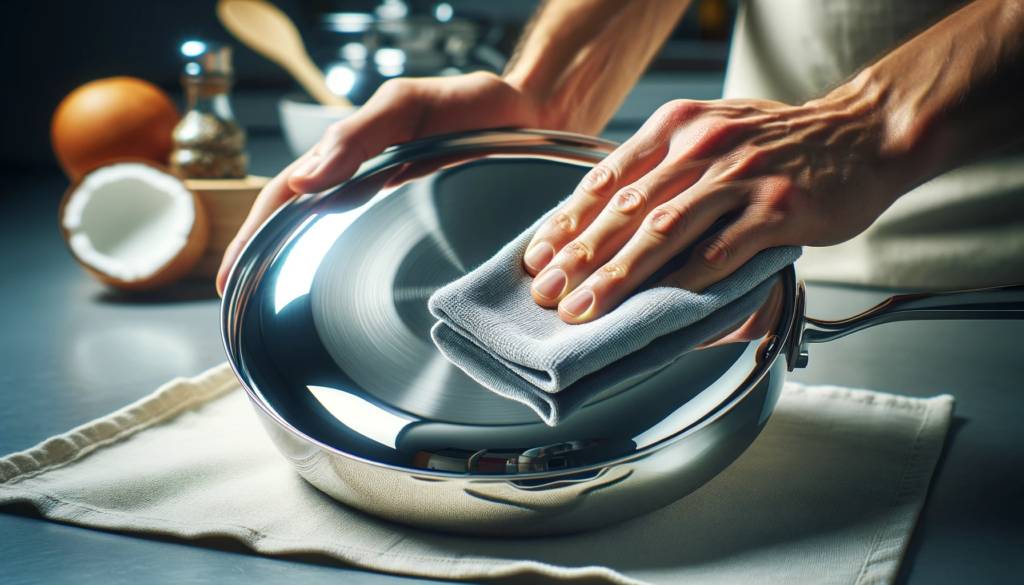
After washing thoroughly, apply a small amount of polish to the cloth and rub gently in straight overlapping lines following the grain of the steel.
Use light, even pressure to restore shine and luster while preventing scratches.
Buff off excess polish with a clean dry cloth once dry.
We’ll explore the details of this process further below.
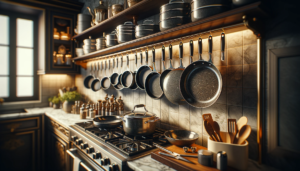
Why Polish Stainless Steel Cookware?
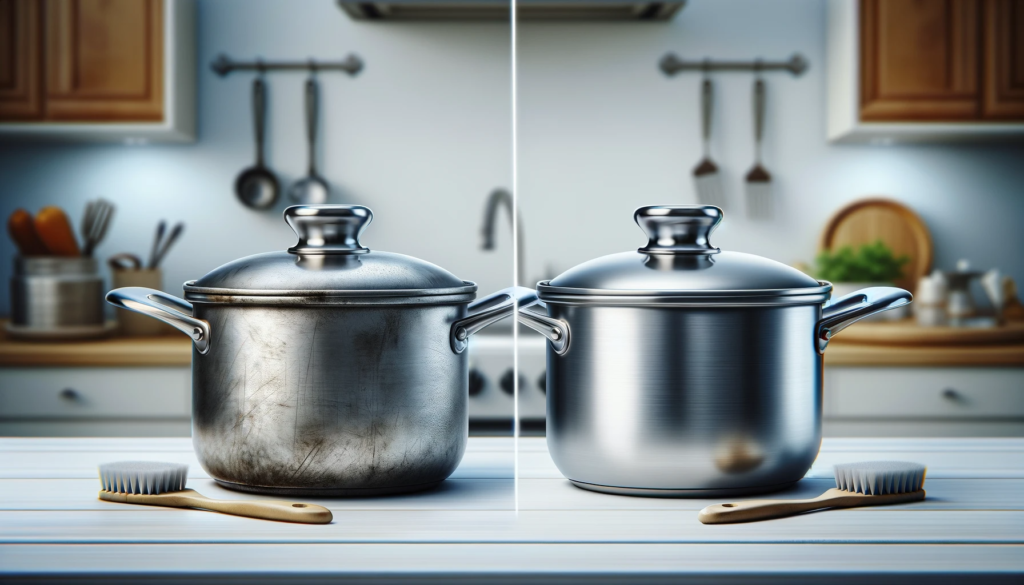
Keeping your stainless steel pots and pans looking shiny and new can seem tedious at times, but it is worth the effort.
Regular polishing keeps the steel clean, removes minor scratches and scuffs, restores any luster lost from daily wear and tear, and makes cleaning easier by preventing stubborn stains or cooked-on residue.
When cared for properly, quality stainless steel cookware should provide many years of beauty and reliable performance in the kitchen.
The first step is washing regularly with hot soapy water after each use, but abrasive scouring pads or harsh chemical cleaners can damage the finish over time, causing it to appear dull and scratched.
Fortunately, specially-formulated stainless steel polishes are designed to clean gently while restoring shine and protecting the surface.
periodic polishing every few months will keep your cookware looking brand new.
With a little time and elbow grease, even well-used pots and pans can be refreshed to gleaming perfection.
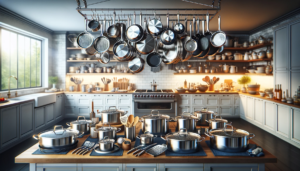
What You Need
Polishing stainless steel cookware does not require much in the way of specialized tools or expensive equipment.
You likely have most necessary supplies already on hand.
Gather them before starting for ease of use.
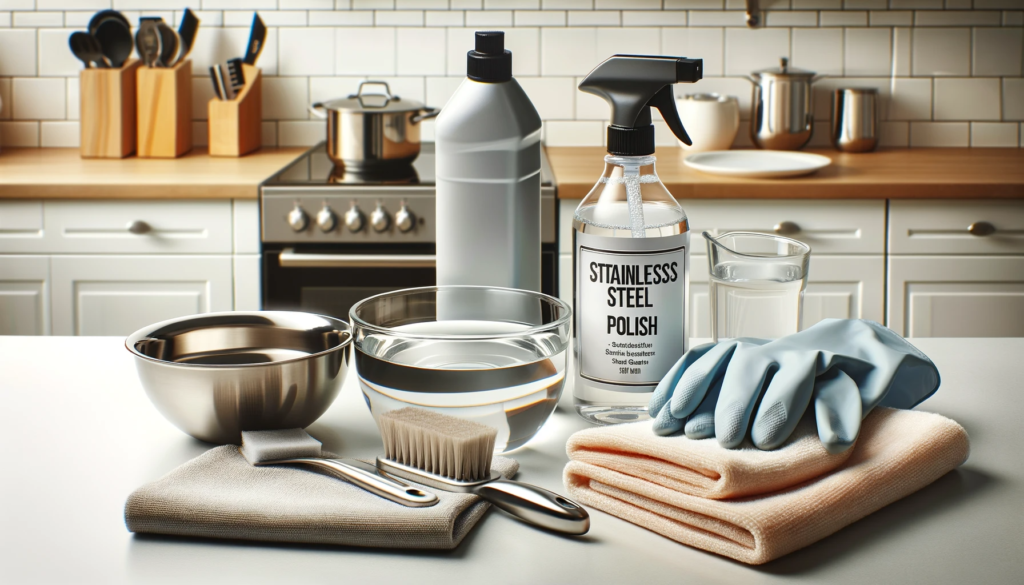
The basic staples needed are a non-abrasive soft cloth, stainless steel cleaner/polish, warm water, and rubber gloves to protect your hands.
Microfiber cloths work exceptionally well, trapping dirt while being gentle on metal surfaces.
Avoid rougher terrycloth types that could instill fine scratches.
You may also opt to use a non-scratch scouring sponge in lieu of a cloth.
When selecting a polish, verify that it is specifically intended for stainless steel rather than other metals or finishes and shake the bottle thoroughly before applying.
For cookware with intricate designs, logos, or tight crevices, have a soft-bristle brush available, ensuring bristles are not wire or metal.
The brush allows you to work polish into detailed areas a cloth cannot easily reach.
Store-bought stainless steel cleaners typically consist of a formula containing ingredients like mineral oil to leave a protective coating while gently removing tarnish and oxidation.
No need to purchase additional products for a simple DIY polishing session.
Before getting started, make sure your cookware is cool enough to handle comfortably and your workspace is free of clutter.
You may wish to lay down some paper towels or newspaper to avoid messy drips.
Then put on the rubber gloves, pour polish onto your chosen cloth or sponge, grab your brush, and you are ready to make those pots and pans shine!
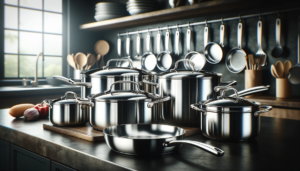
Clean the Cookware Thoroughly
Prepping your stainless steel cookware correctly before polishing is perhaps the most crucial step.
Even quality polish products will have difficulty removing stains and tarnish if old food residue or burned-on grease is still present.
The steel must be as close to pure base metal as possible for an effective uniform finish.
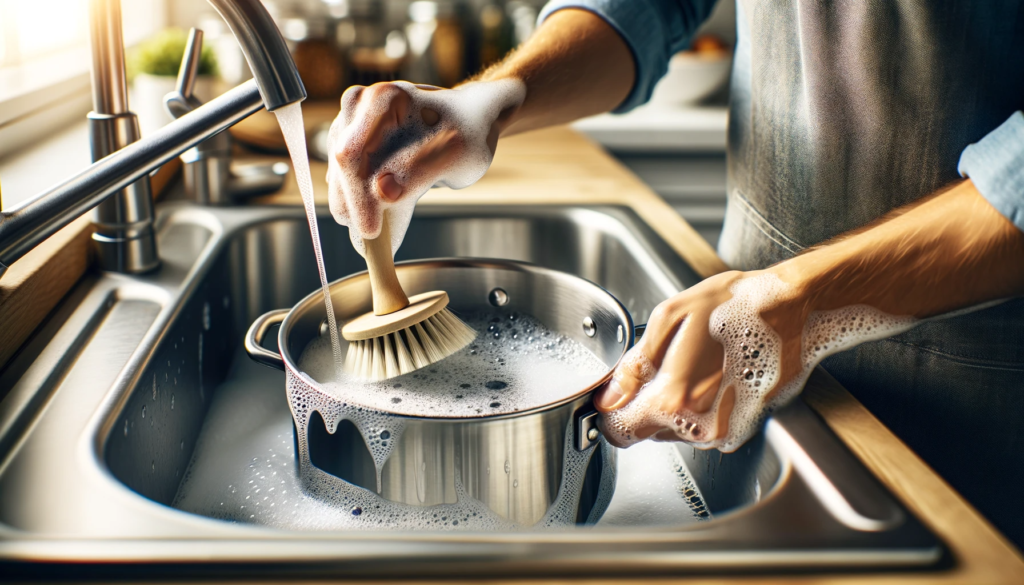
That means thoroughly hand washing each piece first with hot soapy water.
Check the entire interior and exterior surfaces, paying special attention to areas around rivets or handles where grease or food buildup tends to accumulate.
Use a soft-bristle scrub brush to loosen any visible debris or stuck-on bits.
If stained areas resist scrubbing, try letting the cookware soak for 15-30 minutes in hot sudsy water to soften deposits before scrubbing again.
Repeat as needed until removing all traces of oil, fingerprints, or contamination.
Once your stainless steel cookware looks clean from washing, rinse very thoroughly with clear hot water.
Allow pieces to air dry completely before polish application so you are working on a pristine dry surface.
Standing cookware at an angle assists draining rather than laying flat.
Liquid drops hindering effectiveness of polish are then eliminated.
Inspect closely to ensure there is no lingering dampness before moving onto polishing steps.
Proper cleaning paves the way for stainless steel to accept polish correctly.
Apply the Polish
After thorough cleaning and drying, your cookware is prepped and ready for polish.
This step revitalizes shine to make it look store-bought new again.
Shake the stainless steel polish bottle vigorously for 30-60 seconds first.
This helps blend ingredients evenly so it functions optimally.
Once mixed, apply a small dime-sized dab directly onto your soft cloth or sponge rather than the steel itself.
This affords better control of product distribution.
Then rub the polish-infused cloth in straight lines along the stainless steel’s grain, not in circular motions.
Maintain light even pressure as you go – pushing too aggressively can instill fine abrasions over time.
Apply polish to only a small area at once.
Use steady straight overlapping strokes so that no spots are missed.
Edge-to-edge thorough coverage is vital for complete renewal of luster.
Be patient and methodical, allowing several minutes for polish to interact with steel.
Continue gently working it into surface metal until any visibly dull patches or tarnished blotches disappear.
Applying excessive polish does not make results happen faster.
More product just creates messy buildup requiring extra effort to remove later.
As first areas come gleaming through with jeweled brilliance, move on to tackle adjacent sections in same manner.
Handle any engraved logos, embellished designs or decorative trivets separately using a soft brush to force polish into engraved crevices.
Buff the Steel

After thoroughly applying stainless steel polish and waiting sufficient time for it to penetrate, the next vital step is gentle buffing.
This removes excess polish while blending what remains into a protective even coat that keeps your cookware looking pristine between polishing sessions.
It takes just a light touch here to bring foods to a radiant shine.
Prepare a fresh dry soft towel or microfiber cloth to use for best results.
Then lightly grip cookware edges and gently wipe entire surface in straight overlapping paths following the same direction as the grain.
Avoid any circular rubbing motions during buffing that could instill light swirl marks.
Goal is to leave behind just a thin glossy polished residue without large clumps or excess dripping off edges.
Pay extra attention when buffing areas with embellished logos, bands or engraved writing using added pressure and focus to ensure they gleam as brightly as surrounding steel.
Flipping each piece and repeating polish application on reverse side ensures back and front match in renewed brilliance.
With plastic or silicone handles, temporarily remove them to access the steel underneath as well.
No need to leave sections sight unseen when it all deserves glowing perfection.
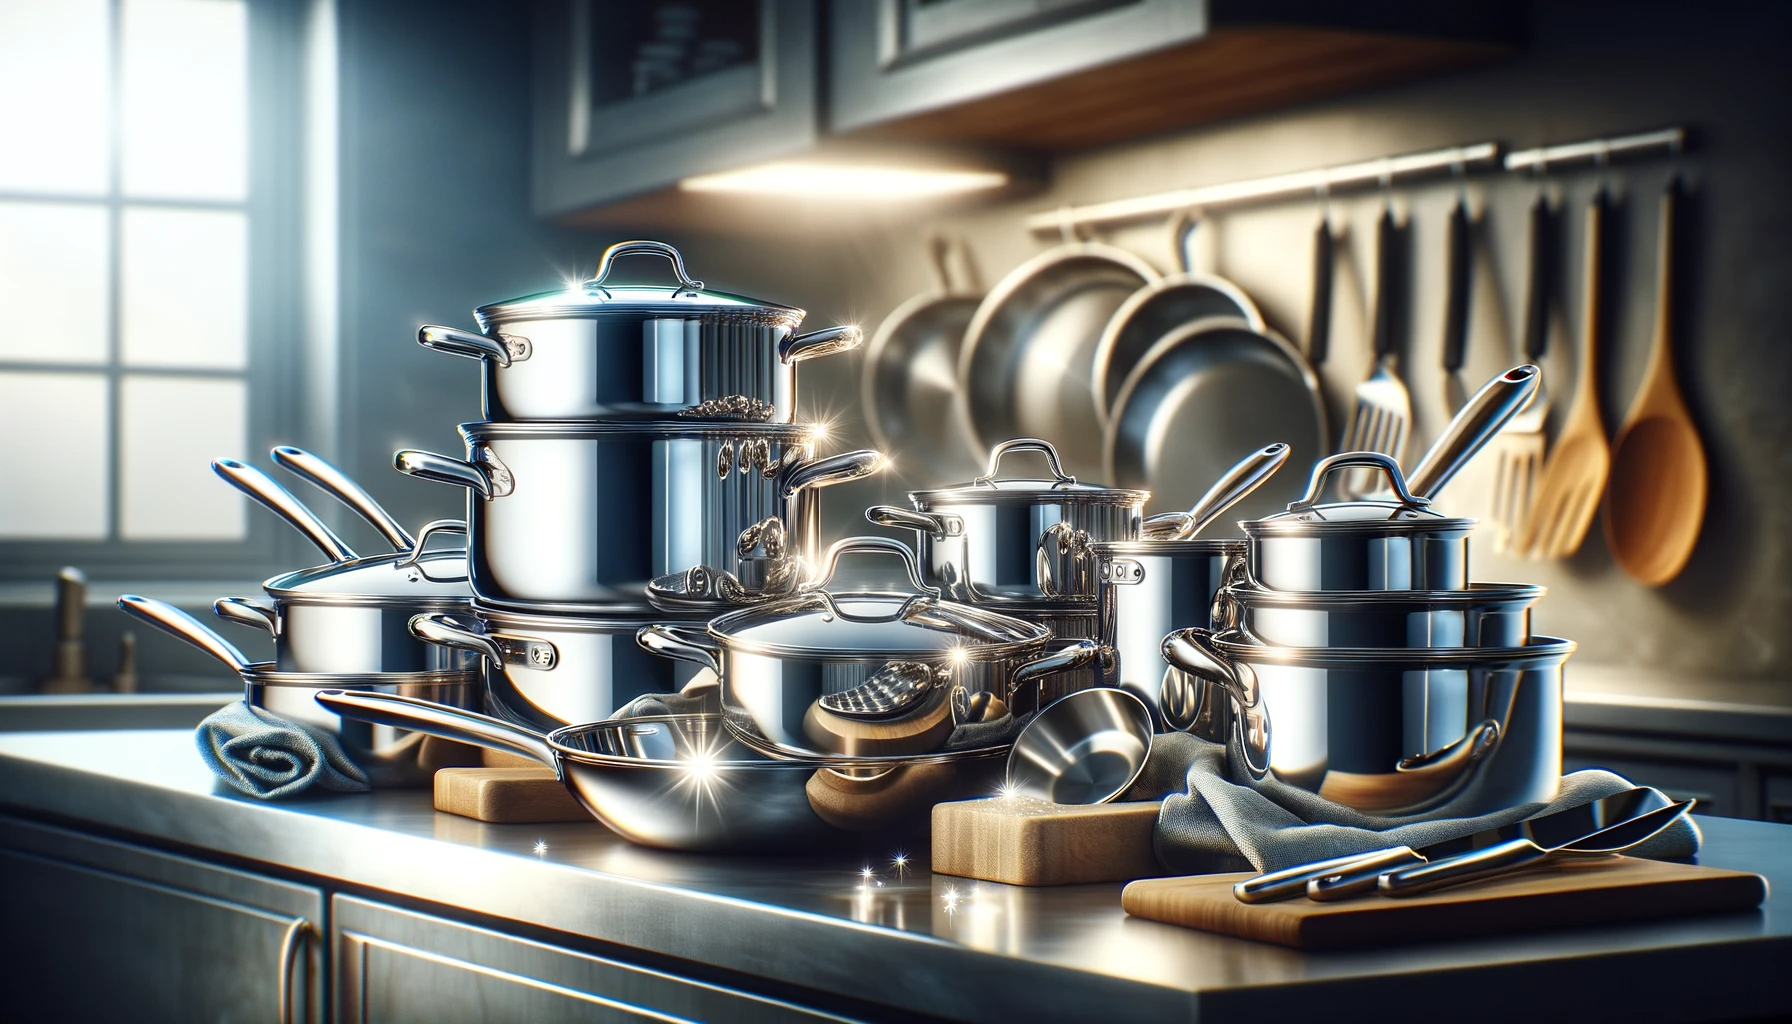
Maintain the Finish

With proper polishing techniques, your stainless steel cookware takes on lustrous elegance akin to fine jewelry rather than a dull kitchen necessity.
Enhanced visual properties are only half the benefit though.
The renewed non-stick surface also provides functional advantages.
But keeping cookware’s revived finish looking pristine requires some care between polishing sessions.
Hand washing is always advisable over harsh dishwasher chemicals that can gradually break down metal over time, causing mineral deposits to form and discolor it.
Avoid abrasive scrub pads or brushes that could scratch cookware’s vulnerable surface.
Even non-sticksafe varieties or natural bristles become abrasive with excessive force.
Use soft-bristle plastic brushes only when necessary on tricky stuck-on spills.
Storing cookware correctly between uses also prevents dulling or damage over time.
Allow pieces to fully air dry after hand washing rather than stacking wet, which fosters residue deposits and moisture stains.
Use cookware organizers or nestable sets so surfaces do not bump against each other while putting away.
Larger stockpots could benefit from protective padding or liners preventing interior scuffs during storage.
Conclusion
Properly caring for your stainless steel pots and pans requires a little effort, but pays off handsomly in visual appeal and consistently smooth cooking performance for years to come.
Follow these polishing techniques periodically to keep cookware looking perpetually new, while handwashing gently and storing carefully between uses.
With a modest investment of time and care, you can enjoy glowing, pristine stainless steel cookware that functions as beautifully as it looks.