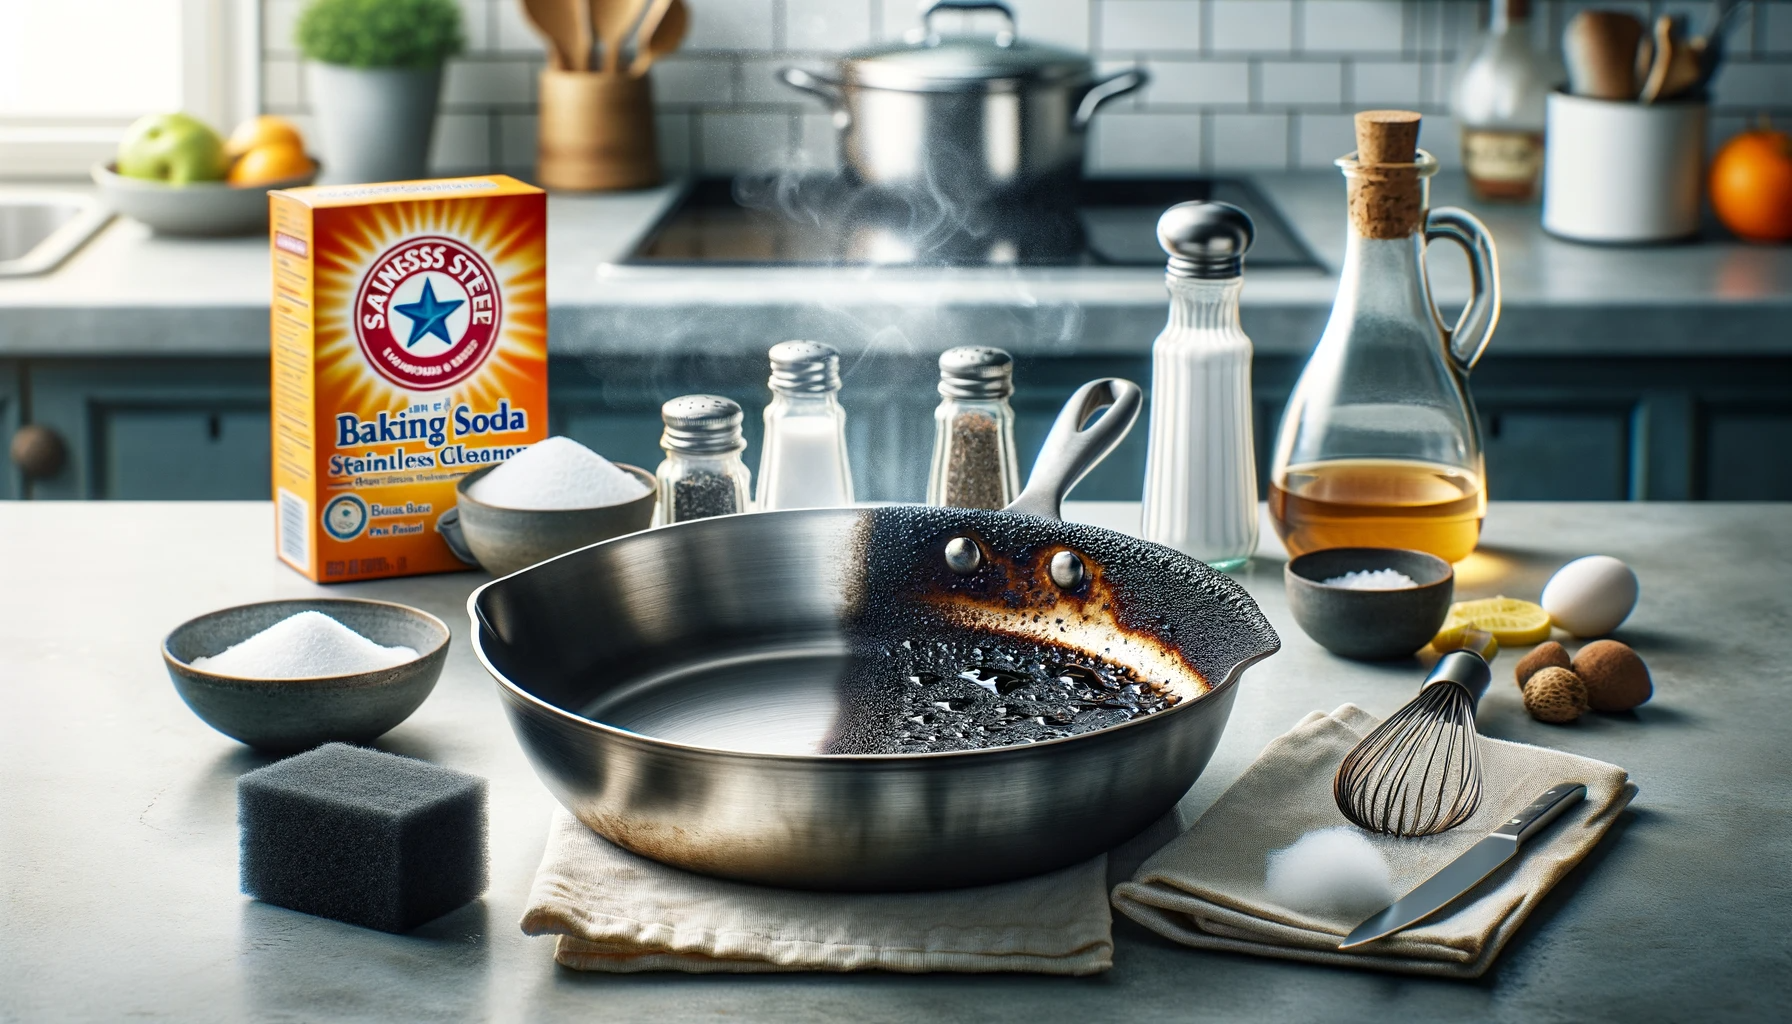
Ever opened your kitchen cabinet to find a formerly pristine stainless steel pan now scarred by a blackened burnt mess?
Burnt stainless steel pans can be fully rehabilitated through strategic cleaning methods without damaging them further over time.
Let’s dive into step-by-step guidance on restoring burnt stainless steel cookware to look and function like new.
How to Clean a Burnt Stainless Steel Pan

To clean a burnt stainless steel pan, first fill the pan with water and bring it to a boil on the stove for 5-10 minutes.
This helps loosen stuck-on debris.
Next, make a paste of baking soda and water and apply it to the burnt areas of the pan.
Let sit for 15 minutes before scrubbing away.
For stubborn spots, sprinkle salt directly onto them to use the grains as an abrasive scrubber to lift residue, followed by scrubbing gently with stainless steel wool.
Avoid harsh chemicals and stick to boiling water, baking soda paste, salt and stainless steel wool to carefully lift burnt spots without further damaging the pan.
Assess the Damage
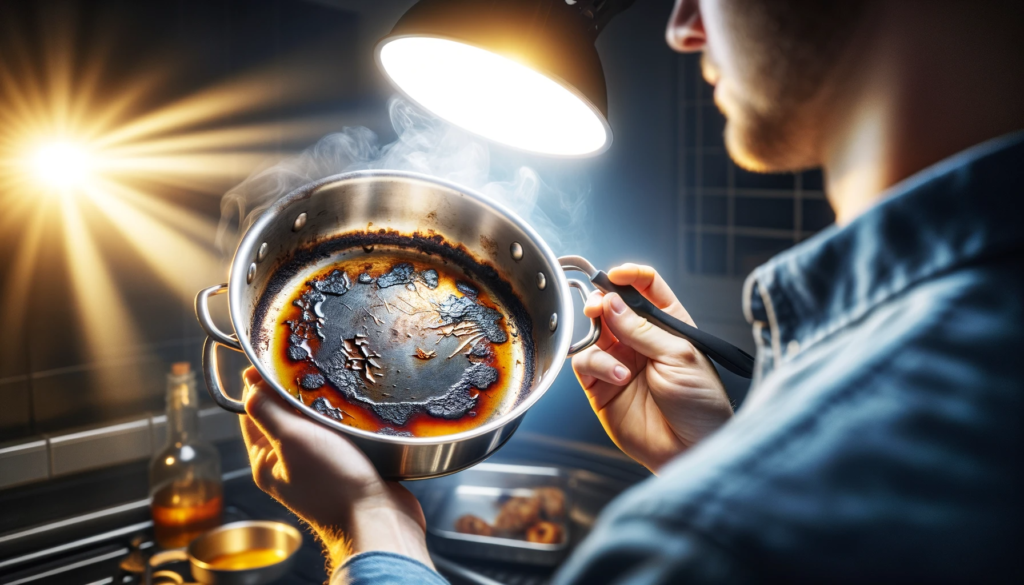
When you discover a stainless steel pan that has some level of burning or charring from food getting overcooked, take a few minutes to thoroughly inspect the full extent of the damage before attempting any cleaning.
Carefully examine both the interior and exterior surfaces to check if the burning is limited to small spots or if it covers a wider area.
Try and determine if the pan only has some minor discoloration and staining or if actual pieces of food have been carbonized and are stuck on the metal.
Tilt the pan in bright lighting to clearly see all sides including the handles and bottom.
Use your fingertips to feel if any crusty debris is firmly adhered or if it seems like surface scorching.
As you are evaluating, think whether the burning happened recently or if old stuck-on food has accumulated over multiple uses without washing.
This assessment will clue you in on factors like how much scrubbing force and effort will be necessary to rehabilitate the cookware.
Light surface stains will be easier to tackle while layers of carbonized grease and food may take repeat intensive cleaning efforts.
Try Boiling Water
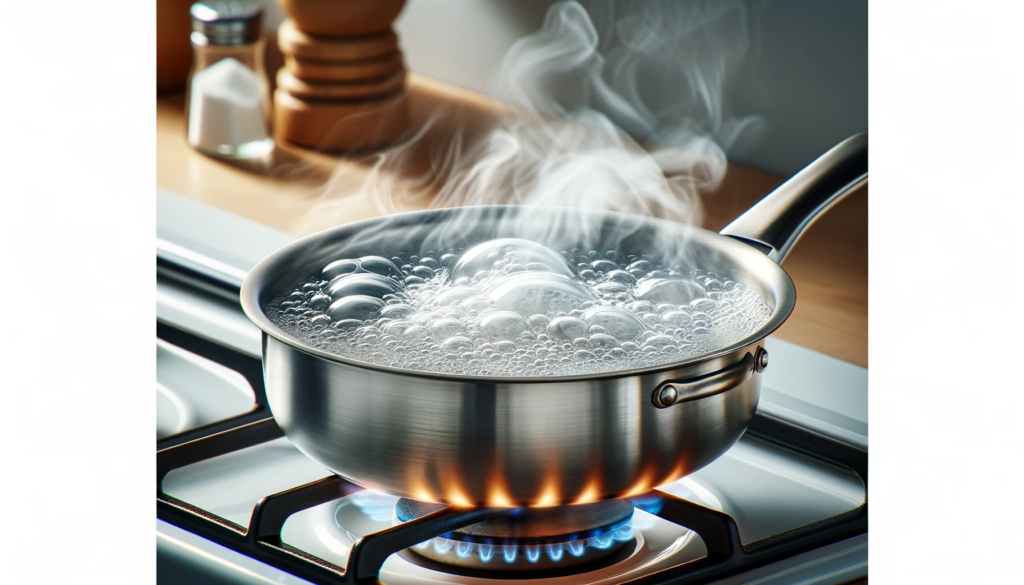
One preliminary cleaning step to try is boiling water in the burnt pan.
Fill the stainless steel pan about halfway up with regular tap water or enough so scorched areas are submerged.
Put the pan on a stove burner, turning the heat up to bring it to a rapid boil.
Keep an eye on the pan as the water starts bubbling.
Using a wooden or heat-safe spoon, keep stirring the water so it fully circulates along all sides getting contact with damaged spots.
The turbulent boiling action helps lift and loosen stuck-on debris from the surface.
Allow the water to actively boil for 5-10 minutes, keeping the spoon moving the entire time.
The longer duration of energetic bubbles gives the hot water more chance to penetrate and soften the caked-on food particles.
Burnt bits may steadily get removed by the motion and heat.
Add more hot water as levels go down until signs of residue fade.
When finished boiling, let pan cool before scoping inside to see if the mess cleared or if more work is warranted.
Use Baking Soda

Baking soda is considered a gentle abrasive cleaner and deodorizer popular for home remedial projects like cleansing sinks and even whitening teeth.
Make a thick paste blending approximately one cup baking soda mixed with just enough water to form a spreadable consistency without being watery thin.
Apply the grainy paste carefully onto every spot, crevice and edge where burning or charred bits still remain stuck inside the pan using fingers or an old toothbrush.
Cover all evident areas of residue build up with paste, using more baking soda and water to produce additional paste as required to fully treat pan.
Apply paste not only on the interior cooking surface but coat any exterior parts of handles or rims marked by the burning.
Allow ample dwell time such as 10 to 15 minutes for the baking soda paste to work on breaking down the stubborn debris spots.
As it sets, the paste solution bubbles and lifts stains.
The longer duration gives the paste time to sufficiently penetrate and dissolve the carbonized material.
After adequate wait time, use a sponge or rigid brush with warm water to vigorously scrub everywhere paste was applied to remove the loosened grime particles.
Check pan surface and repeat baking soda paste treatment on areas that need more cleaning action.
Thickly caked on burns may demand multiple applications before being conquered.
Use Salt
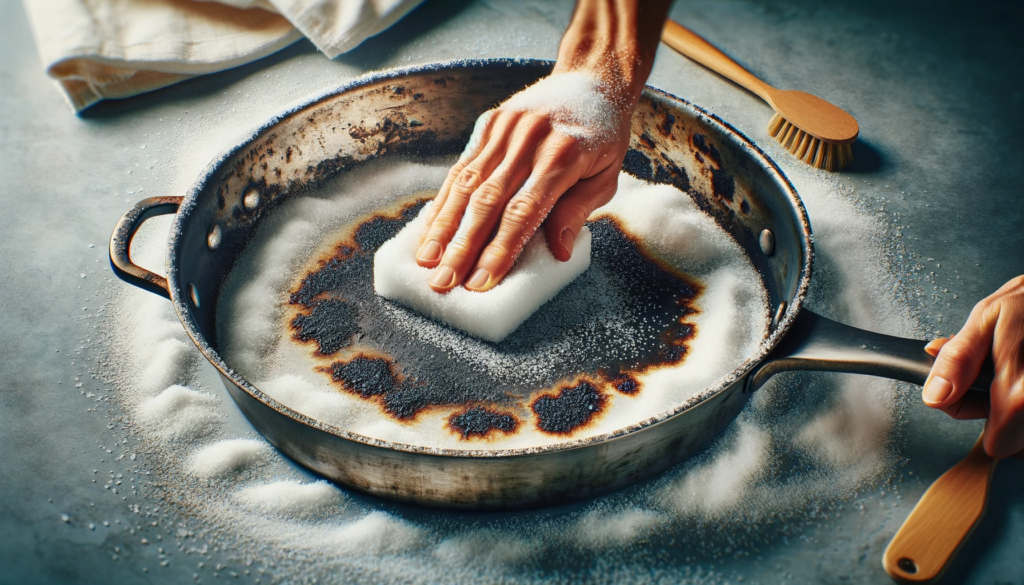
Plain table salt or coarse sea salt are handy natural cleaning boosters typically found stocked in most kitchens.
Measuring out a generous amount such as 1⁄4 cup or more depending on size of cookware, shake salt so it thoroughly covers the base and lower sides of the pan focusing efforts on sections still plagued by burn stains or residue buildup after trying the boiling water and baking soda methods.
Extra salt sprinkled on bad spots increases rubbing intensity which is helpful for stuck issues.
Let the salt dwell and work its abrasive magic for about 5 minutes or more if dealing with a thicker crust created from whatever food caused the scorching.
Then take a somewhat rough scrub brush, sponge lined with a washcloth or even wadded up aluminum foil and use it to vigorously rub the salt completely around the stainless steel surface.
The gritty salt particles will act to sand and strip away stubborn residue marks through sheer friction.
Check progress after several minutes of forceful scrubbing.
Re-sprinkle more salt as needed and repeat brushing action until scorched areas disappear.
The salt scrubbing step can be done multiple times in the same session or spread over days allowing salted pan to simply soak overnight for a deeper cleaning boost.
Rinse pan thoroughly with warm water to remove all salt grains when finished.
Scrub with Steel Wool
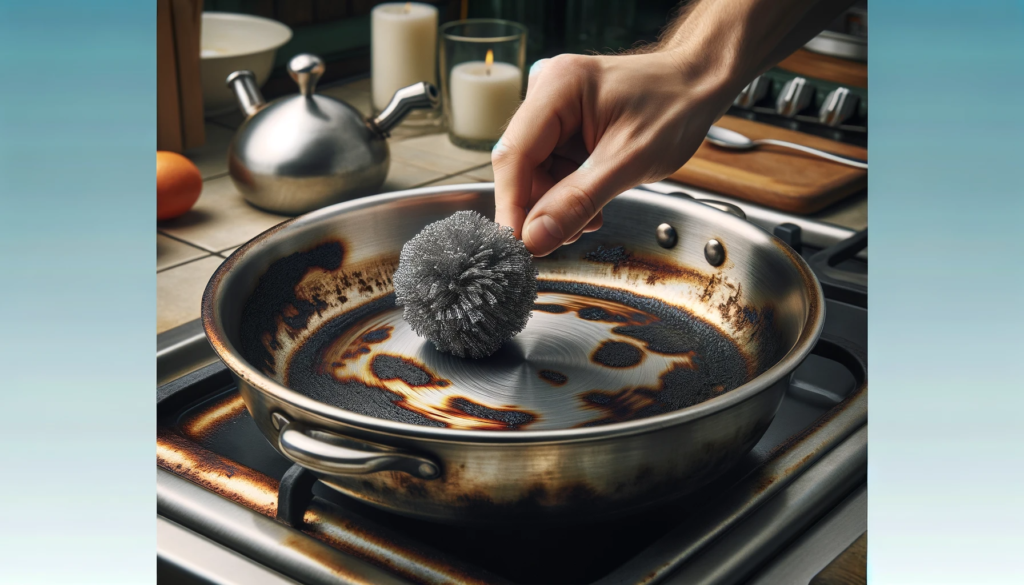
For especially stubborn burnt spots proving extremely difficult to budge using boiling water, baking soda salt and elbow grease alone, try gently rubbing the area with stainless steel wool.
Steel wool comes in a range of grades from super fine to coarse, so select a medium duty wool for working on stainless steel pans.
The ultra harsh coarse steel wool could potentially scratch surfaces.
Steel wool has tiny clustered metal fiber strands that act as an abrasive cleaner capable of erasing thick, caked layers of carbonization from extreme heat exposure during cooking episodes gone wrong.
It is an ideal scouring agent for dissolved the most tenacious crusted debris stuck to shiny cookware.
Gently yet determinedly scrub affected areas in small circular motions allowing the steel fibers to steadily dissolve the debris a fraction at a time without damaging the pan.
Take care not to aggressively bear down or keep rubbing the same spot for too long.
Make slow but consistent progress rotating areas receiving steel wool friction.
Visually inspect as moving ahead to ensure no new scratches form.
Rinse with hot water and dry pan completely when satisfied with cleaning results.
Repeat steel wool treatment if any lingering dark spots remain, aiming to fully restore the cookware without harm.
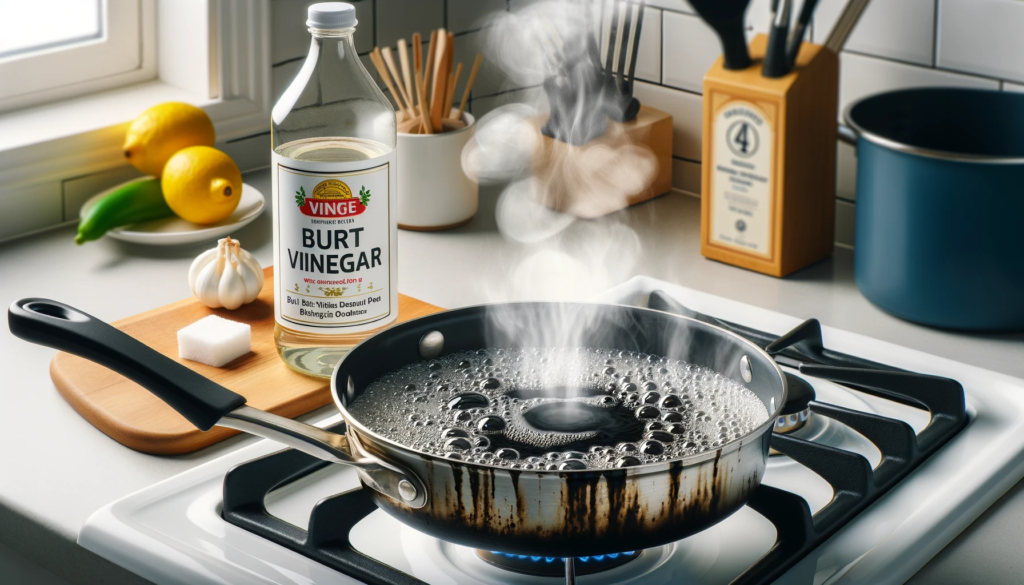
Use Vinegar
After tackling stuck-on scorched bits marring stainless steel pans using boiling water, baking soda, salt and stainless steel wool, the pan may again gleam pristine with no visual signs of remaining mess.
But sometimes stubborn odors linger trapped in microscopic crevices even if the surface now shines spotless.
These embedded smells are hints of residual debris lingering deep in the grain beyond where our eyes can distinguish.
To thoroughly eliminate traces of burnt on matter at the microscopic level as well as any enduring stinky odors, try boiling undiluted white distilled vinegar inside the still stuffy pan.
Pour enough vinegar to fully coat the bottom half of pan which will rapidly reduce as it comes to a rolling bubble on the stove burner.
Boil for 5 to 10 minutes as vinegar bubbles and steams.
The highly acidic vinegar solution works to dissolve invisible leftover debris lodged in minuscule pocks within the stainless steel as well as annihilating stubborn smells.
Some people also recommend adding a tablespoon of lemon juice or baking soda to the boiling vinegar water for extra odor elimination punch.
Allow the vinegar boil to vigorously bubble the allocated time before turning off stove burner.
When safe, let vinegar solution remain and cool completely in pan for an hour or more to allow sufficient penetration time before disposing down the sink.
Avoid pouring hot solutions down drains.
Last step is to carefully hand wash pan with dish soap and water before thoroughly drying with towel.
Avoid Harsh Chemicals

When facing a stainless steel pan plagued by burned on stains and debris, it can feel tempting to reach for harsh chemical cleaners boasting powerful grime-removing properties.
Bottles of commercial oven cleaners, chlorine bleach, ammonia and abrasive scouring powders line store shelves promising to effortlessly wipe out messes.
However it is best to refrain from using caustic cleansing agents on stainless steel cookware no matter how desperate fixing the situation may seem.
This is because the potent chemicals bundled in these cleaning products can actually negatively react with stainless steel composition.
The metal layers and grains making up quality pans feature chromium added to strengthen resistance to corrosion and rust.
But chemical agents can interfere with chromium oxide layers that protect the stainless steel underneath, breaking this shield down through repeated exposure.
Without this layer guarding it, stainless steel risks takes on corrosion damage including pitting, cracks and discoloration.
The caustic cleaners jeopardize appearance and performance of cookware over time.
Instead try adhering to gentler homemade solutions utilizing common mild abrasives like baking soda, salt and vinegar when facing burnt on stainless steel pan predicaments.
Couple these with properly selected scrubbing tools ranging from wood spoons and sponges to stainless steel wool for abrasion relief.
It also pays dividends to invest effort and elbow grease through manual scrubbing versus assuming a bottle of chemicals promises a shortcut to removing pesky scorched spots.
While intensive scrubbing sessions may seem laborious, resist seeking harsh chemical relief and stick to gentler methods better suited to preserve stainless steel integrity while still effectively lifting burnt debris from destroyed pans.
Have patience realizing that one technique may not successfully treat every type of burned on stain at once.
Be willing to switch between suggested methods attacking the issue from different angles.
Follow an inspection plan when testing out each cleansing step to honestly evaluate improvements before moving ahead.
Conclusion
Finding a beloved stainless steel pan filled with blackened, charred remains after a cooking mishap can be disheartening.
However don’t discard or relegate the cookware todecorative status quite yet.
With some strategic stain-fighting techniques coupled with determined scrubbing using common household ingredients, stainless steel pans ruined by ugly burning damage can regain former shine and function.
First fully assess degree of burning by closely examining all sides of the pan to identify how much elbow grease will realistically be needed for rehabilitation.
Design a game plan selecting from cleansing options like boiling water, baking soda paste, salt scrub and stainless steel wool based on type of residue present.
Invest sufficient time truly allowing chosen cleaning methods to penetrate and lift debris versus rushing through steps.
Be willing to repeat processes multiple times or sequentially move through different techniques targeting stubborn deposits still clinging inside flawed cookware.
Couple cleaning agents with proper manual scrubbing efforts for best outcome.
While remedying scorched stainless steel pans can initially seem daunting, resist the urge to deploy harsh caustic chemicals in frustration.
This risks deteriorating the protective finish shielding the metal over long term usage.
Instead thoughtfully loosen burnt bits through gentle yet persistent physical cleaning tactics until the pan is revived.