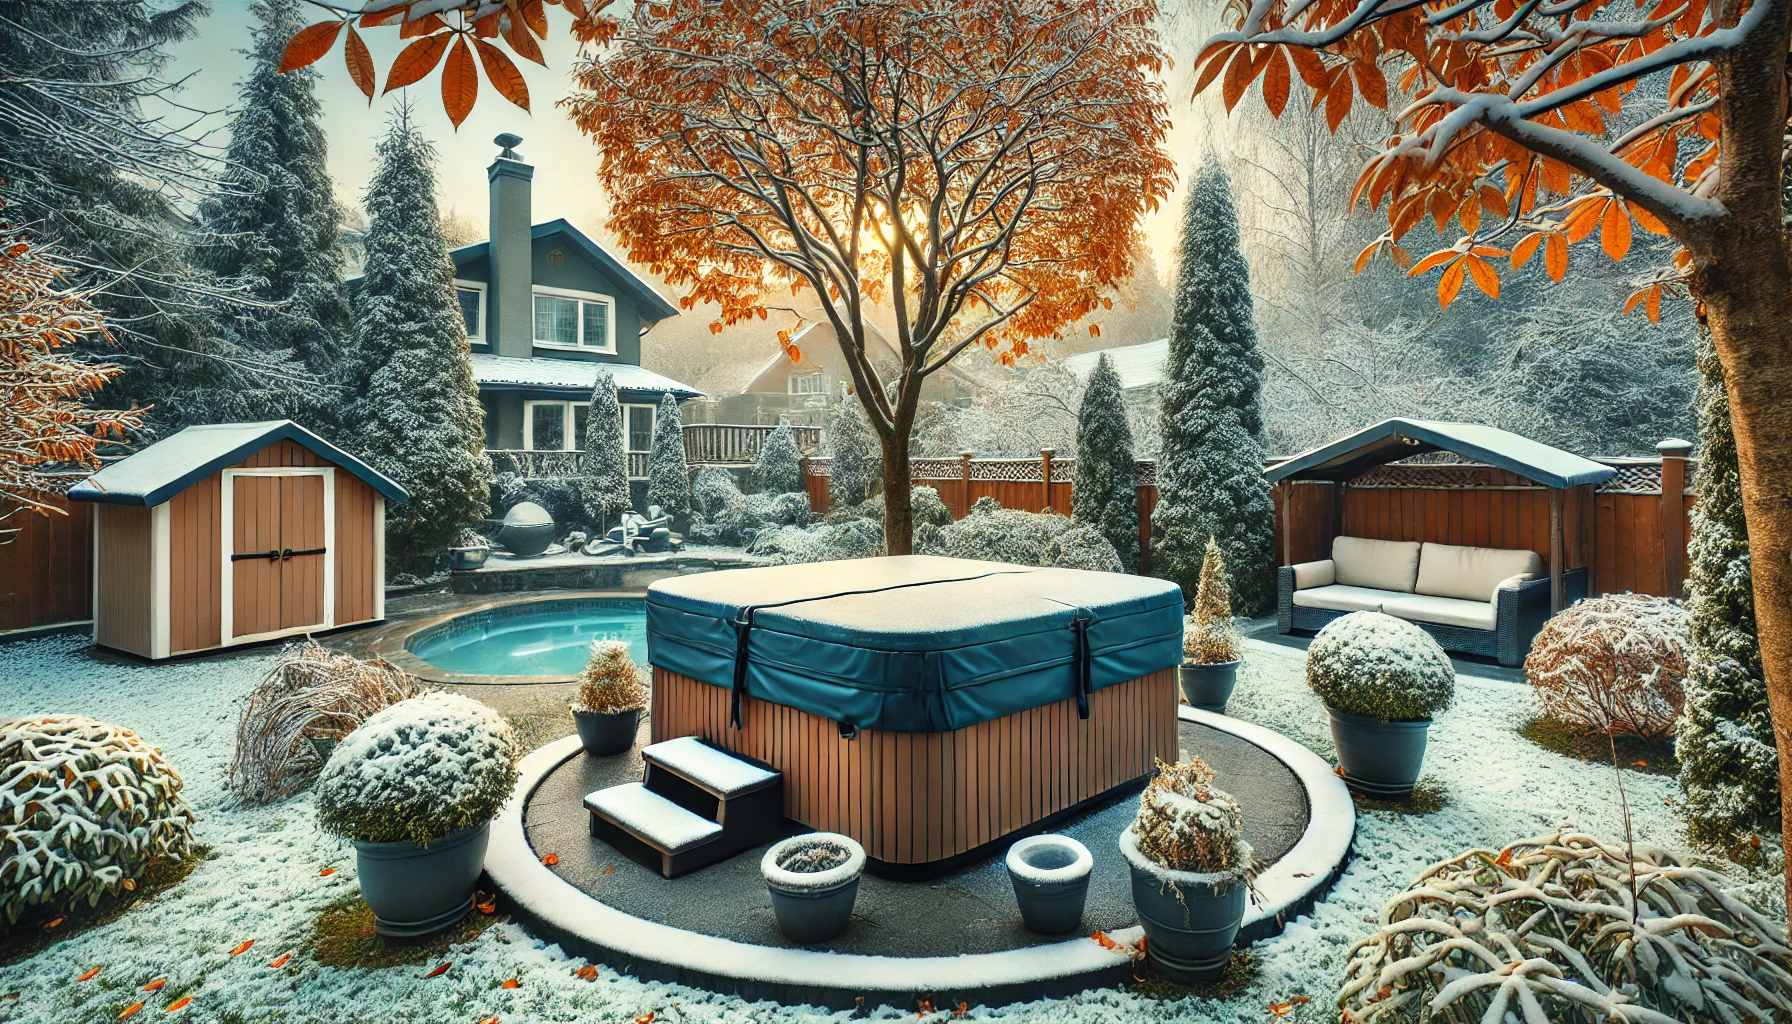
As the leaves start to change and the air gets crisp, it’s time to think about winterizing your hot tub. I’ve been there – neglecting this crucial task can lead to some serious headaches (and wallet aches) come spring.
But don’t worry, I’m here to walk you through the process step-by-step, just like I wish someone had done for me when I was a hot tub newbie.
How To Winterize Your Hot Tub
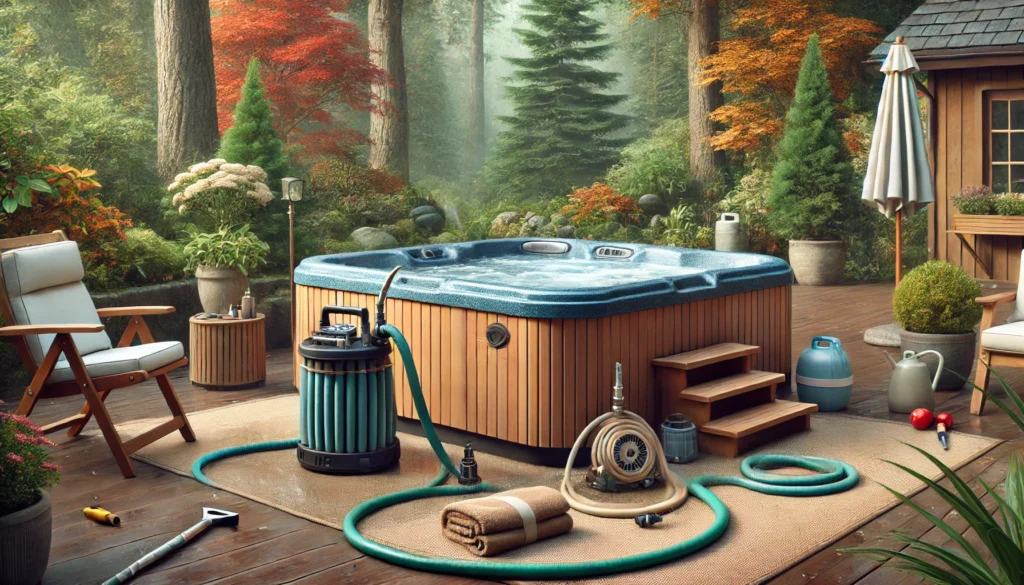
Winterizing your hot tub involves draining the water, blowing out the pipes, adding antifreeze if necessary, and properly covering and securing the tub.
It’s a process that typically takes a few hours but can save you from costly repairs due to freeze damage.
The key steps include cleaning the tub, draining all water, purging the plumbing lines, removing filters, adding antifreeze in some cases, and securing the cover.
We’ll explore each of these steps in detail below, but this overview should give you a good idea of what we’re getting into.
Now, you might be wondering, “Do I really need to winterize my hot tub?”
Well, that depends on a few factors. If you live in an area where temperatures rarely dip below freezing, you might be able to get away with just lowering the temperature and running the pump occasionally.
But for most of us in colder climates, proper winterization is a must. Trust me, it’s better to be safe than sorry when it comes to protecting your investment.
Why Winterizing Your Hot Tub is Important
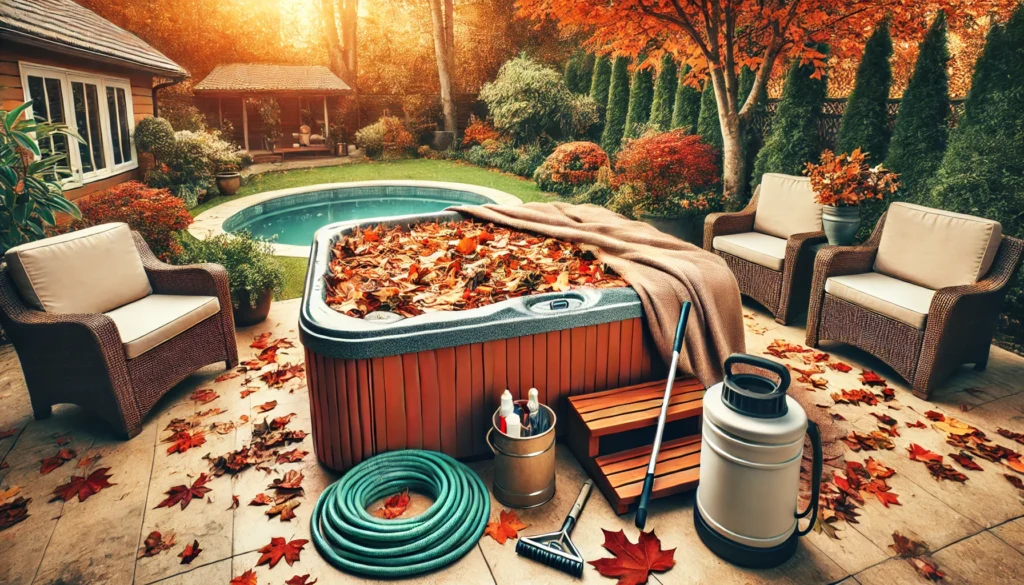
Let me tell you, learning the importance of winterizing your hot tub the hard way is no fun. I remember my first year as a hot tub owner – I thought, “Hey, it’s built for the outdoors, right? It’ll be fine!”
Boy, was I wrong. That spring, I was greeted with cracked pipes and a hefty repair bill. Learn from my mistake, folks!
Winterizing your hot tub is crucial for several reasons. First and foremost, it helps prevent freeze damage. Water expands when it freezes, and that can wreak havoc on your pipes and equipment.
Even a small amount of water left in the plumbing can expand enough to crack pipes, damage the pump, or ruin the heater. Trust me, replacing a cracked pump or heater is not cheap!
Another big reason is to save on energy costs. If you’re not using your tub during winter, why pay to keep it heated? Hot tubs are energy hogs, and keeping one running all winter can add a significant amount to your electricity bill.
By winterizing, you’re essentially putting your tub into hibernation, saving you money month after month.
It’s also about protecting your investment. Hot tubs aren’t cheap, and proper winterization helps extend the life of your tub and all its components. Regular winterization can help prevent wear and tear on your equipment, keep your acrylic shell in good condition, and even help maintain your cover.
Lastly, a properly winterized tub is much easier to get up and running when warm weather rolls around again. This makes for a smoother spring startup. Instead of dealing with potential damage or stagnant water, you’ll be able to quickly refill your tub and get back to enjoying those relaxing soaks.
I learned these lessons the hard way, but you don’t have to! Let’s dive into the nitty-gritty of how to winterize your hot tub properly.
Gather Your Winterizing Supplies
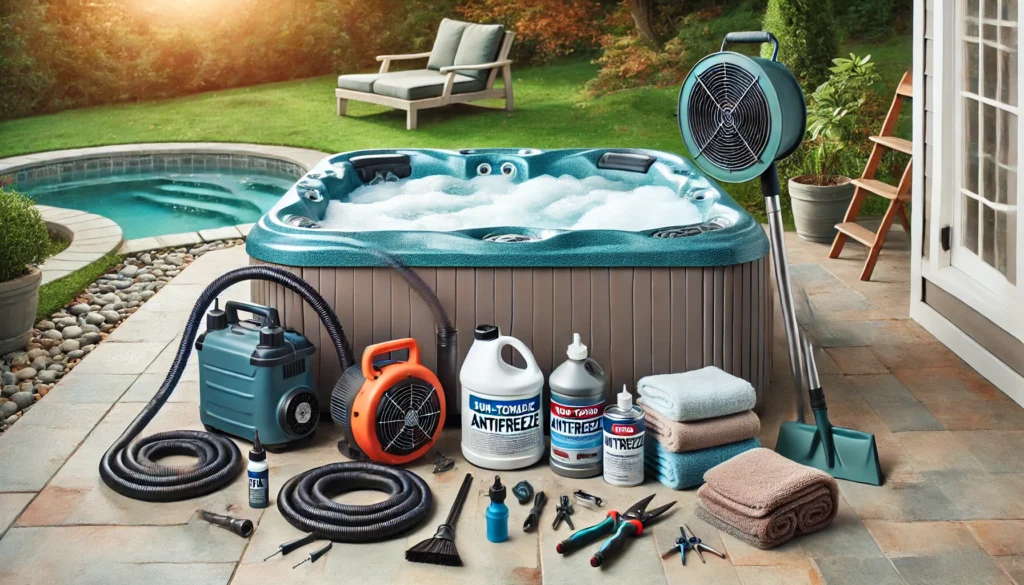
Before you start, make sure you have all the necessary supplies on hand. There’s nothing worse than being elbow-deep in the process and realizing you’re missing something crucial.
Here’s what you’ll need:
You’ll want to have a submersible pump or shop vac, a blower or air compressor, and non-toxic antifreeze specifically for hot tubs/spas. Don’t forget spa cleaning solution, microfiber cloths or soft towels, and a garden hose.
You’ll also need some tools like channel lock pliers and a screwdriver. Make sure you have hot tub cover cleaner and expansion plugs or “gizzmos” on hand as well.
Let me break down why each of these items is important:
- Submersible pump or shop vac: This is for removing the last bit of water from your tub. A regular drain often won’t get it all.
- Blower or air compressor: Essential for blowing out the plumbing lines to remove all water.
- Non-toxic antifreeze: This stuff is a lifesaver in really cold climates. It helps prevent any residual water from freezing and expanding.
- Spa cleaning solution: You want your tub clean before you close it up for the winter.
- Microfiber cloths or soft towels: For wiping down the shell and cover.
- Garden hose: Useful for rinsing and cleaning.
- Channel lock pliers and screwdriver: For removing drain plugs and accessing panels if needed.
- Hot tub cover cleaner: Keeping your cover in good condition is crucial for protecting your tub.
- Expansion plugs or “gizzmos”: These replace your drain plugs and compress if any water freezes, preventing damage.
I remember my first winterizing attempt – I thought I could get by with just a garden hose and some elbow grease. Let’s just say it didn’t go well, and I ended up making an emergency run to the store mid-process.
Learn from my mistake and gather everything beforehand!
Clean and Drain Your Hot Tub
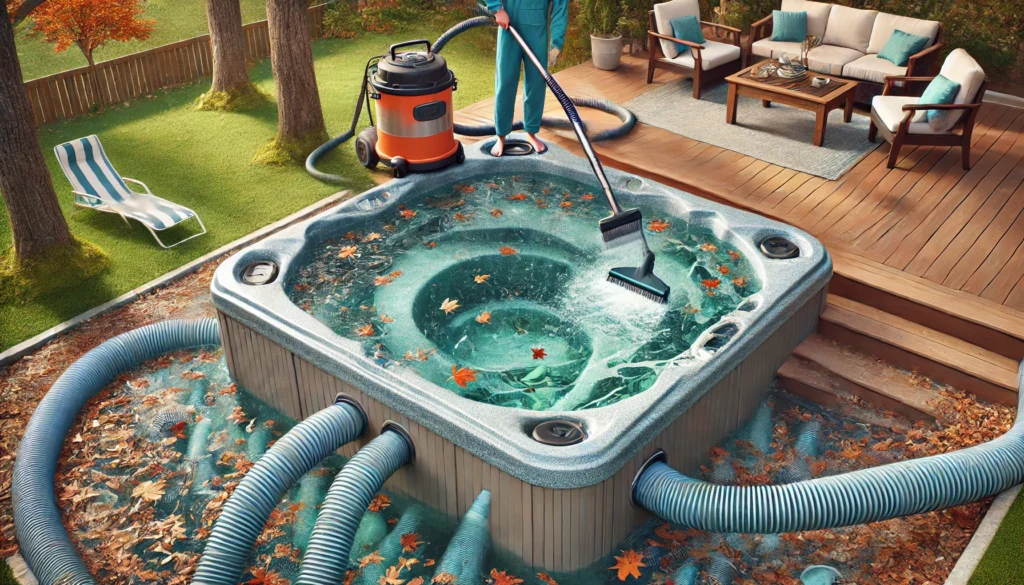
Alright, let’s roll up our sleeves and get to work! The first step is to give your hot tub a good cleaning. Trust me, you don’t want to leave any gunk or biofilm in there over the winter.
Not only is it gross, but it can also lead to some nasty surprises when you open your tub in the spring.
Start by removing any debris from the water with a net. Leaves, twigs, and other gunk tend to accumulate, especially if your tub is near trees. Then, add a line flush product to the water and run the jets for about 15-20 minutes.
This helps clean out the plumbing lines, removing any biofilm or scale that’s built up over time. It’s amazing (and a little disgusting) what can build up in those pipes!
Next, it’s time to drain the tub. You can use the drain valve if your tub has one, or a submersible pump. If using the drain valve, it’ll take a while, so be patient!
I like to use a submersible pump because it’s faster and gets more water out. While the tub is draining, this is a good time to inspect your tub for any cracks, loose fittings, or other issues. It’s much easier to spot problems when the tub is empty.
Once the water is mostly out, use a shop vac to remove any remaining water from the footwell and jets. Pay special attention to the jets – water can hide in there and cause problems if it freezes.
Finally, wipe down all surfaces with a spa cleaner and a soft cloth. This helps remove any remaining dirt or residue and leaves your tub clean for winter.
I remember the first time I drained my hot tub – I was shocked at how much gunk came out of those jets! It’s a bit gross, but so satisfying to get it all cleaned out.
Plus, your tub will thank you come spring.
Blow Out the Plumbing Lines
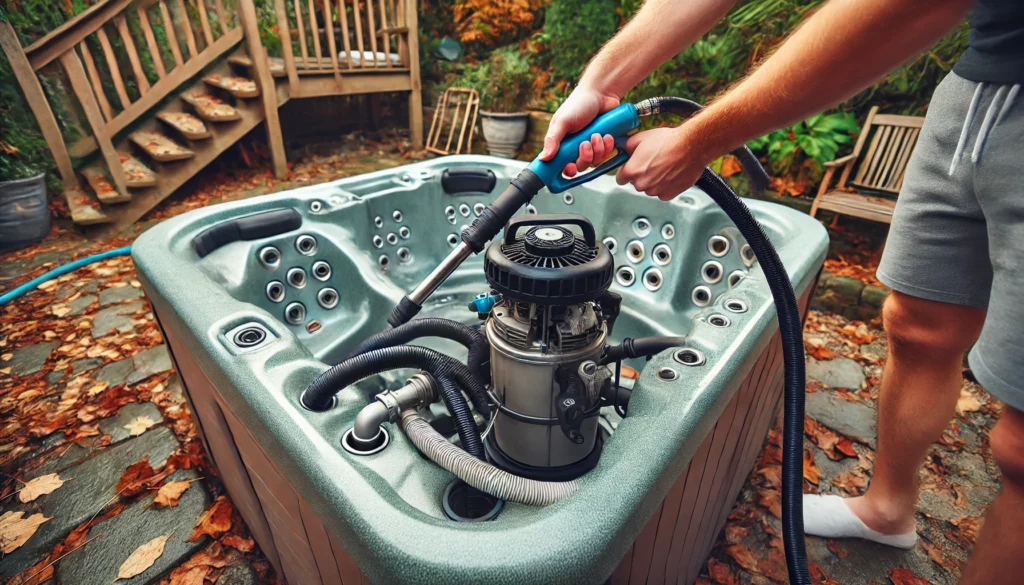
This step is crucial to prevent any leftover water from freezing and causing damage. Here’s how to do it:
Start by removing all drain plugs from the pump(s) and heater. You’ll usually find these at the bottom of each component.
Keep track of where each plug came from – you’ll need to replace them later (unless you’re using expansion plugs).
Then, use a blower or air compressor to blow air through each jet. It’s best to start with the jets at the top and work your way down. Why?
Because water naturally flows downward, so starting at the top helps push water through the entire system. Continue blowing until you see no more water coming out. This process can take a while, so be patient.
Don’t forget about other water lines like waterfalls or fountains! These features often have separate plumbing that needs to be cleared out too. Also, pay attention to air control valves and diverter valves – make sure to turn them to different positions while blowing out the lines to ensure all passages are cleared.
The first time I did this, I thought I was done after just a few minutes. Big mistake! It takes longer than you’d think to get all the water out.
Be thorough – your future self will thank you. I once rushed this step and ended up with a cracked pump the next spring. Trust me, spending an extra 30 minutes now can save you hundreds of dollars in repairs later.
Remove and Clean Filters
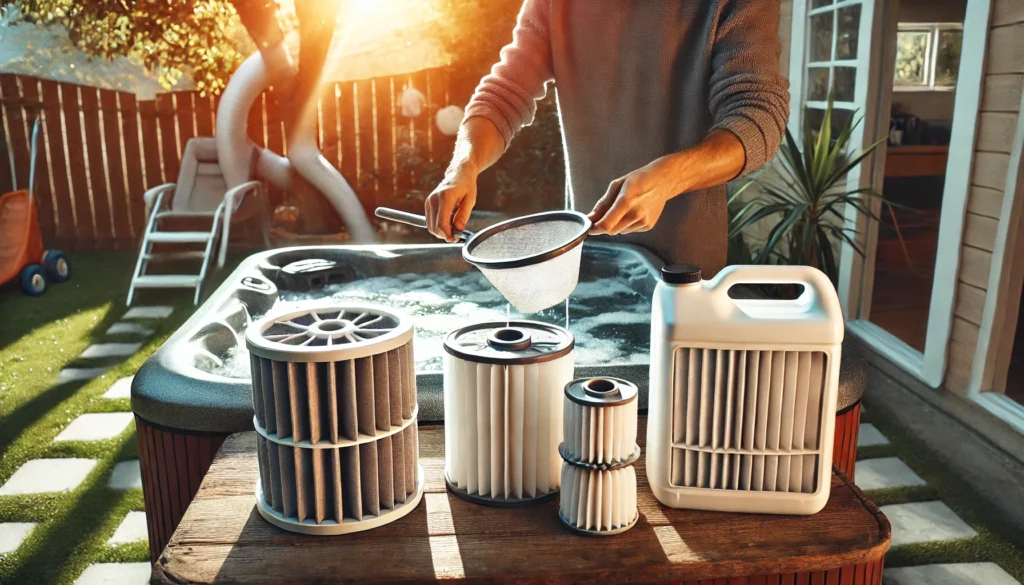
Your filters need some TLC too. Start by removing all filters from the tub. Most hot tubs have one or two filters, usually located in the filter compartment or skimmer area.
If you’re not sure where your filters are, check your owner’s manual.
Once you’ve removed the filters, give them a thorough cleaning with a filter cleaner solution. This isn’t just a quick rinse – really get in there and clean out all the gunk that’s accumulated over the season.
I like to let my filters soak in the cleaning solution for a few hours or overnight to really get them clean.
After cleaning, rinse the filters thoroughly with clean water. Then, allow them to dry completely. This is important – you don’t want to store damp filters, as this can lead to mold and mildew growth.
I usually let mine dry in the sun for a day or two.
Once they’re dry, store them in a clean, dry place for the winter. A plastic bag or container works well for this. Just make sure wherever you store them is protected from dust and pests.
I used to just leave my filters in the tub over winter. Don’t do that! They can freeze and crack, and they’ll last much longer if you store them properly.
Plus, clean, well-maintained filters will help your hot tub run more efficiently when you start it up again in the spring.
Apply Antifreeze (If Necessary)
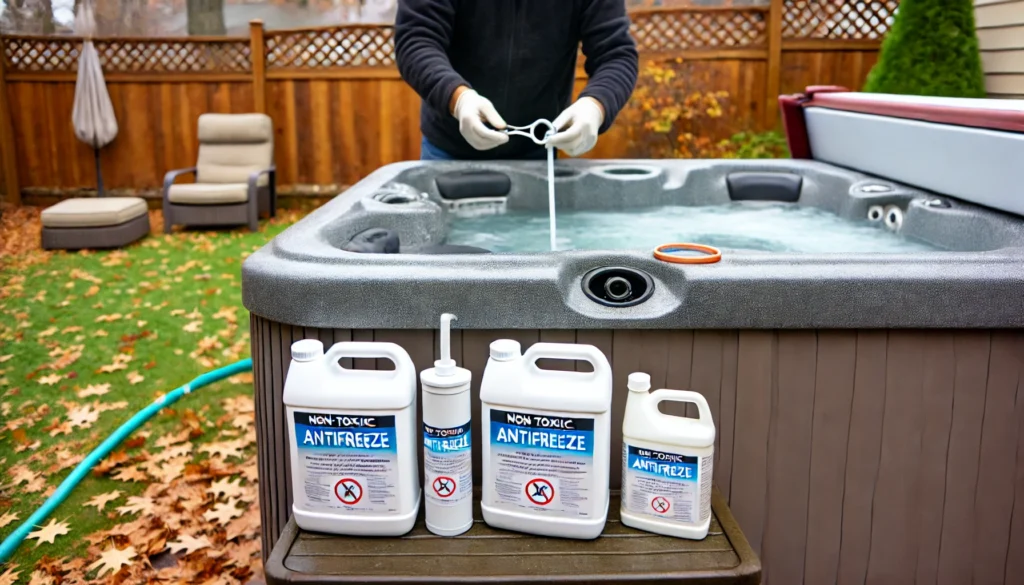
Depending on your climate and the location of your hot tub, you might need to add antifreeze. This step is especially important if you live in an area where temperatures regularly drop well below freezing.
Use only non-toxic antifreeze specifically made for hot tubs/spas. This is crucial – regular automotive antifreeze is toxic and should never be used in your hot tub.
The spa-specific antifreeze is designed to be safe for your tub’s components and won’t harm the environment.
To apply the antifreeze, pour it into the filter area, main drain, and jet lines. The amount you’ll need can vary depending on the size of your tub and how cold it gets in your area.
Be sure to follow the manufacturer’s instructions for the correct amount to use.
Some people skip this step, thinking they’ve gotten all the water out. But even a small amount of water left in the lines can freeze and cause damage. The antifreeze provides an extra layer of protection against freezing temperatures.
I live in an area with pretty harsh winters, so I always use antifreeze. Better safe than sorry! One year, I skipped it thinking I’d blown out all the water, and ended up with a cracked pipe.
Trust me, the cost of antifreeze is much less than the cost of repairs.
Power Down and Disconnect
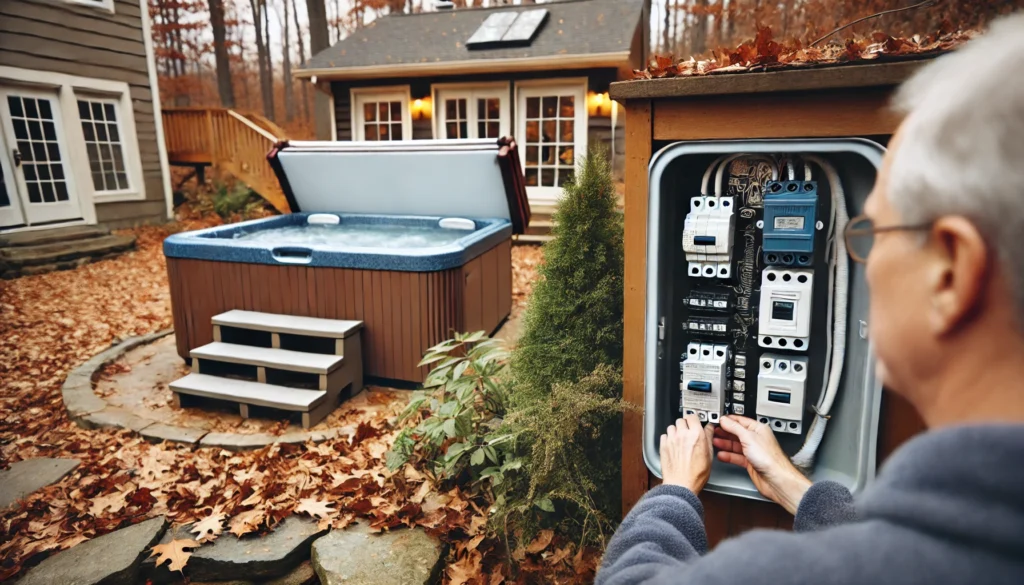
Time to shut everything down. Start by turning off the power at the breaker. This is important for safety reasons – you don’t want any electricity flowing to the tub while it’s winterized.
Plus, it saves energy.
Then, disconnect the power supply to the hot tub. If your tub is hardwired, you might need an electrician for this step. If it’s plugged into an outlet, simply unplug it.
If your tub has an ozonator or UV system, remove the device and store it indoors. These components can be sensitive to extreme cold and might get damaged if left outside all winter.
While you’re at it, this is a good time to inspect all electrical components for any signs of wear or damage. Look for frayed wires, rust, or any other issues.
It’s easier to spot and fix these problems now than in the middle of winter or when you’re trying to start up your tub in the spring.
The first winter, I forgot to disconnect the power. My energy bill that month was not pretty. Learn from my mistake!
Plus, leaving the power on can be dangerous if water somehow gets into the electrical system during the winter.
Clean and Treat the Hot Tub Cover
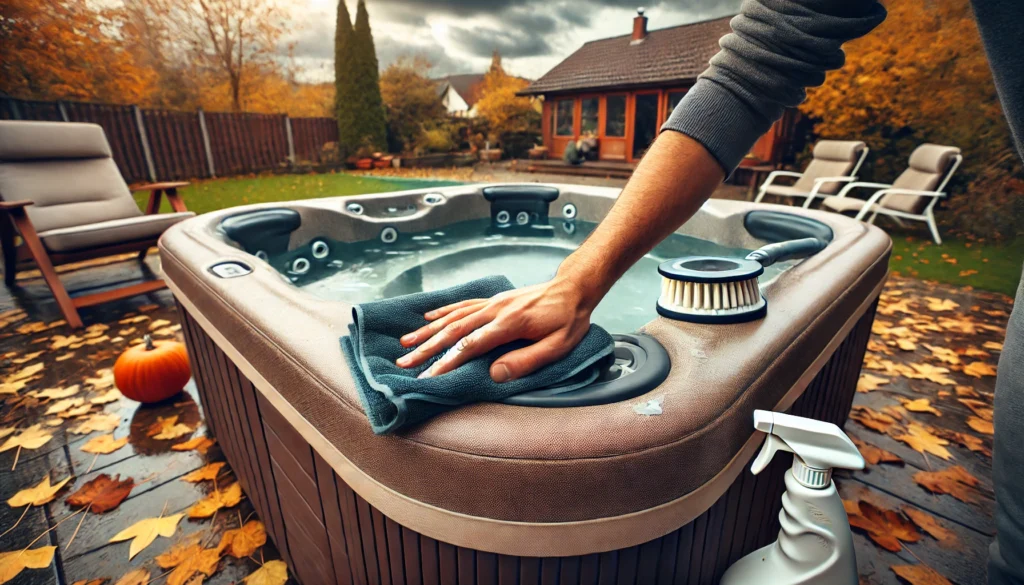
Don’t forget about your cover – it’s your tub’s first line of defense against the elements. Start by cleaning the cover thoroughly with a cover cleaner. Pay special attention to any mold or mildew, especially on the underside of the cover.
Then, treat it with a protectant to prevent cracking and UV damage. This is especially important if your tub is in direct sunlight.
The protectant helps keep the cover flexible and prevents it from drying out and cracking.
Make sure the cover is completely dry before putting it back on the tub. Any moisture trapped between the cover and the tub can lead to mold growth.
While you’re at it, check the cover for any damage. Look for tears, worn areas, or a waterlogged core.
If your cover is showing signs of wear, consider replacing it before winter sets in. A good cover is crucial for protecting your tub during the cold months.
I once skipped cleaning the cover, and come spring, it was covered in mold. Gross and expensive to replace.
Take care of your cover, and it’ll take care of you!
Secure Your Hot Tub for Winter
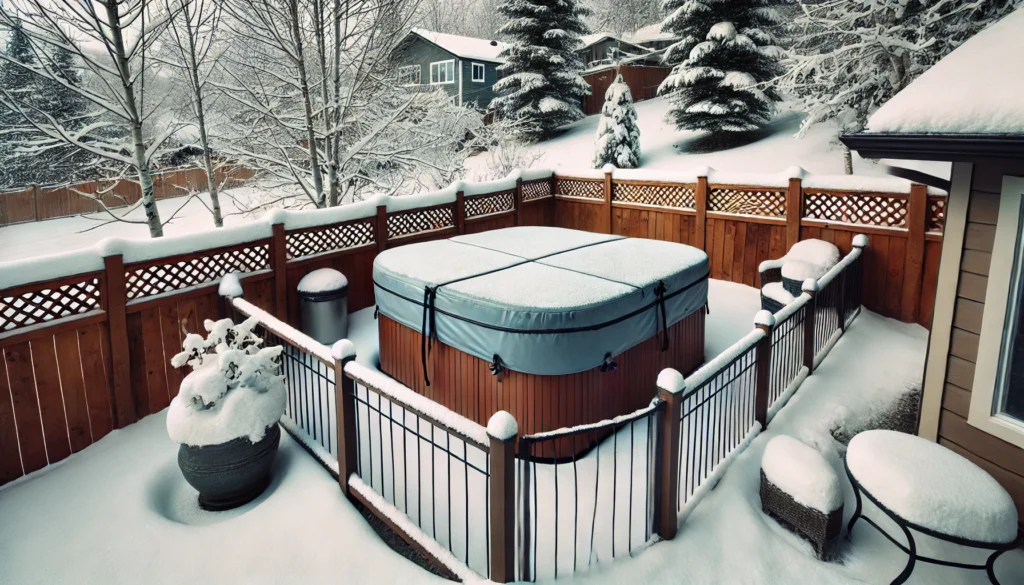
Last but not least, batten down the hatches. Put the cover back on and secure it tightly. Most covers come with locks or straps – use them!
This keeps the cover in place during winter storms and prevents unwanted access to your tub.
If you live in an area with heavy snowfall, consider using a hot tub cover cap for extra protection. This is like an extra blanket for your tub, providing additional insulation and protection from snow and ice.
If possible, create a windbreak around your tub to protect it from harsh winter winds. This could be a fence, some strategically placed shrubs, or even a temporary structure.
Anything that helps block the wind can reduce wear and tear on your cover and tub.
One year, I didn’t secure my cover properly, and a big windstorm blew it right off! Luckily, I caught it before any damage was done, but it was a close call.
Don’t underestimate the power of winter winds!
Additional Tips for Winter Hot Tub Care

Even if you’re not using your hot tub over the winter, it’s a good idea to check on it periodically. After heavy snowfalls, gently remove excess snow from the cover to prevent it from collapsing under the weight.
Be careful not to use anything sharp that could damage the cover.
If you have a gazebo or enclosure around your hot tub, make sure it’s also winterized properly. Check for any leaks or drafts that could let cold air in and potentially freeze your tub.
For those of you who plan to use your hot tub during winter (and yes, a hot soak on a cold night can be amazing!), there are a few extra steps to take. Keep the temperature a bit lower when not in use to save energy, but not so low that it risks freezing.
Check the water chemistry more frequently, as the cold can affect pH levels. And always keep the cover on when not in use to retain heat.
Remember, if you’re not comfortable with any part of the winterization process, it’s okay to call in a professional. The cost of professional winterization is usually much less than the cost of repairing a damaged hot tub.
Conclusion
Whew! We made it through the winterizing process. I know it seems like a lot of work, but trust me, it’s worth it.
A properly winterized hot tub will save you money on energy costs, prevent expensive repairs, and make your spring startup a breeze.
Remember, every hot tub is a bit different, so always consult your owner’s manual for any specific instructions for your model. The steps I’ve outlined here are general guidelines that work for most hot tubs, but your particular model might have some unique requirements.
Winterizing your hot tub is all about protecting your investment. A well-maintained hot tub can provide years of relaxation and enjoyment.
By taking the time to properly winterize it each year, you’re ensuring that it’ll be ready to go when the warm weather returns.
And hey, think of it this way – all this work now means you’ll be able to jump right into a pristine, well-maintained hot tub come spring. No nasty surprises, no expensive repairs, just pure relaxation.
I hope this guide helps you protect your hot tub investment through the cold months. If you have any tips or tricks you’ve learned from winterizing your own hot tub, I’d love to hear them!
Share your experiences in the comments below. Stay warm, and happy hot tubbing!
Remember, winterizing your hot tub isn’t just about protecting your investment – it’s about ensuring that you can enjoy your hot tub for years to come. Each time you go through this process, you’ll get more efficient at it.
You might even discover some tricks of your own that work particularly well for your specific tub and climate.
Don’t be discouraged if it seems like a lot of work the first time around. Like anything, it gets easier with practice. And the peace of mind you’ll have knowing your hot tub is properly protected is worth every minute of effort.
As you go through the winterizing process, take the opportunity to really get to know your hot tub. Understanding how all the components work together can help you spot potential issues early and keep your tub in top condition year-round.
It’s also a great time to start planning for next season. Maybe you want to upgrade some features or try out some new accessories? Winter is the perfect time to research and budget for these improvements.
Lastly, remember that proper winterization is just one part of overall hot tub maintenance. When spring rolls around, be sure to give your tub a thorough check-up before firing it up again.
This way, you can address any issues that may have arisen over the winter and ensure your tub is ready for another season of relaxation and enjoyment.
Here’s to cozy winter nights, the anticipation of spring, and many more years of hot tub bliss. Take care of your hot tub, and it will take care of you.
Happy winterizing!
