Did you know that improper calcium hardness levels can turn your relaxing hot tub into a nightmare? Trust me, I’ve been there, and it’s not pretty!
As a long-time hot tub enthusiast and former spa maintenance rookie, I’ve learned the hard way how crucial it is to maintain the right calcium hardness in your hot tub.
But don’t worry, I’m here to share all my tips and tricks to help you become a calcium hardness pro!
How to Adjust Calcium Hardness in a Hot Tub
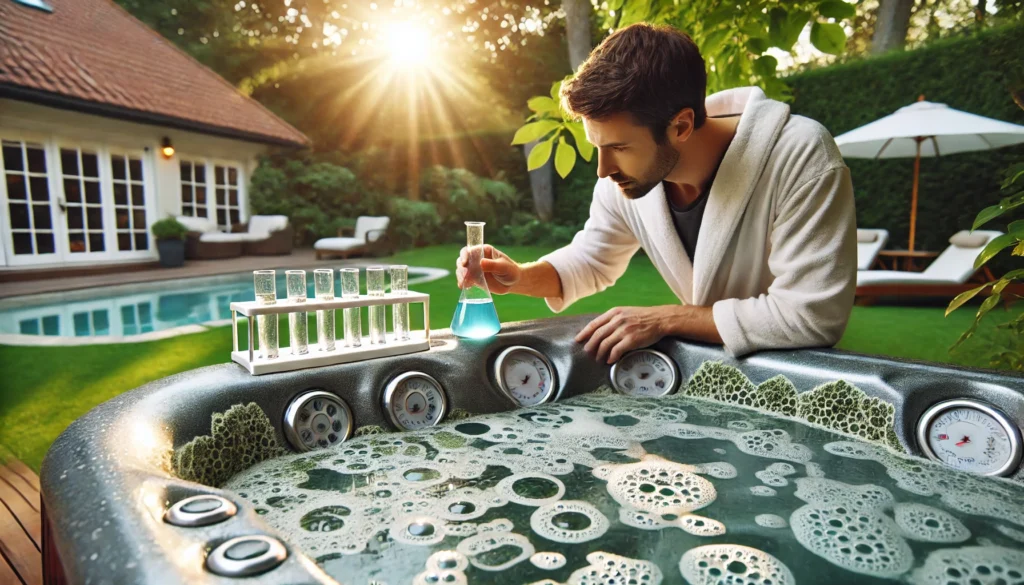
Alright, let’s dive right into the nitty-gritty of adjusting calcium hardness in your hot tub! I’ve been maintaining hot tubs for years, and I can tell you that getting this right is crucial for a perfect soak.
Here’s the deal: calcium hardness is all about the amount of dissolved calcium in your hot tub water. You want to keep it in the sweet spot – not too high, not too low.
To adjust your calcium hardness, you’ll first need to test your water. Grab a reliable test kit (I learned the hard way that cheap ones can be a total waste of time) and check those levels.
Ideally, you want your calcium hardness between 150-250 parts per million (ppm) for most hot tubs. If you’re below that, you’ll need to increase it. Above that? You guessed it – time to decrease it.
I remember the first time I tried to adjust my hot tub’s calcium hardness. I was so nervous about getting it wrong that I practically sweated through my swimsuit before I even got in the water!
But trust me, once you get the hang of it, it’s not rocket science. Just take it slow, make small adjustments, and retest often. You’ll be a pro in no time!
We’ll explore more deeply how to increase, decrease, and maintain the perfect calcium hardness level in the sections below. So grab your test kit, and let’s get that hot tub water balanced!
Understanding Calcium Hardness in Hot Tubs

Okay, let’s break this down real simple-like. Calcium hardness in your hot tub is basically how much calcium is dissolved in the water.
It’s like the Goldilocks of hot tub chemistry – you don’t want it too high or too low, but juuuust right.
When I first started with hot tubs, I thought, “Pfft, how important can this calcium stuff be?” Boy, was I in for a surprise! Turns out, it’s pretty dang crucial.
If your calcium hardness is too low, your water gets all hungry for minerals and starts eating away at your tub’s surface and equipment. Trust me, replacing a corroded heater is NOT a fun weekend project.
On the flip side, if your calcium hardness is too high, you’ll start seeing these weird, scaly deposits all over. I once let my levels get way too high, and my beautiful tub looked like it had a bad case of dandruff. Not cute!
The sweet spot for calcium hardness in most hot tubs is between 150 and 250 parts per million (ppm). But hey, always check your tub’s manual – some fancy-pants models might have different recommendations.
Testing Calcium Hardness Levels
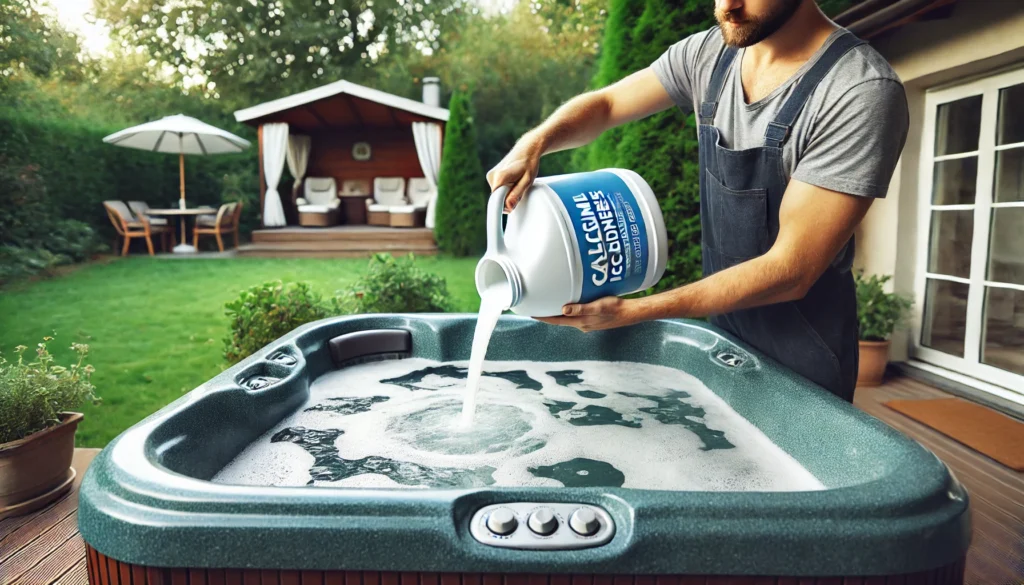
Alright, time to channel your inner mad scientist! Testing calcium hardness isn’t rocket science, but it does require a bit of know-how and the right tools.
First things first, you’re gonna need a good test kit. And let me tell you, after wasting money on cheap strips that were about as accurate as a blindfolded dart thrower, I learned to invest in a decent liquid test kit.
Here’s how you do it:
- Grab a clean sample of your hot tub water. Don’t be like me and use an old soda bottle – that’s a recipe for skewed results!
- Follow the instructions on your test kit. Usually, you’ll add a few drops of reagent to your water sample.
- The water will change color. Compare this color to the chart that came with your kit.
- Voila! You’ve got your calcium hardness level.
Now, how often should you be doing this little science experiment? Well, I used to be lazy and only test when my water looked funky. Big mistake!
Nowadays, I test at least once a week, and more often if I’m using the tub a lot or if it’s been raining (yeah, rain can mess with your water chemistry – who knew?).
Remember, testing is your first line of defense against hot tub troubles. It might seem like a pain, but trust me, it’s way less painful than dealing with a messed-up tub!
Increasing Calcium Hardness in Your Hot Tub
So, you’ve tested your water and found out your calcium hardness is lower than a limbo stick at a leprechaun convention. Don’t panic!
Increasing calcium hardness is actually pretty straightforward.
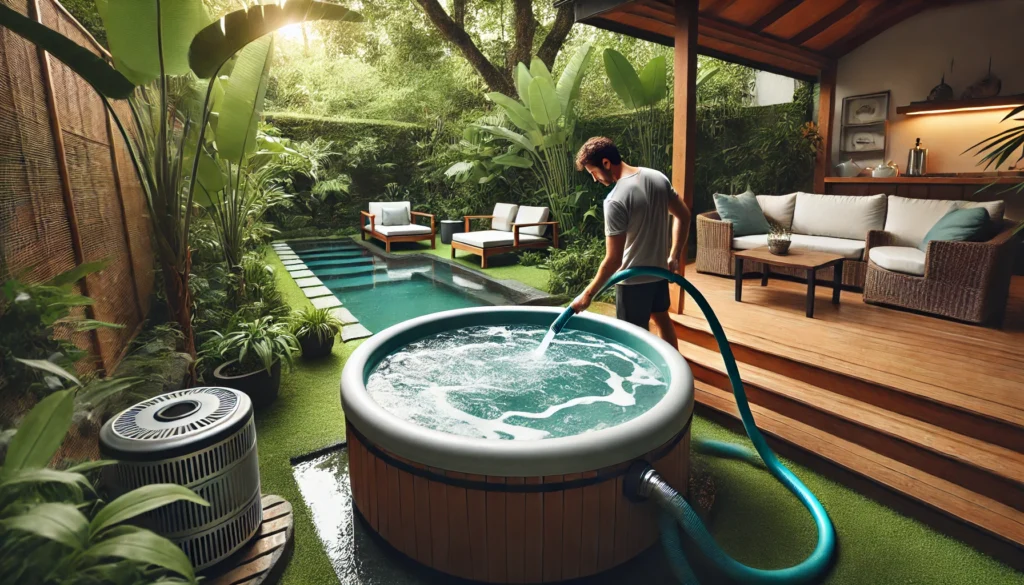
First off, you’ll want to grab some calcium hardness increaser. You can find this stuff at most pool supply stores or online.
Just make sure you’re getting calcium chloride, not calcium hypochlorite (which is used for shocking).
Now, here’s where I messed up when I first tried this – I just dumped a whole bunch in without measuring. Let’s just say my hot tub wasn’t happy with me.
Learn from my mistake! You want to add about 1 tablespoon of calcium hardness increaser per 100 gallons of water to raise the hardness by about 10 ppm.
Here’s the step-by-step:
- Calculate how much you need based on your tub’s volume and how much you need to increase.
- Dissolve the calcium hardness increaser in a bucket of warm water. (I learned the hard way that if you don’t do this, you might end up with a chalky residue on your tub’s surface.)
- Slowly pour the mixture into your hot tub while the jets are running.
- Let the water circulate for at least an hour.
- Retest after 24 hours.
Remember, it’s always better to add too little than too much. You can always add more, but decreasing calcium hardness is a whole other ball game (which we’ll get to in a sec).
Decreasing Calcium Hardness in Your Hot Tub
Alright, so your hot tub’s turned into a calcium party and everyone’s invited. Time to break it up!
Decreasing calcium hardness can be a bit trickier than increasing it, but don’t worry – I’ve got you covered.
First things first, unlike with low calcium hardness, there’s no magic powder you can sprinkle in to lower it. Bummer, I know.
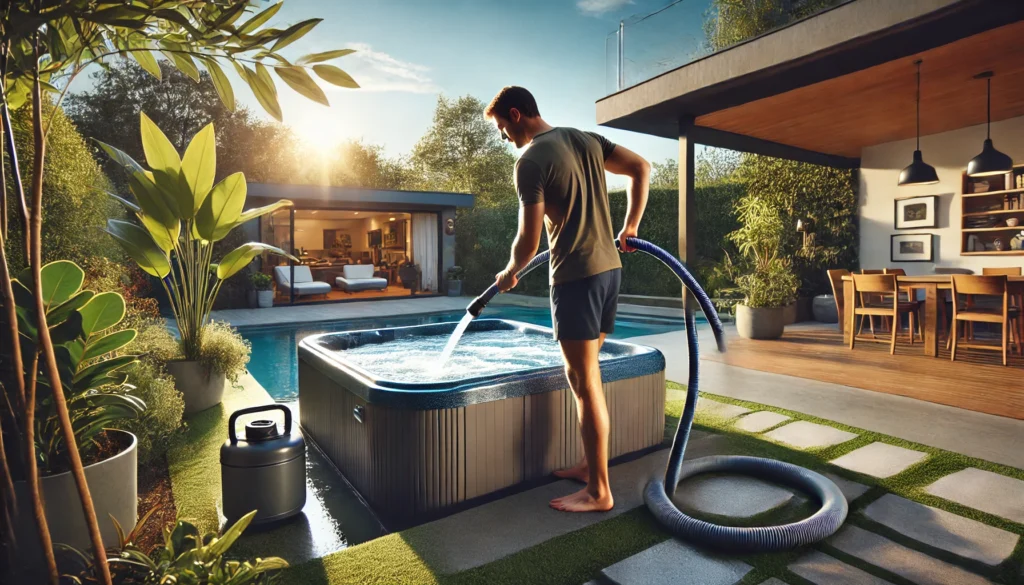
The most effective way to decrease calcium hardness is to drain some water and refill with fresh water. It’s like a mini spa makeover!
Here’s how I do it:
- Test your water to see how high the calcium hardness is.
- Drain about 1/3 to 1/2 of your hot tub water. (Pro tip: use this opportunity to give your tub a quick clean!)
- Refill with fresh water. If you’re on well water or in an area with naturally hard water, consider using a hose filter or water softener.
- Retest and adjust other chemicals as needed.
Now, if your calcium hardness is through the roof, you might need to do a full drain and refill. I know, I know – it’s a pain.
But trust me, it’s better than dealing with scale buildup that’s harder to remove than that last bit of peanut butter from the jar.
One time, I let my calcium hardness get so high that I had to do three partial drains before it came down to normal. Learn from my mistake – keep on top of your testing and adjusting!
Maintaining Balanced Calcium Hardness

Alright, so you’ve got your calcium hardness levels just right. High five!
But don’t start celebrating just yet – maintaining that balance is an ongoing process. It’s like trying to keep a see-saw level with a squirmy kid on each end.
There are a few factors that can mess with your calcium hardness levels:
- Evaporation: As water evaporates, it leaves the calcium behind, increasing the concentration.
- Rainwater: If you’ve got an outdoor tub, rain can dilute your water and lower calcium hardness.
- Chemicals: Some chemicals can affect calcium levels, so always read the labels!
Here are some tips I’ve picked up over the years for keeping things balanced:
- Test regularly: I can’t stress this enough. Make it a habit, like checking your phone first thing in the morning (we all do it, right?).
- Use a cover: This helps prevent evaporation and keeps rain out.
- Be mindful when adding water: If you’re topping up your tub, remember that you might need to adjust the calcium hardness.
- Keep an eye on other parameters: pH, alkalinity, and calcium hardness are like the Three Musketeers of hot tub chemistry – all for one and one for all!
I once went on vacation for two weeks and came back to a hot tub with calcium hardness through the roof. Now, I always ask a neighbor to check on it if I’m away for more than a few days.
Lesson learned!
Troubleshooting Common Calcium Hardness Issues

Even with the best intentions, sometimes things go wonky. Don’t worry, it happens to the best of us!
Here are some common issues I’ve run into and how to fix them:
- Cloudy water: This can be a sign of high calcium hardness. If you’ve ruled out other causes (like poor filtration or high pH), try lowering your calcium levels.
- Scale buildup: Those white, crusty deposits are a sure sign of high calcium hardness. Time to drain and refill, my friend!
- Etching or pitting: If your tub’s surface feels rough or you see small pits forming, your calcium hardness might be too low. Bump it up and show your tub some love!
- Fluctuating levels: If your calcium hardness is all over the place, check your source water. You might need a water softener or a different filling method.
- Can’t get it right: If you’re following all the steps and still can’t get your calcium hardness under control, it might be time to call in the pros. No shame in that game – sometimes we all need a little expert help!
I remember one time when my hot tub water was so cloudy, I joked that I could serve it as milk! Turns out, my calcium hardness was off the charts.
A good drain and refill, and she was back to her crystal-clear self.
Conclusion
Whew! We’ve covered a lot of ground, haven’t we?
From understanding what calcium hardness is, to testing, adjusting, and troubleshooting – you’re now armed with all the knowledge you need to keep your hot tub in tip-top shape.
Remember, maintaining the right calcium hardness isn’t just about having clear water (although that’s a nice perk). It’s about protecting your investment, ensuring your equipment lasts longer, and making sure every soak is as enjoyable as possible.
I can’t tell you how many times I’ve settled into my perfectly balanced hot tub after a long day and thought, “This is totally worth all the effort.” And trust me, once you get into the rhythm of regular testing and adjusting, it becomes second nature.
So go forth and conquer that calcium hardness! Your hot tub (and your future relaxed self) will thank you.
And hey, if you’ve got any hot tub maintenance war stories or tips of your own, drop ’em in the comments below. We’re all in this bubbly boat together!
Now, if you’ll excuse me, I think it’s time for a nice, long soak in my perfectly balanced hot tub. Ahhhh…
