
Hey there, fellow hot tub enthusiasts! Today, we’re diving into the nitty-gritty of keeping your hot tub cover spick and span.
Trust me, I’ve learned the hard way that neglecting this crucial part of hot tub maintenance can lead to some seriously gross situations.
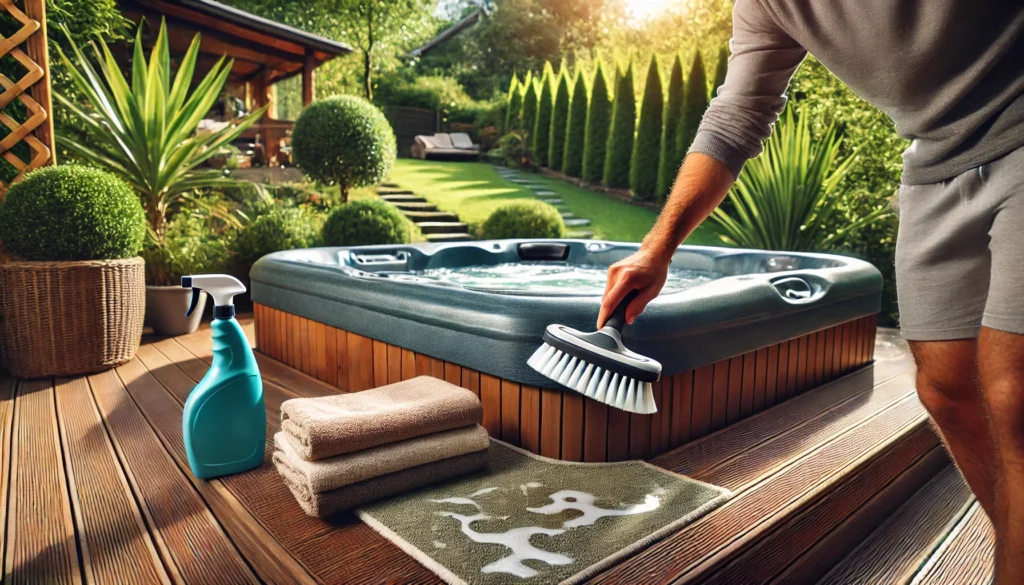
But don’t worry, I’ve got your back! Let’s get that cover gleaming with these five simple steps.
How To Clean Your Hot Tub Cover In 5 Simple Steps
Alright, let’s cut to the chase. Here’s how you clean your hot tub cover in 5 simple steps: 1) Gather your cleaning supplies, 2) Remove debris and rinse the cover, 3) Apply a suitable cleaning solution, 4) Scrub thoroughly, and 5) Rinse and dry the cover. It’s not rocket science, but there are some tricks to getting it right.
We’ll explore each step in detail below, but that’s the gist of it!
Now, before we roll up our sleeves and get to work, let’s talk about why this whole process is so darn important. You see, your hot tub cover is like the unsung hero of your spa setup.
It’s out there day and night, protecting your hot tub from leaves, dirt, and whatever else Mother Nature decides to throw its way. But here’s the kicker – if you don’t show it some love regularly, it can turn from protector to problem real quick!
A dirty cover can harbor all sorts of nasties like mold, mildew, and bacteria. And let me tell you, those uninvited guests can crash your relaxation party faster than you can say “bubble jet”.
Not to mention, a neglected cover can start to break down, losing its insulating properties and potentially even contaminating your carefully balanced hot tub water. Trust me, I’ve been there, and it’s not pretty!
But fear not! With a little bit of elbow grease and the right know-how, you can keep your hot tub cover in tip-top shape.
So, let’s dive in and get that cover clean!
Step 1: Prepare Your Cleaning Supplies
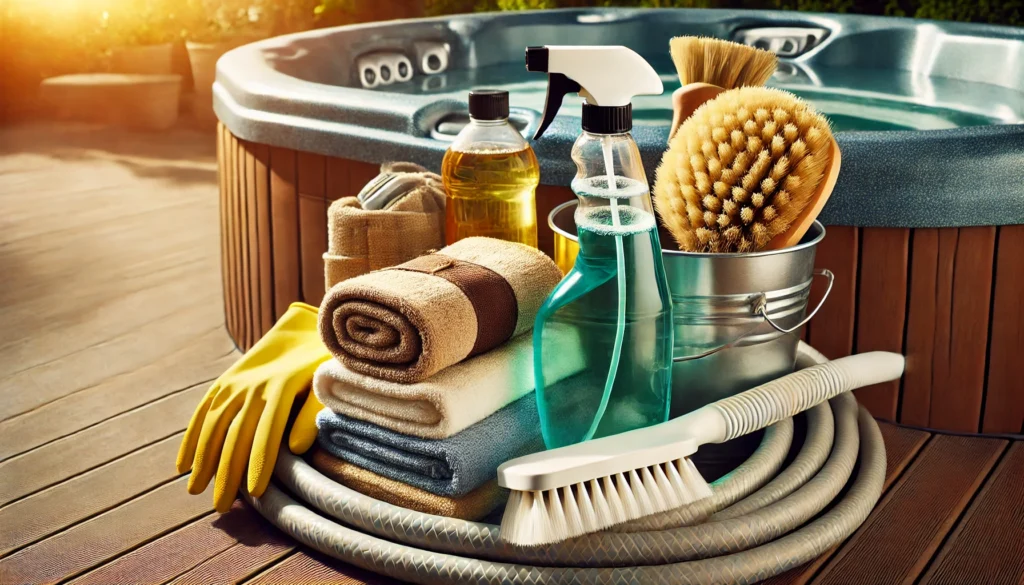
First things first, let’s round up our cleaning arsenal. You’ll need:
- A gentle, non-abrasive cleaner (I learned the hard way that harsh chemicals are a big no-no!)
- A soft-bristled brush or sponge
- A garden hose
- A few clean, dry towels
- A pair of gloves (optional, but recommended)
- A spray bottle (for applying the cleaner)
- A large bucket (for mixing cleaning solution if needed)
Oh, and don’t forget to throw on some old clothes. I once ruined my favorite t-shirt thinking I could clean the cover without getting a little messy.
Spoiler alert: I couldn’t!
Safety tip: If you’re using any commercial cleaners, make sure you’re in a well-ventilated area. I once got a bit light-headed from the fumes, and let me tell you, that’s not a fun hot tub experience!
Now, let’s talk about cleaners for a sec. You might be tempted to reach for that all-purpose cleaner under your sink, but hold your horses!
Hot tub covers need special care. Look for a cleaner specifically designed for vinyl or hot tub covers.
These are formulated to be gentle on the material while still tough on dirt and grime.
If you’re feeling a bit DIY-ish (like I was during that phase when I thought I could make everything from scratch), you can whip up a mild cleaning solution using water and a tiny bit of dish soap. But be warned – a little goes a long way!
Too much soap can leave a residue that’s harder to rinse off than the original dirt. Trust me, I’ve been there, done that, and had the super-slippery cover to prove it!
Step 2: Remove Debris and Rinse the Cover
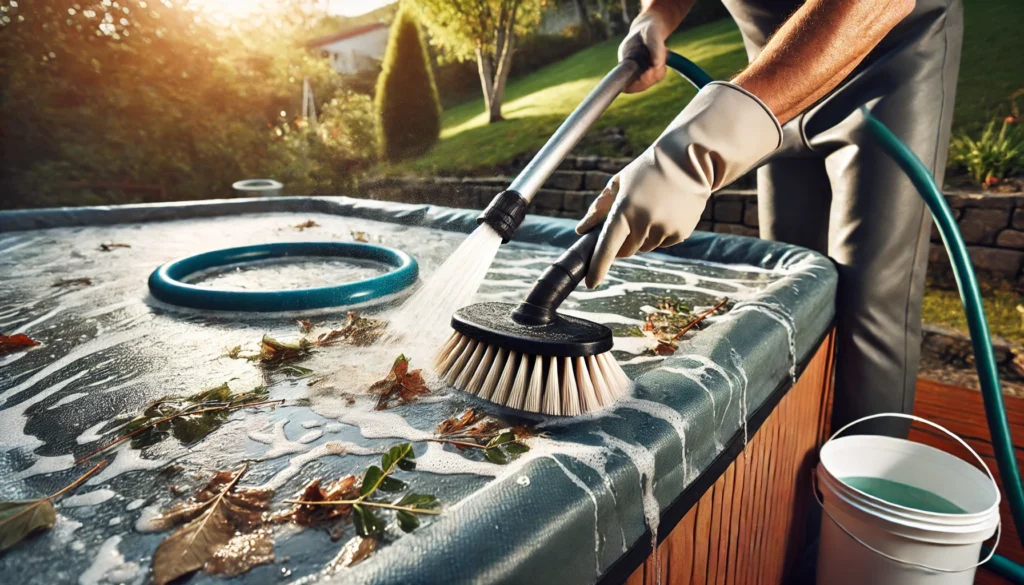
Alright, time to get down and dirty! Start by removing any leaves, twigs, or other debris from your cover.
I like to use a soft brush for this – it’s gentler than my hands and gets into those pesky nooks and crannies.
Here’s a pro tip I wish I’d known earlier: if you’ve got stubborn leaves or debris stuck to the cover, don’t try to scrape them off when they’re dry. Give them a quick spray with the hose first.
This’ll soften them up and make them easier to remove without risking damage to the cover. I once went at a stubborn leaf with my fingernail and ended up with a small tear in the vinyl.
Learn from my mistakes, folks!
Next, give that cover a good rinse with your garden hose. You want to wash away any loose dirt or grime before we start scrubbing.
Trust me, this step saves a lot of elbow grease later on!
Pro tip: If you’ve got a sloped yard like I do, position the cover so the water runs off easily. I learned this after creating an accidental mud pit in my backyard.
Not my finest moment!
Now, while you’re rinsing, take a good look at your cover. Are there any areas that look particularly grimy?
Maybe some green algae starting to form in the corners? Make a mental note of these trouble spots – we’ll give them some extra attention in the scrubbing stage.
Oh, and here’s something I learned the hard way – don’t forget the underside of the cover! It’s easy to overlook, but this is where a lot of moisture can accumulate, leading to mold and mildew.
Give it a good rinse too. Your nose will thank you later!
Step 3: Apply Cleaning Solution
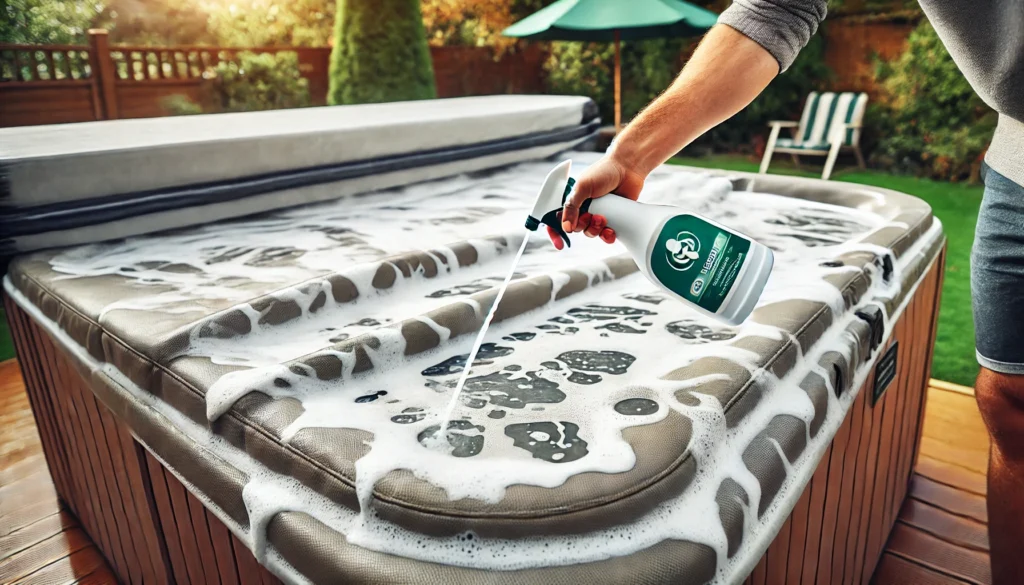
Now for the fun part – let’s get sudsy! Apply your chosen cleaning solution generously over the entire cover.
I prefer to use an eco-friendly, hot tub-specific cleaner these days, but I’ll admit, I’ve experimented with some weird concoctions in the past. Word to the wise: stick to the recommended stuff!
If you’re using a commercial cleaner, follow the instructions on the bottle. Some need to be diluted, others can be applied directly.
If you’re going the DIY route with dish soap and water, remember what I said earlier – easy does it on the soap!
I find a spray bottle really handy for this step. It helps distribute the cleaner evenly and gets into all those little crevices without over-saturating the cover.
Plus, it makes me feel like I’m in some kind of hot tub cleaning commercial. Hey, you gotta find joy in the little things, right?
Make sure you get that cleaner into all the crevices and folds. Those are the sneaky spots where mold and mildew like to hang out.
And let me tell you, discovering a patch of mold on your hot tub cover is not the kind of surprise anyone wants!
Here’s a tip I picked up after way too many cleaning sessions: start from the center of the cover and work your way out. This helps prevent dirty water from running back over areas you’ve already cleaned.
It’s a small thing, but it can save you from having to do double duty on some spots.
Oh, and remember those trouble spots we identified earlier? Give them an extra spritz of cleaner.
They might need a little more convincing to come clean.
Step 4: Scrub and Clean Thoroughly
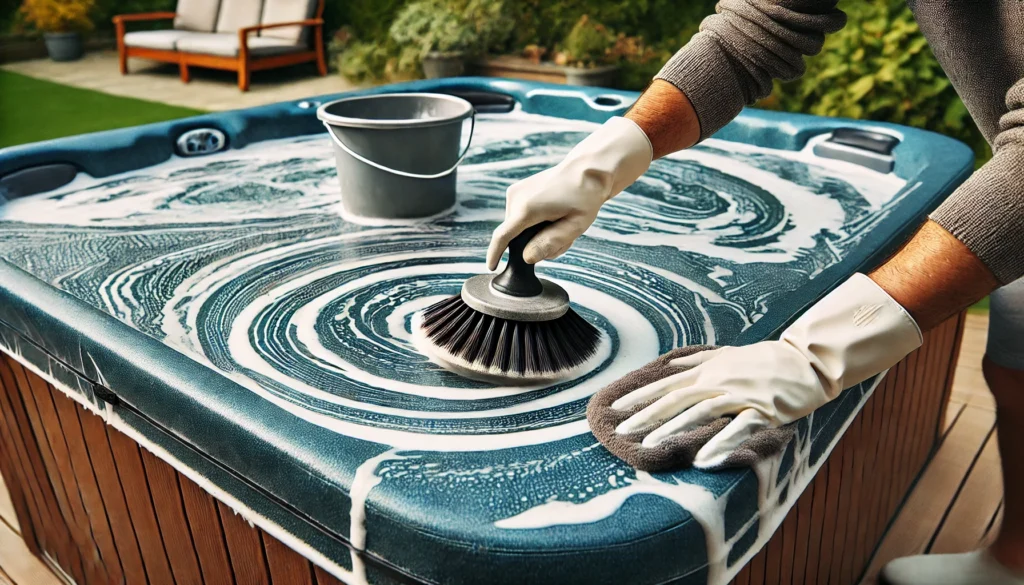
Alright, time to channel your inner scrubbing bubble! Use your soft-bristled brush or sponge to work that cleaner into the cover.
Be thorough, but don’t go crazy – you’re not trying to scrub the pattern off the vinyl!
Start with gentle, circular motions. This helps lift dirt without damaging the cover.
If you come across a stubborn spot, resist the urge to scrub harder. Instead, let the cleaner sit on it for a few minutes before trying again.
Patience is a virtue in hot tub cover cleaning, my friends!
For stubborn stains, you might need to put in a little extra elbow grease. I once had a weird purple stain on my cover (don’t ask), and it took some serious scrubbing to get it out.
But man, the satisfaction when it finally disappeared was worth every aching muscle!
Remember to pay special attention to the underside of the cover. It’s easy to forget, but that’s where a lot of the icky stuff can build up.
I neglected it once, and let’s just say the smell was… memorable. Not to mention, a clean underside helps prevent that funk from transferring to your nice, clean hot tub water.
Here’s a little trick I’ve learned over the years: for really tough grime, especially on textured surfaces, an old soft-bristled toothbrush can be your best friend. It gets into those tiny grooves that a larger brush might miss.
Just be gentle – we’re aiming for clean, not shredded!
As you’re scrubbing, keep an eye out for any signs of wear and tear. Small cracks or tears can let water seep in, which is bad news for your cover’s insulation.
If you spot any, make a note to repair or replace your cover soon. Prevention is always easier (and cheaper) than cure!
Step 5: Rinse and Dry the Cover
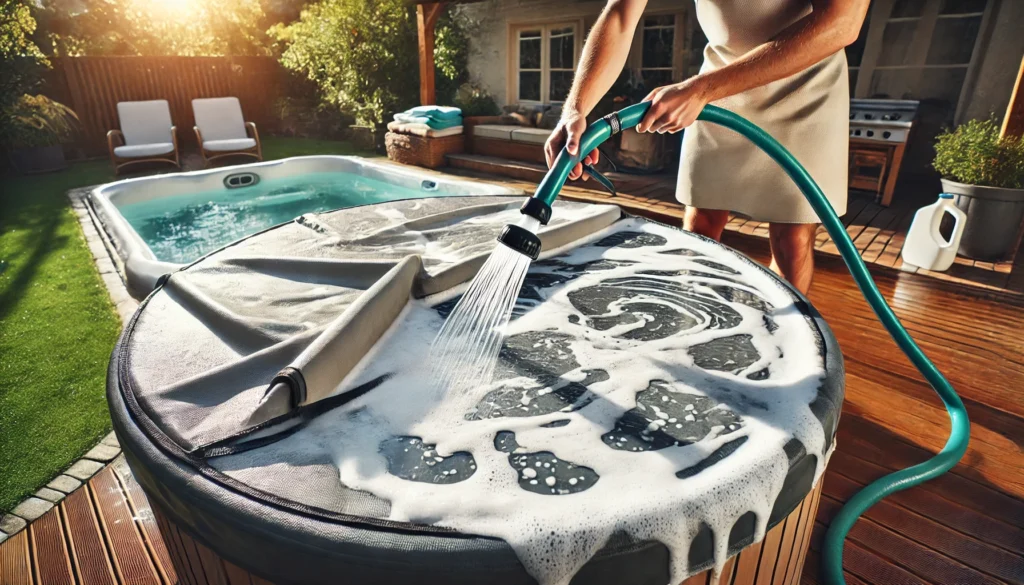
We’re in the home stretch now! Once you’ve scrubbed every inch of that cover, it’s time for the final rinse.
Use your garden hose to wash away all the cleaning solution. And I mean ALL of it – any leftover cleaner can irritate your skin next time you take a dip.
Start from the top and work your way down, ensuring the water runs off the cover rather than pooling. You might need to adjust the cover’s position a few times to get all the soap off.
Trust me, it’s worth the extra effort. I once rushed this step and ended up with a bubble bath in my hot tub the next time I used it.
Funny, but not ideal!
Now, grab those clean towels and give your cover a good pat down. You want to remove as much water as possible to prevent any mold or mildew from forming.
Pay extra attention to the seams and folds – these are prime spots for water to hide.
If it’s a sunny day, you can leave the cover open to air dry completely. Just keep an eye on it – I once left mine out and came back to find it had become the neighborhood cats’ new favorite lounging spot!
No sun? No problem! You can use a fan to help speed up the drying process.
Just make sure it’s completely dry before you put it back on your hot tub. A damp cover is like a welcome mat for mold and mildew, and trust me, you don’t want those party crashers!
Bonus Tips for Hot Tub Cover Care
Now that we’ve got your cover sparkling clean, let’s talk about keeping it that way! Here are a few extra tips I’ve picked up over the years:
- Regular cleaning is key: Don’t wait until your cover looks like it’s been through a mud wrestling match. A quick wipe-down every couple of weeks can prevent big cleaning jobs down the line.
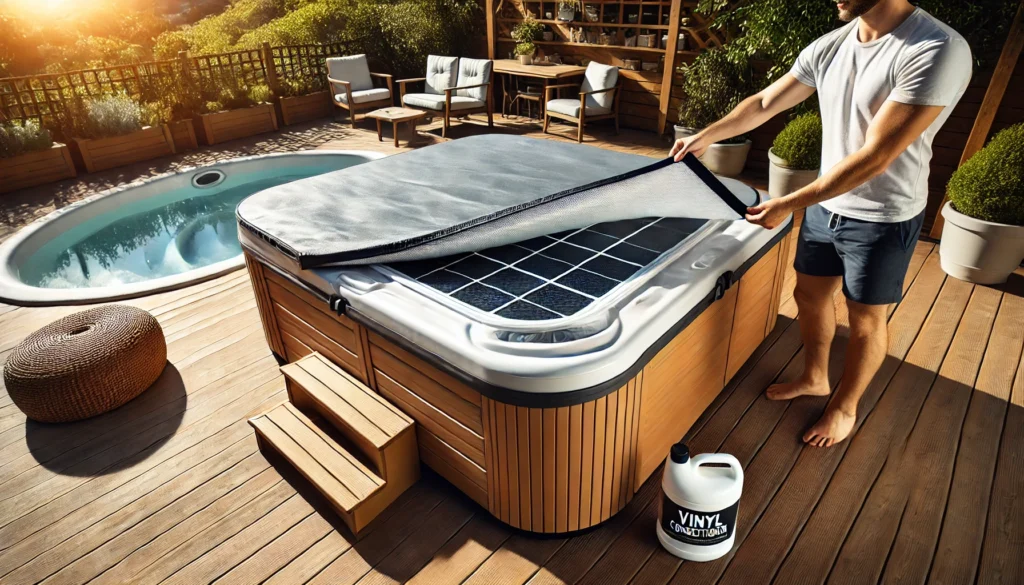
- Protect your cover: Consider using a cover cap or solar blanket. It’s like a cover for your cover!
I thought it was overkill at first, but it really does help keep the grime at bay.
- Mind the chemicals: When adding chemicals to your hot tub, close the cover and run the jets for a few minutes. This helps disperse the chemicals and prevents them from damaging your cover.
- Watch the weather: If you know a storm’s coming, secure your cover. I once watched mine turn into a makeshift sail during a particularly windy day.
Not fun!
- Handle with care: When removing the cover, fold it properly and store it on a clean, flat surface. Dragging it across the ground is a surefire way to damage it.
- Condition occasionally: Every few months, use a vinyl conditioner on your cover. It helps prevent cracking and extends the life of your cover.
Conclusion
And there you have it, folks! Your hot tub cover should now be clean enough to eat off of – not that I’d recommend that, of course.
Regular cleaning like this won’t just keep your cover looking great; it’ll also extend its life and keep your hot tub water cleaner. Win-win!
Remember, consistency is key. Set a regular cleaning schedule and stick to it.
Your future self (and anyone else who uses your hot tub) will thank you!
Taking care of your hot tub cover might seem like a chore, but think of it as an investment in your relaxation time. A well-maintained cover means a cleaner, more efficient hot tub, which means more time for you to soak away your stresses.
And isn’t that why we got these wonderful water havens in the first place?
So next time you’re lounging in your crystal-clear hot tub, enjoying the perfect water temperature under your clean, protective cover, you can pat yourself on the back. You’ve earned it, hot tub hero!
Got any hot tub cleaning hacks of your own? I’d love to hear them! Drop your tips in the comments below.
After all, us hot tub lovers gotta stick together. Now, if you’ll excuse me, I’ve got a freshly cleaned hot tub calling my name.
Happy soaking!