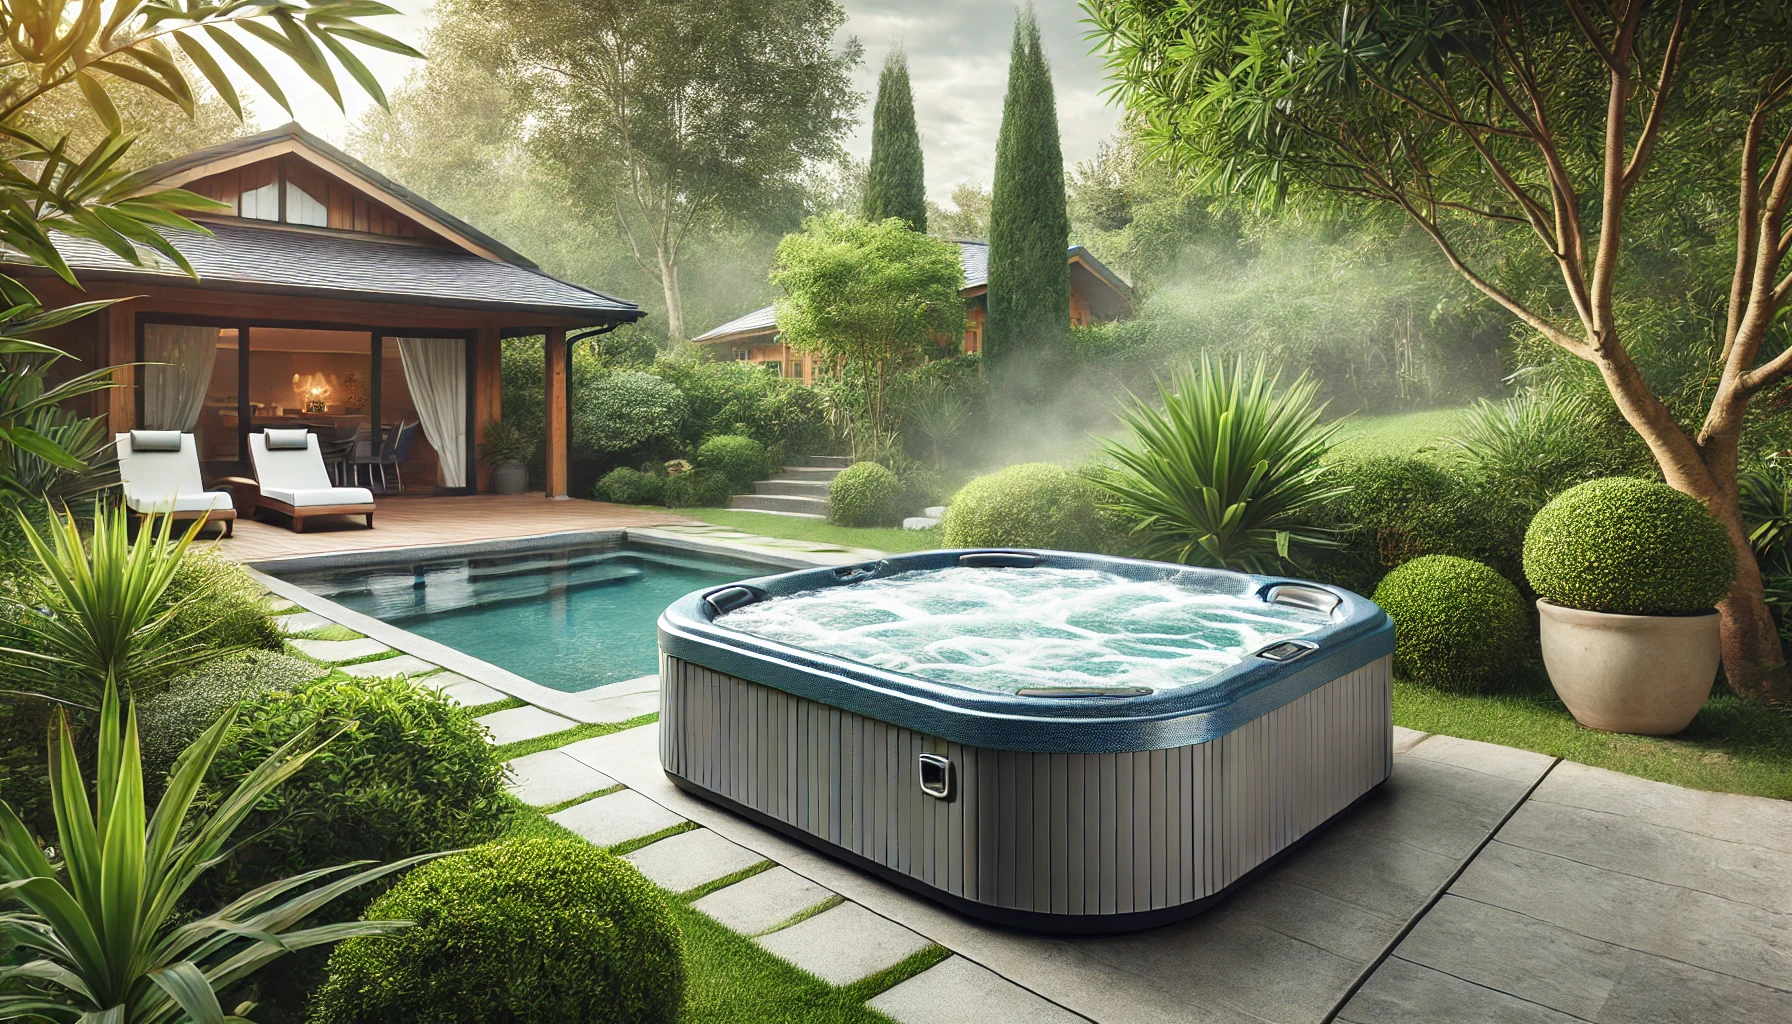
Ah, the joys of owning a hot tub! There’s nothing quite like sinking into that warm, bubbly water after a long day.
But let me tell you, when I first got my hot tub, I was totally clueless about maintenance. I mean, how hard could it be, right? Well, let’s just say I learned the hard way that proper chlorination is crucial.
Trust me, you don’t want to end up with a cloudy, smelly tub like I did that one time. Yikes!
So, you’ve got a new hot tub, and you’re wondering about chlorine. Don’t worry, I’ve been there, and I’m here to help you avoid my rookie mistakes.
Let’s dive into everything you need to know about adding chlorine to your hot tub for the first time.
How Much Chlorine to Add to Hot Tub First Time
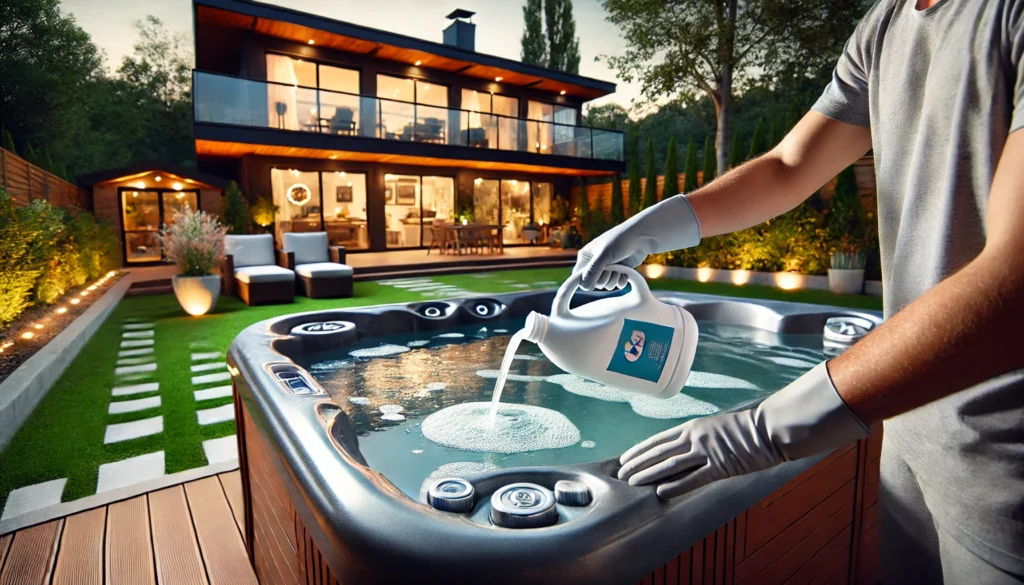
Alright, let’s cut to the chase. The amount of chlorine to add to a hot tub for the first time typically ranges from 2 to 4 parts per million (ppm).
This initial dose, also known as “shocking” the hot tub, helps to sanitize the water and establish a baseline chlorine level. The exact amount depends on your hot tub’s size and the specific chlorine product you’re using.
Always follow the manufacturer’s instructions and test the water before and after adding chlorine to ensure proper levels. We’ll explore this topic more deeply below, covering everything you need to know about chlorinating your hot tub for the first time.
Understanding Hot Tub Chlorine Basics
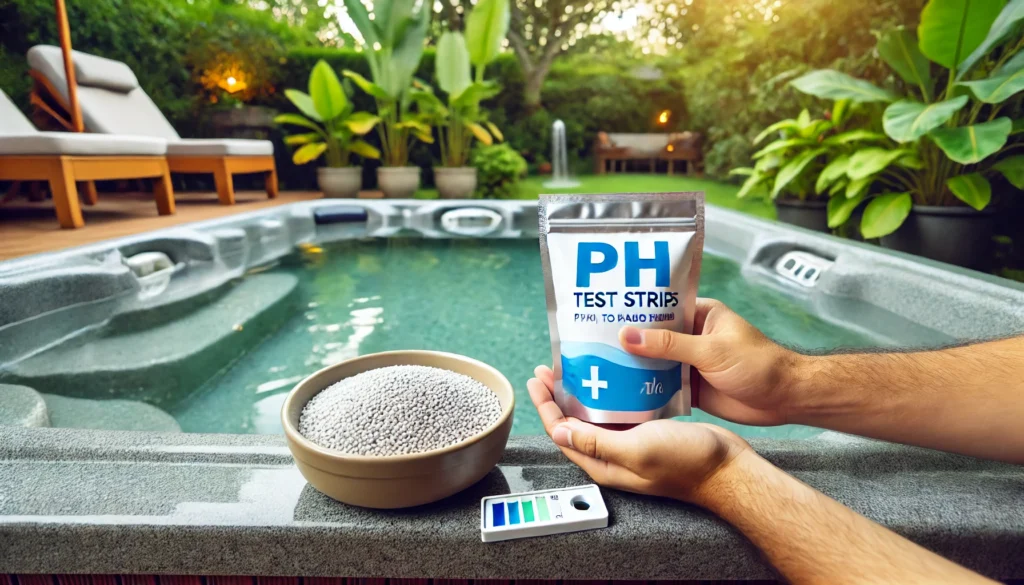
Okay, so what’s the deal with chlorine anyway? Well, it’s like the superhero of hot tub sanitation.
It swoops in and zaps all those nasty bacteria and contaminants that love to party in warm water. Trust me, you don’t want to know what kind of gunk can grow in there without it.
I learned that lesson the hard way when I tried to go “au naturel” for a week. Let’s just say it didn’t end well for anyone involved!
Now, chlorine comes in different forms for hot tubs. You’ve got your tablets, granules, and even liquid chlorine.
Each has its pros and cons, but for first-time use, I’d recommend granules. They’re easy to measure and dissolve quickly.
Just don’t make the mistake I did and try to use the same chlorine you use in your laundry. That was a facepalm moment for sure!
Here’s the kicker though – pH levels are super important when it comes to chlorine effectiveness. If your pH is off, your chlorine might as well be on vacation.
I once spent weeks dumping chlorine into my tub, wondering why it wasn’t working. Turns out, my pH was through the roof!
So, always check your pH before adding chlorine. It should be between 7.2 and 7.8 for optimal chlorine performance.
Calculating the Right Amount of Chlorine
Now, this is where things get a bit tricky. The amount of chlorine you need depends on a few factors, primarily the size of your hot tub.
It’s like trying to figure out how much sauce you need for your pasta – too little and it’s bland, too much and you’ve ruined dinner.
First things first, you need to know your hot tub’s water volume. Don’t worry, you don’t need to be a math whiz for this.
Most hot tubs have their volume listed in the manual. If not, you can estimate it by multiplying the length x width x average depth in feet, then multiplying that by 7.5 to get the gallons.
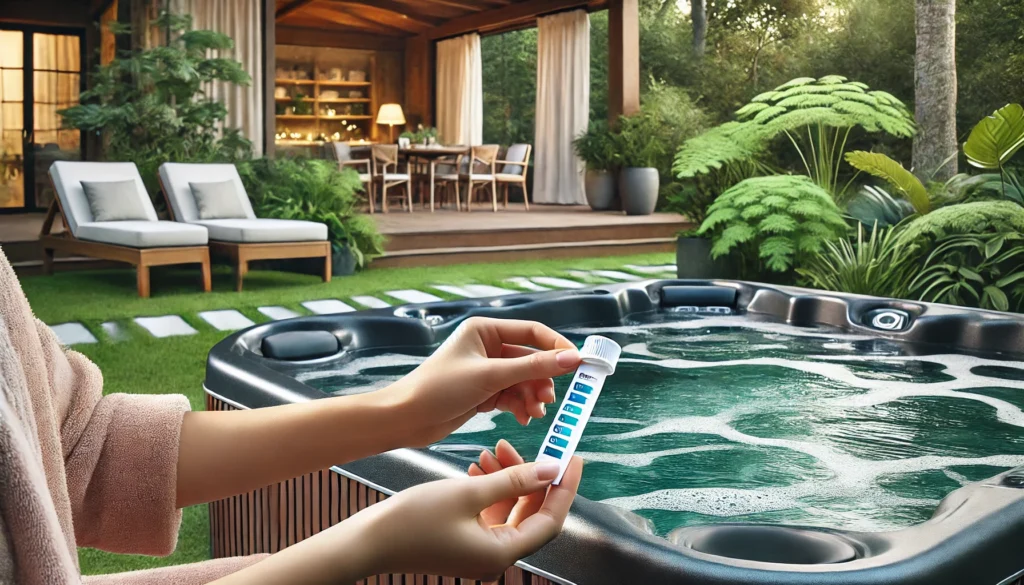
Once you know your volume, it’s time to break out those test strips. Yeah, I know, they look like something from a high school chemistry class, but trust me, they’re your new best friend.
Dip one in the water and compare the color to the chart. This will tell you your current chlorine level.
For the initial chlorination, you’re aiming for about 3 ppm. If your test strip shows zero chlorine (which it probably will for a new fill), you’ll need to add about 2 ounces of chlorine granules per 500 gallons of water.
But always, ALWAYS check the instructions on your specific chlorine product. I once thought I knew better than the instructions and ended up with a tub that smelled like a public pool.
Not exactly the relaxing oasis I was going for!
Step-by-Step Guide to Adding Chlorine for the First Time
Alright, it’s go time! You’ve got your chlorine, you know your tub’s volume, and you’re ready to dive in.
Well, not literally – let’s add the chlorine first!
- Start with a clean tub. If you’re filling it for the first time, great! If not, give it a good scrub.
Trust me, trying to chlorinate a dirty tub is like trying to clean your house by spraying air freshener. It might smell better, but it’s not actually clean.
- Fill ‘er up! Make sure your tub is filled to the proper level.
I once tried to chlorinate a half-full tub and ended up with some seriously wonky chemical levels.
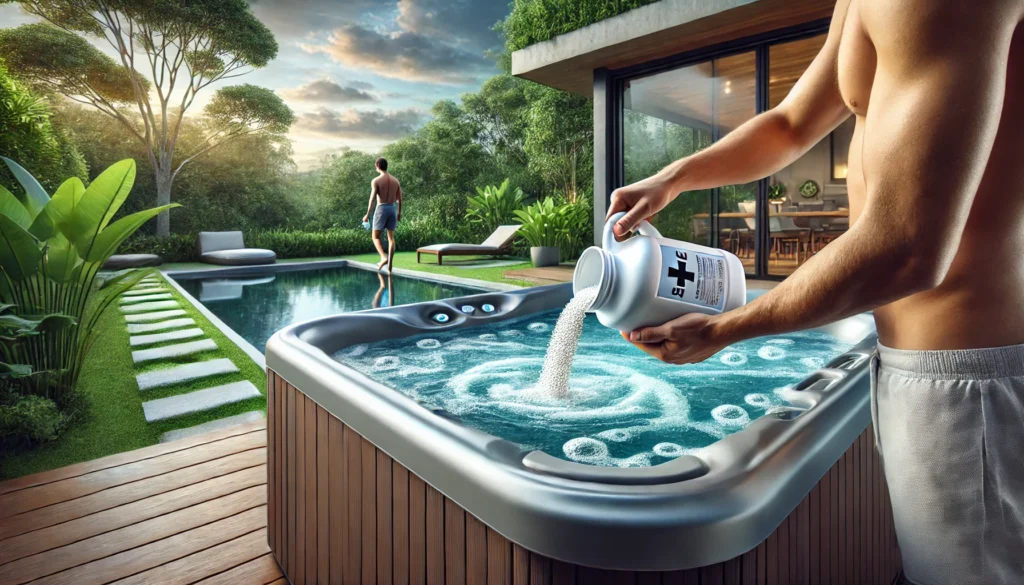
- Get your chlorine ready. If you’re using granules (which I recommend for beginners), measure out the amount you calculated earlier.
Remember, it’s better to start with a little less than too much.
- Turn on the jets. You want that water circulating like crazy to distribute the chlorine evenly.
- Slowly add the chlorine to the water. Don’t just dump it in one spot – spread it around as much as possible.
And for the love of all that is holy, don’t add it near the skimmer! I made that mistake once and ended up with a clogged filter.
Not fun.
- Let it circulate for at least 30 minutes. This is a great time to sit back and dream about all the relaxing soaks in your future.
- Test the water again. Your chlorine level should be around 3 ppm.
If it’s lower, add a bit more. If it’s higher… well, you’ll need to wait it out or partially drain and refill.
And voila! You’ve successfully chlorinated your hot tub for the first time.
Give yourself a pat on the back – you’re officially a hot tub chemist!
Maintaining Proper Chlorine Levels After Initial Treatment
Okay, so you’ve got your tub chlorinated. Job done, right? Ha! If only it were that easy.
Maintaining proper chlorine levels is like keeping a garden – it needs regular attention.
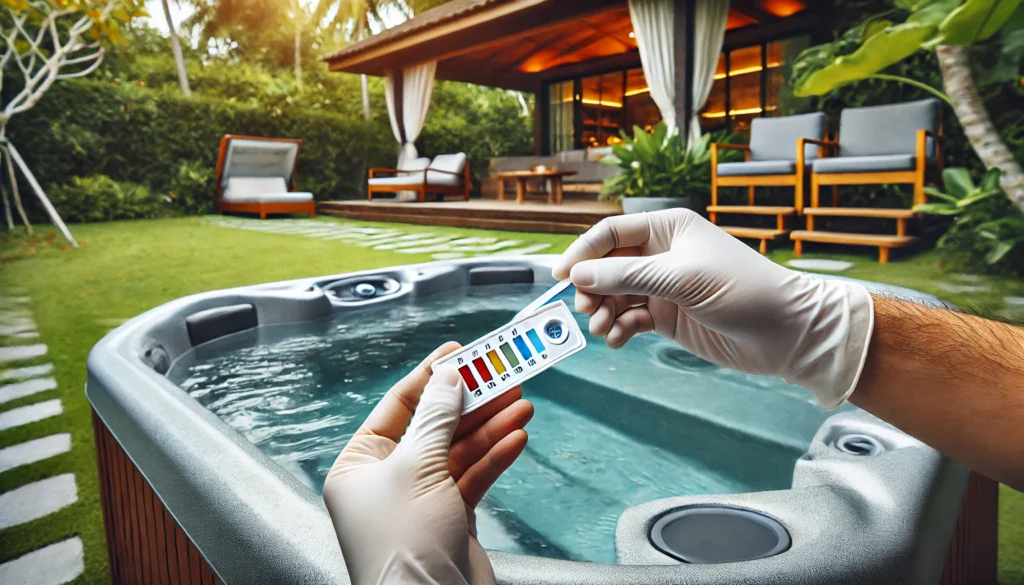
First things first, get into the habit of testing your water regularly. I’m talking at least 2-3 times a week.
I know, I know, it seems like a lot. But trust me, it’s way easier than dealing with a green, slimy tub.
Been there, done that, don’t want to go back!
Your chlorine levels will naturally drop over time, especially if you’re using the tub a lot. (Or if you have that one friend who always forgets to shower before getting in.
You know who you are, Steve!) When levels drop below 1 ppm, it’s time to add more.
But here’s the catch – chlorine doesn’t exist in a vacuum. You also need to keep an eye on your pH, alkalinity, and calcium hardness.
It’s like a delicate dance, and if one partner is off, the whole thing falls apart. I once got so focused on my chlorine levels that I completely neglected my pH.
Let’s just say my skin was not happy with me for a while.
Common Mistakes to Avoid When Chlorinating Your Hot Tub
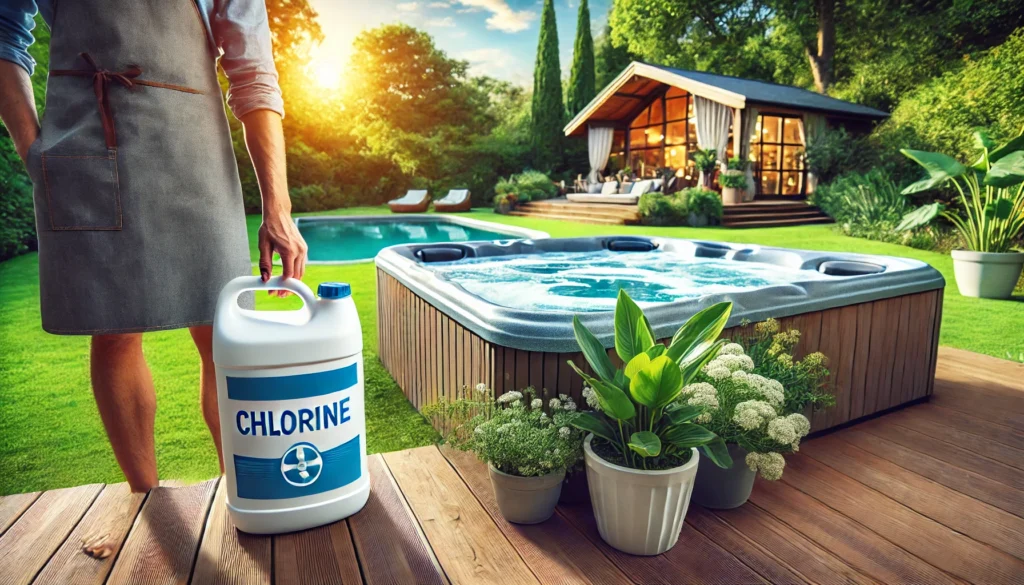
Alright, storytime! Let me share some of the mistakes I’ve made so you don’t have to.
Mistake #1: Overdosing on chlorine. More is better, right? Wrong!
I once dumped in way too much chlorine, thinking I’d have the cleanest tub in the neighborhood. Instead, I ended up with itchy skin, burning eyes, and a very unhappy wife.
Stick to the recommended levels, folks.
Mistake #2: Underdosing on chlorine. On the flip side, being too stingy with the chlorine is just as bad.
I tried to save some money by stretching out my chlorine. The result? A lovely breeding ground for bacteria.
Gross.
Mistake #3: Ignoring other water balance factors. Chlorine is important, but it’s not the only player in the game.
Neglecting your pH, alkalinity, or calcium hardness can render your chlorine useless. It’s like trying to drive a car with three flat tires – it’s not going to get you very far.
Safety Precautions When Handling Chlorine
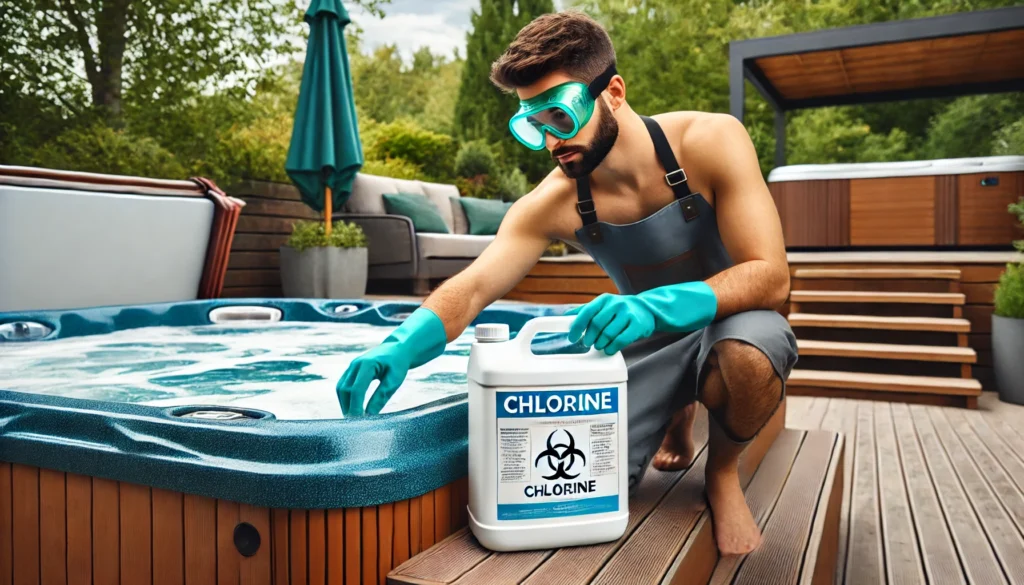
Now, let’s get serious for a moment. Chlorine might be great for your hot tub, but it’s not so great if you breathe it in or get it on your skin.
Store your chlorine in a cool, dry place away from other chemicals. And for Pete’s sake, keep it out of reach of kids and pets!
I once left a bucket of chlorine tablets in the garage, and my dog decided they looked like tasty treats. Cue an emergency vet visit and a very expensive lesson learned.
When you’re adding chlorine, wear gloves and eye protection. Yeah, you might feel a bit silly looking like a mad scientist, but it’s better than the alternative.
Trust me, chlorine in the eyes is not a fun experience.
If you do accidentally expose yourself to chlorine, rinse the affected area with plenty of water immediately. And if you start feeling sick or having trouble breathing after handling chlorine, don’t try to tough it out.
Get medical help right away.
Alternatives to Chlorine for Hot Tub Sanitization
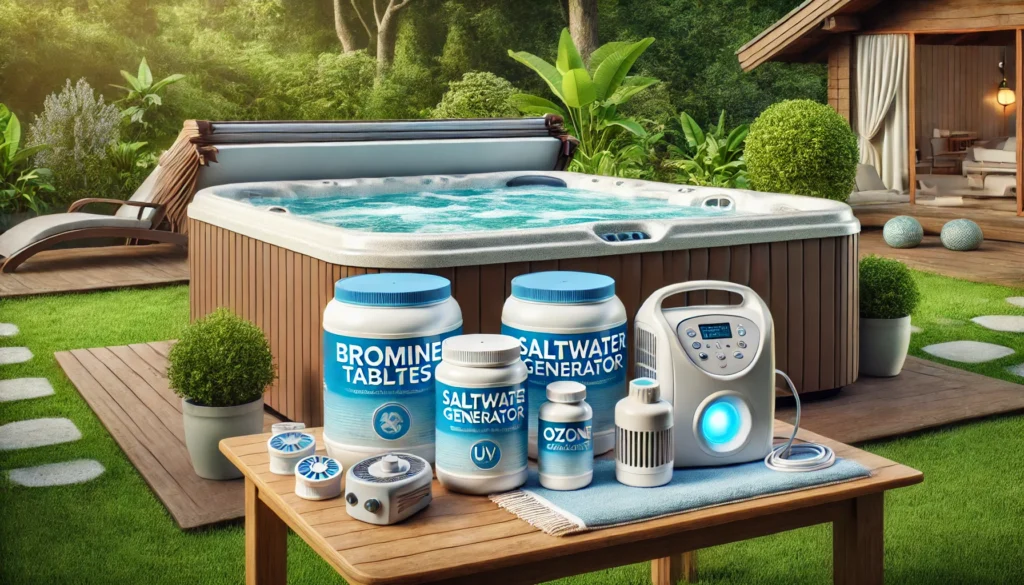
Now, I know some of you might be thinking, “Isn’t there an easier way?” Well, there are alternatives to chlorine, but they each come with their own pros and cons.
Bromine is a popular alternative. It’s gentler on the skin and doesn’t have that strong chlorine smell.
But it’s also more expensive and can be trickier to maintain proper levels.
Salt systems are another option. They generate chlorine from salt, so you don’t have to handle chemicals as much.
But they’re pricey to install and can be hard on your hot tub’s components over time.
There are also UV and ozone systems that can reduce the amount of chlorine you need. But they don’t eliminate the need for chlorine entirely, and they can be quite expensive.
Personally, I stuck with chlorine. Once I got the hang of it, it was the easiest and most cost-effective option for me.
But hey, every hot tub owner has to find what works best for them!
Conclusion
Whew! We’ve covered a lot of ground, haven’t we? From calculating the right amount of chlorine to avoiding common mistakes, you’re now armed with all the knowledge you need to keep your hot tub clean and safe.
Remember, proper hot tub care is an ongoing process. It might seem overwhelming at first, but trust me, it becomes second nature after a while.
And the payoff is so worth it! There’s nothing quite like sinking into crystal clear, perfectly balanced hot tub water after a long day.
So go forth and chlorinate with confidence! And hey, if you run into any issues or discover any hot tub hacks of your own, don’t keep them to yourself.
Share your experiences in the comments – we’re all in this hot tub journey together!
Now, if you’ll excuse me, all this talk about hot tubs has me itching for a nice, relaxing soak. Happy tubbing, everyone!
